Page contents
About
Gallery
Parking
Poo bins?
Self-guided walk
About
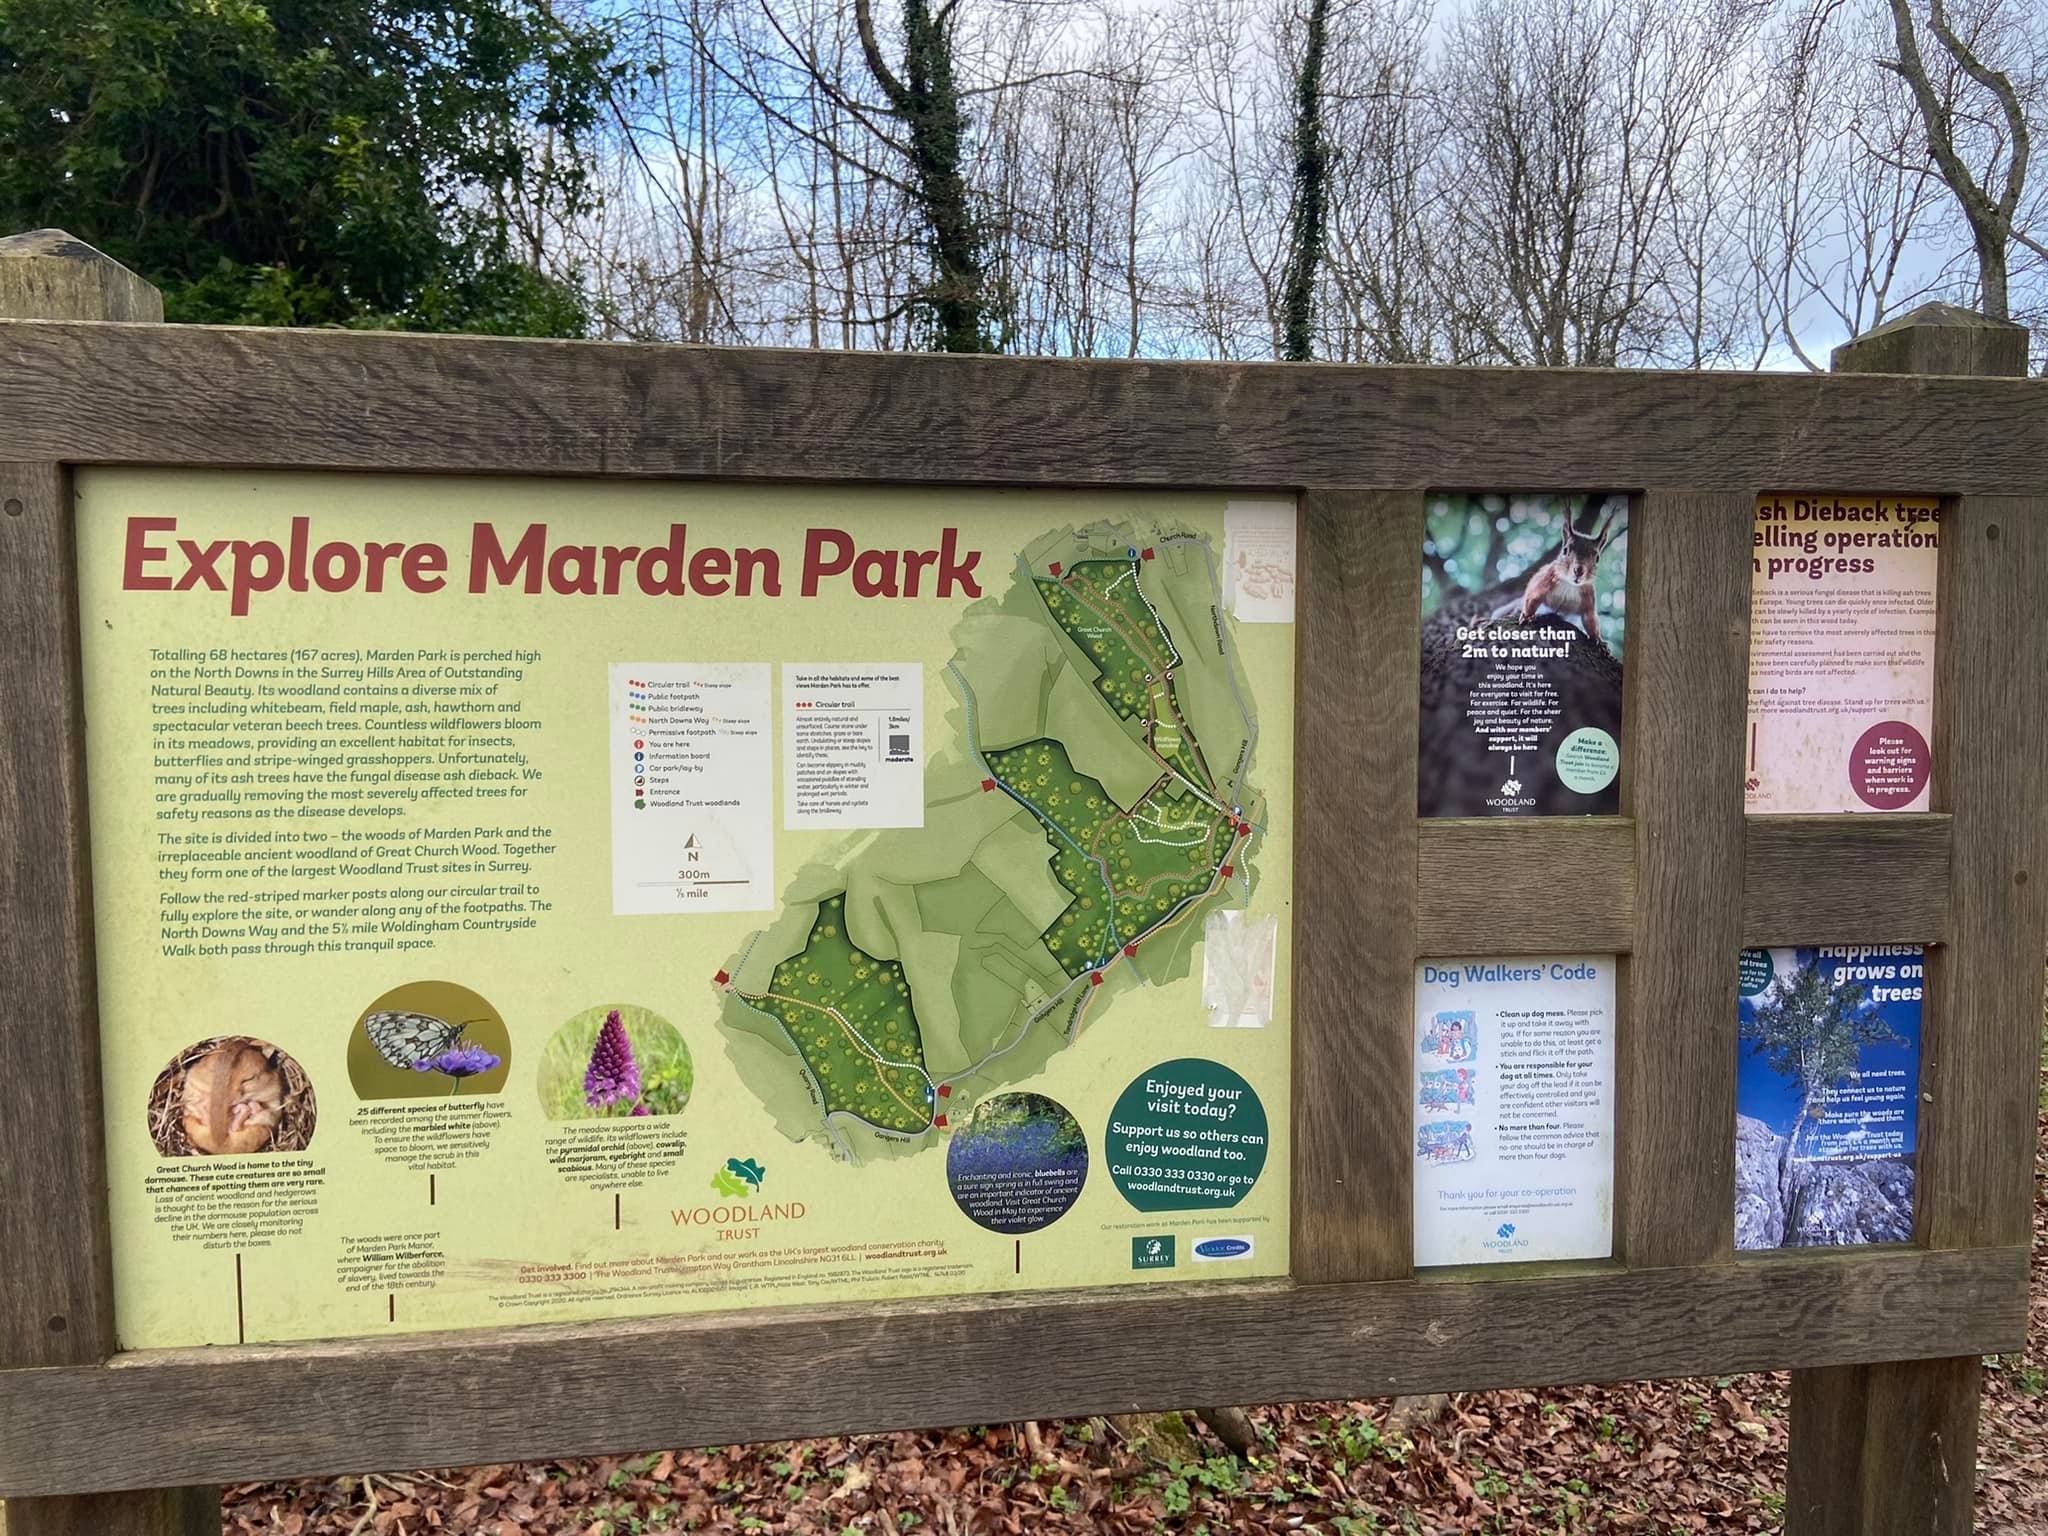
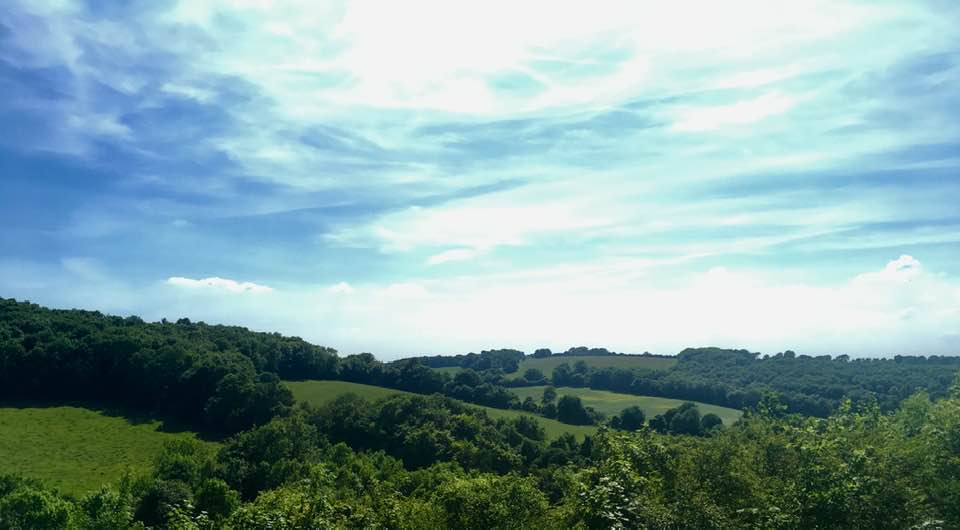
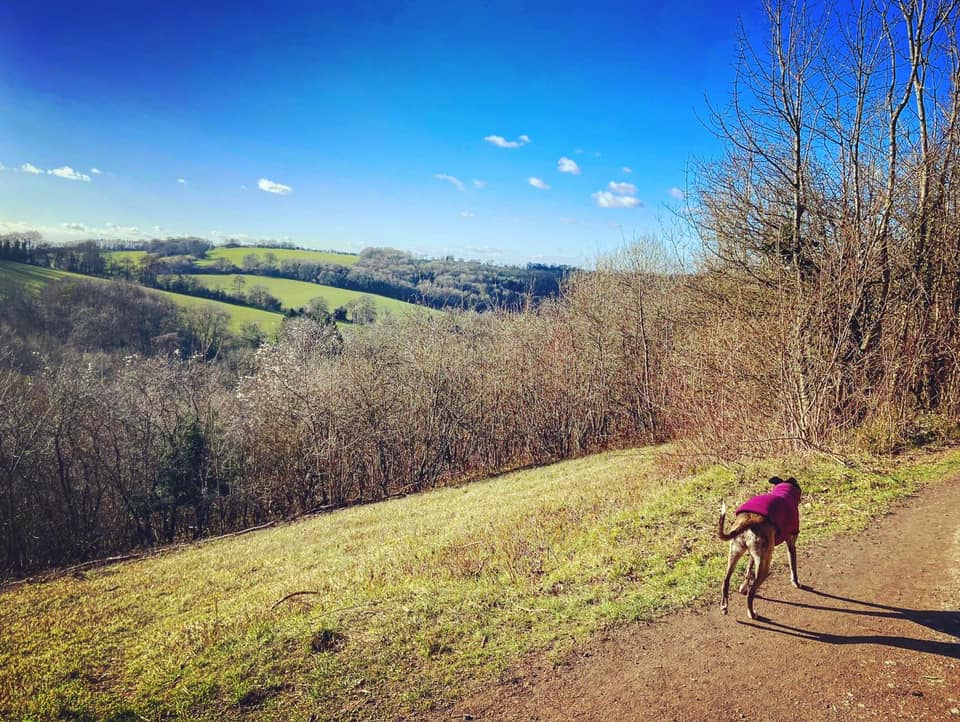
Marden Park is located on the narrow plateau and dip slopes of the North Downs in East Surrey, close to the village of Woldingham. This 68-hectare (167-acre) site is the largest of The Woodland Trust’s Surrey woods and falls within an Area of Outstanding Natural Beauty as well as the Woldingham and Oxted Site of Special Scientific Interest.
Comprising the woods of Marden Park and the ancient woodland of Great Church Wood, it is also of international importance because of its strips of old coppiced trees, wooded ravines, small carrs and conifers, as well as yew and evergreen box woodland. The site’s meadows are rich in wildflowers, providing an excellent habitat for insects, butterflies and grasshoppers.
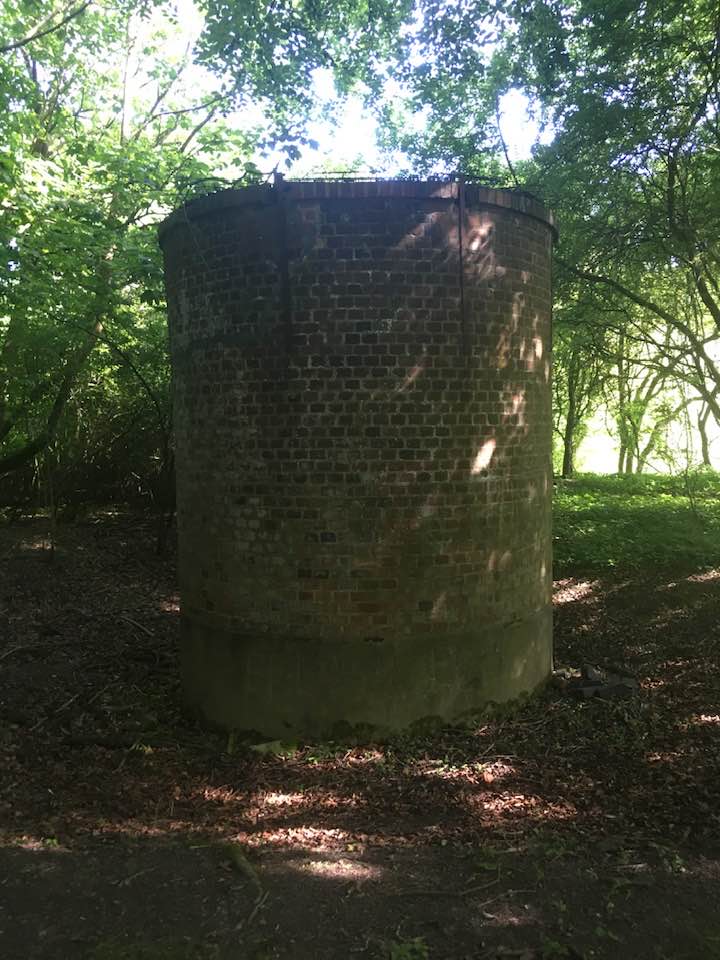
Nearby Woldingham train station, on Southern Railway’s Oxted line, was originally called Marden Park station when it opened in 1885 (renamed Woldingham in 1894). The railway runs beneath the site and there are two ventilation shafts in the woods that keep air circulating in the tunnel and provide emergency access.
The Guardian named Marden Park as one of the top ten places to see autumn colour.
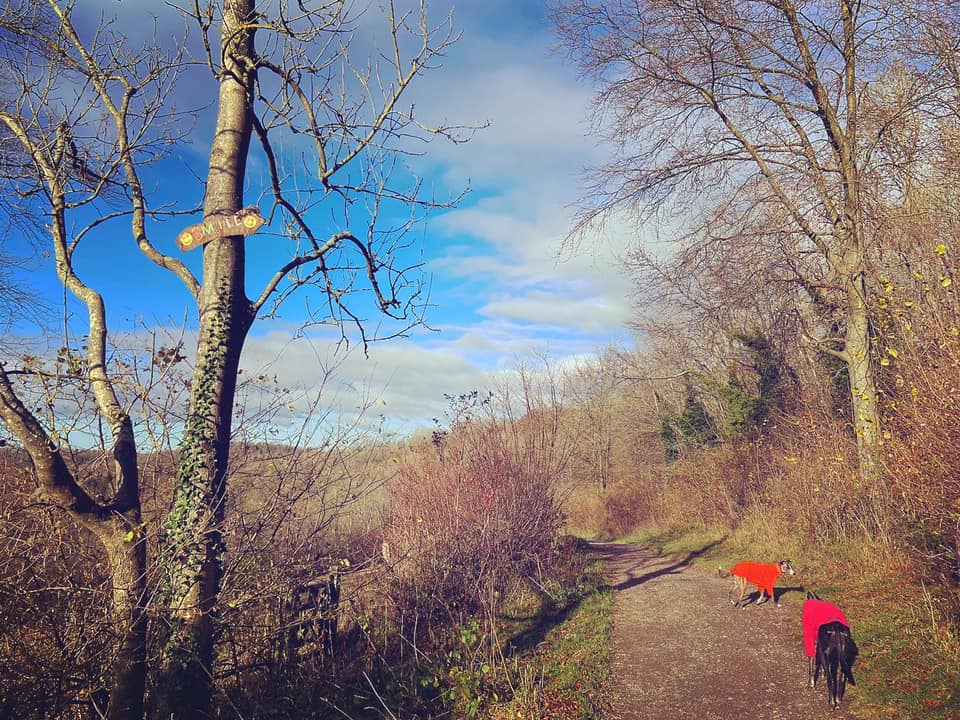
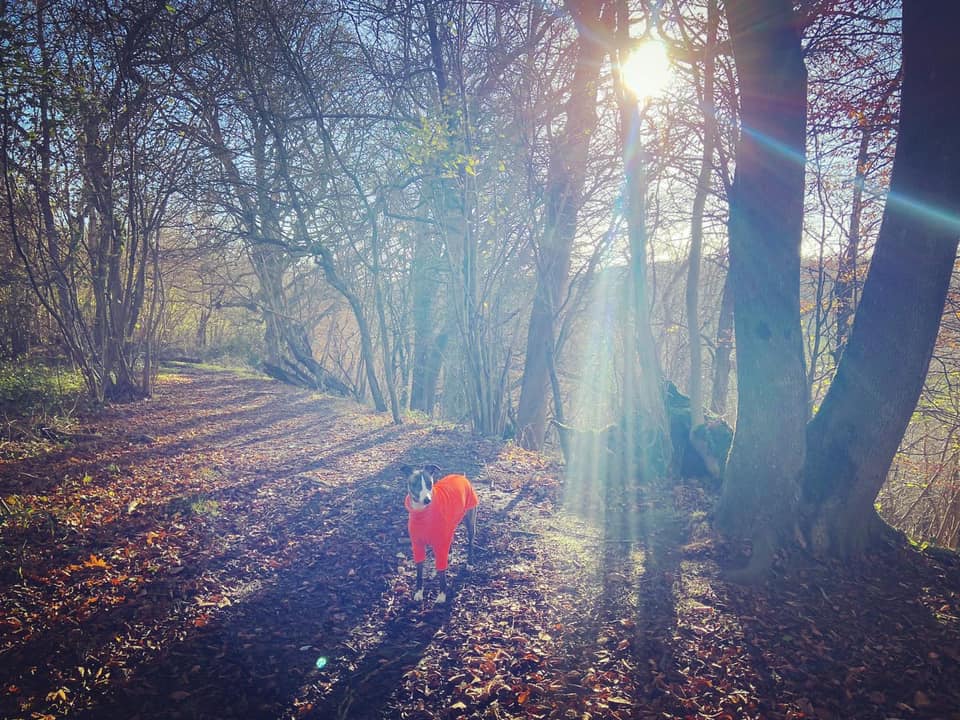
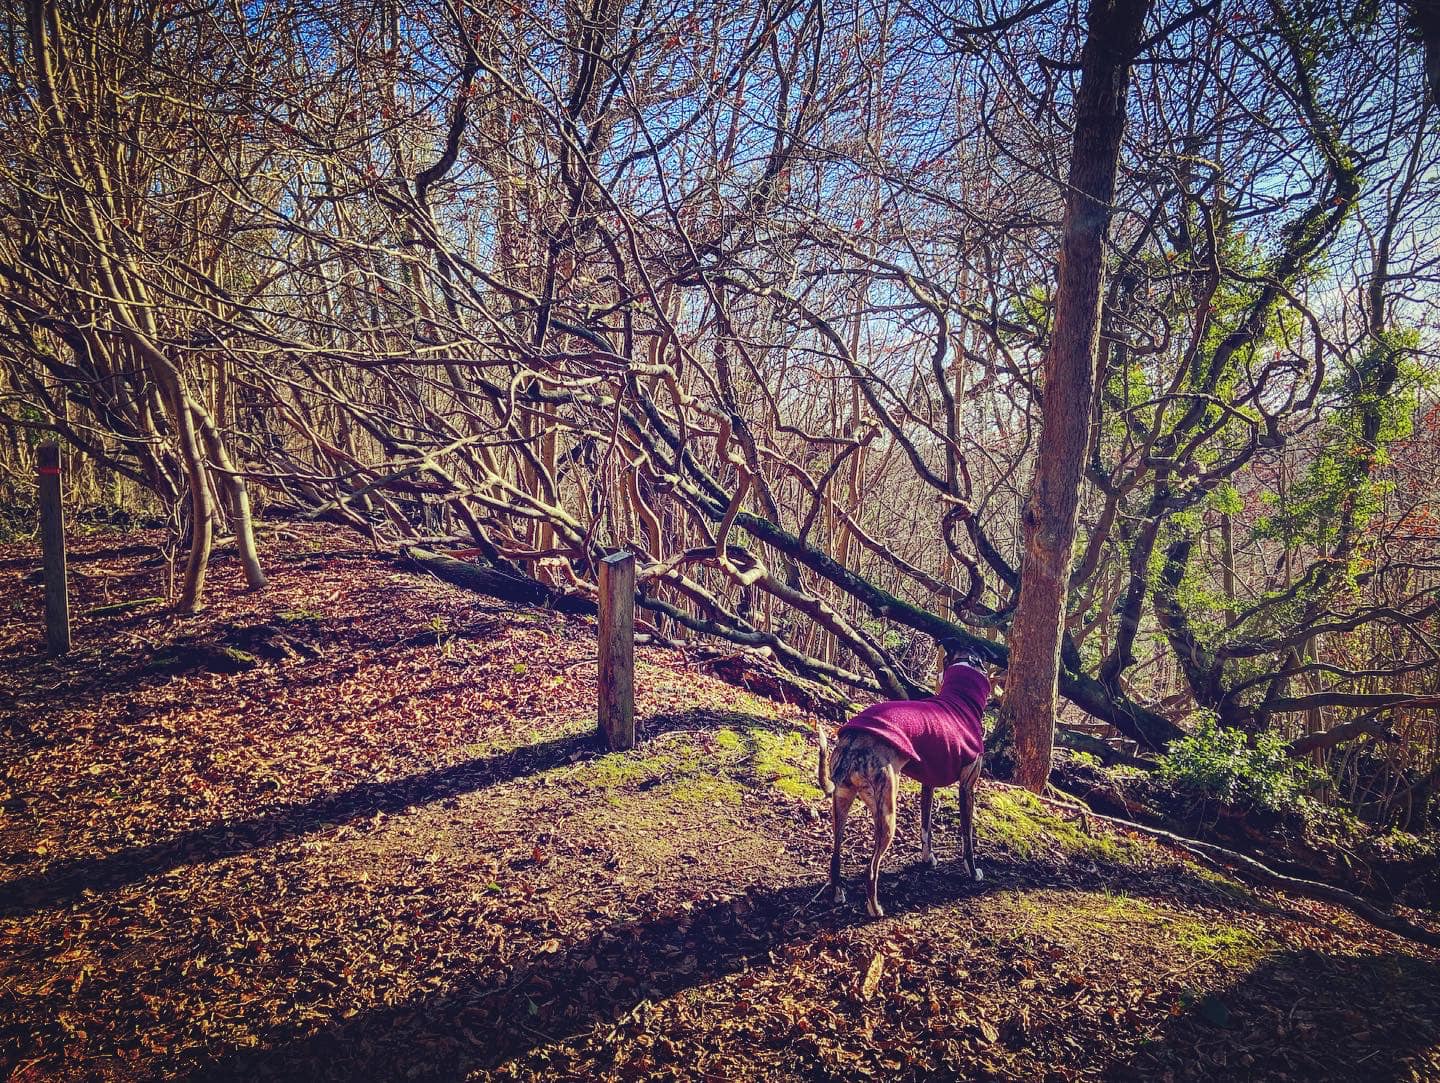
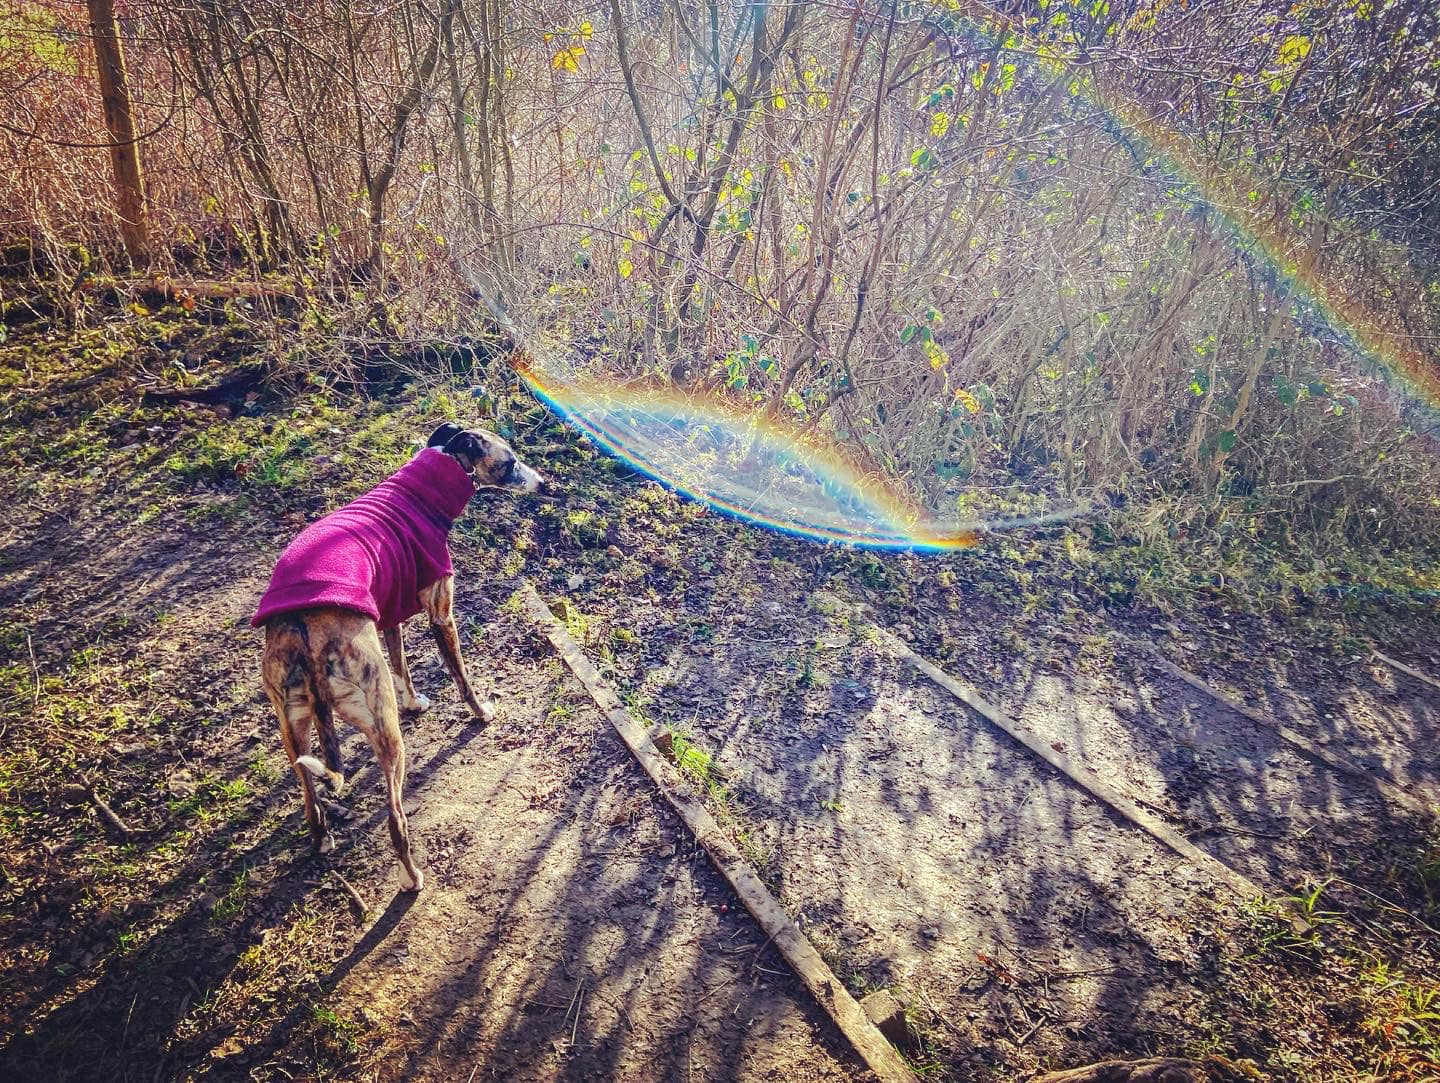
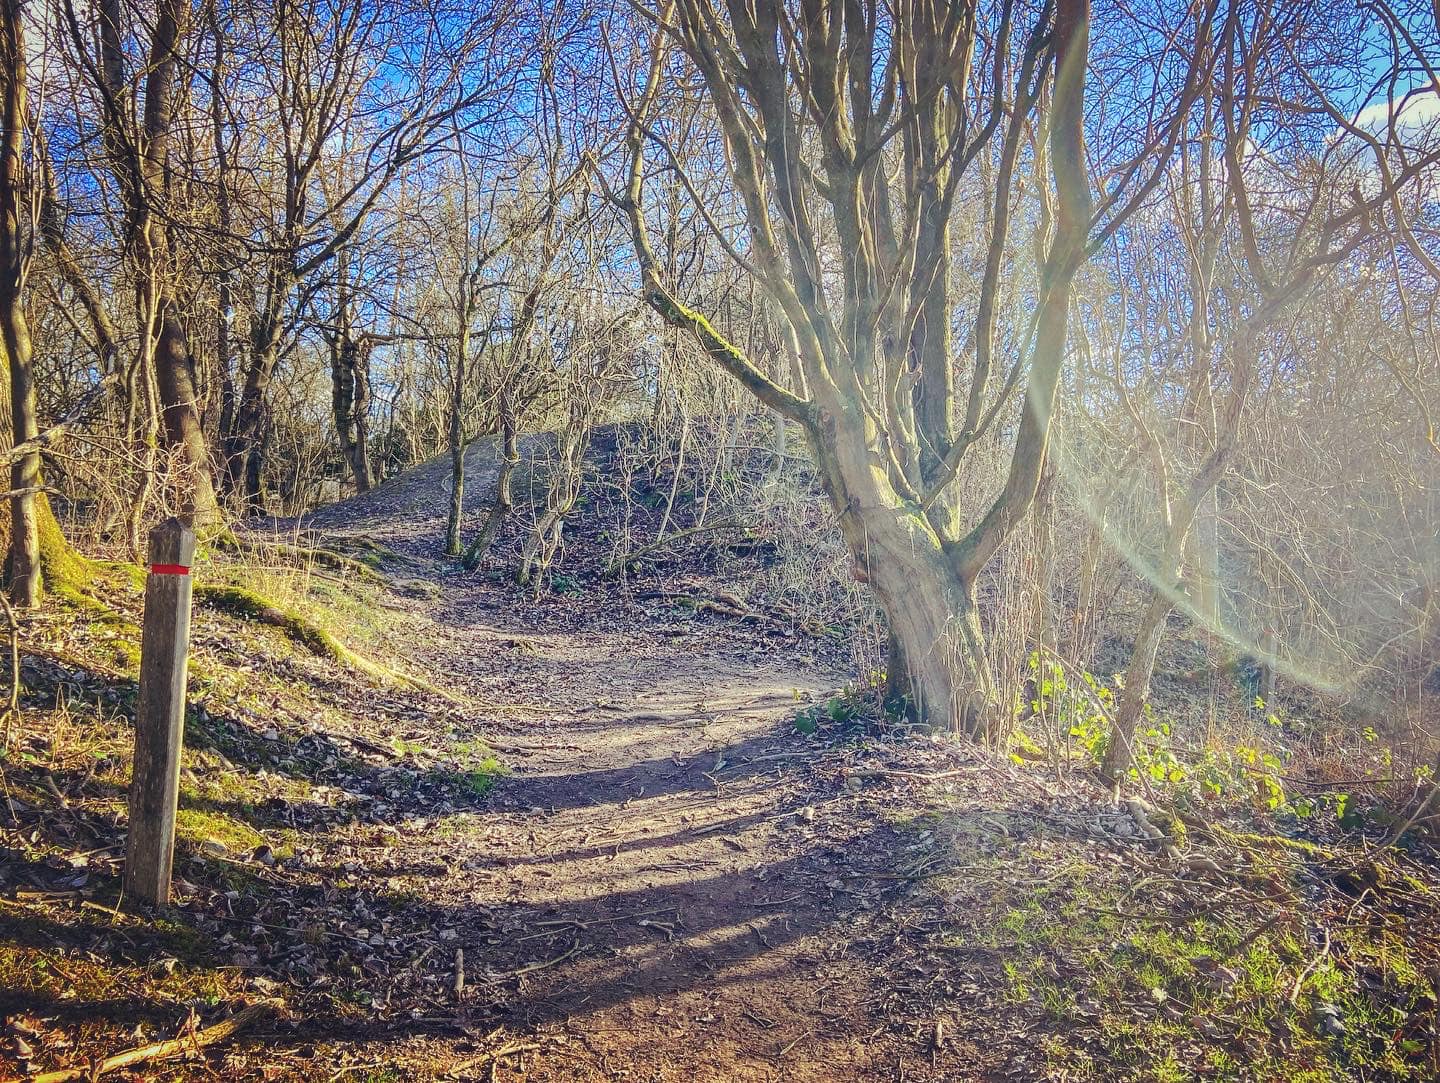
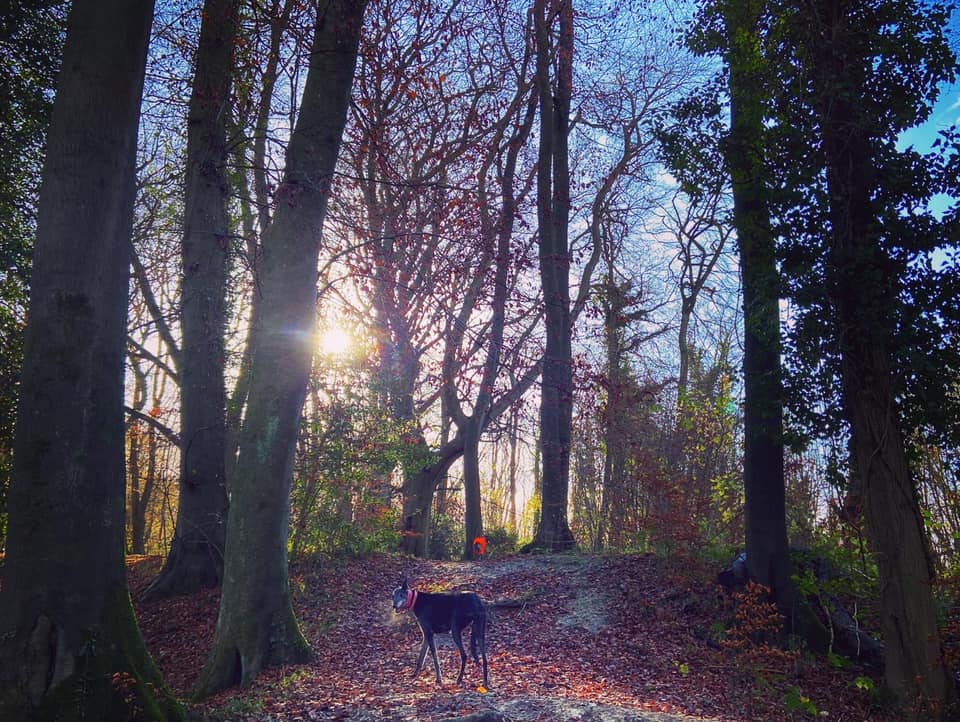
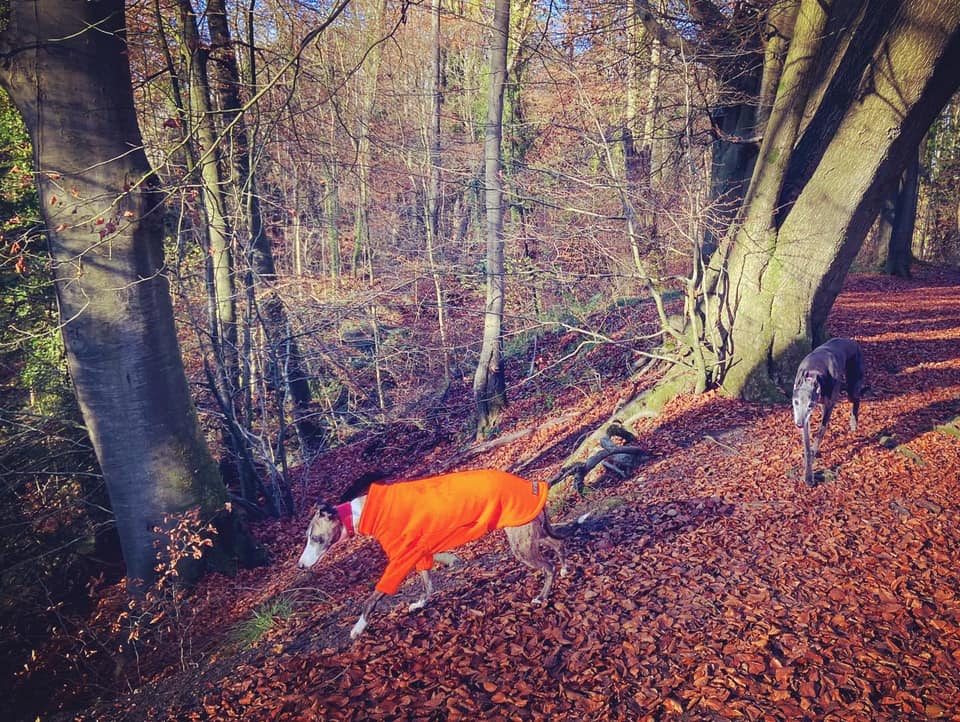
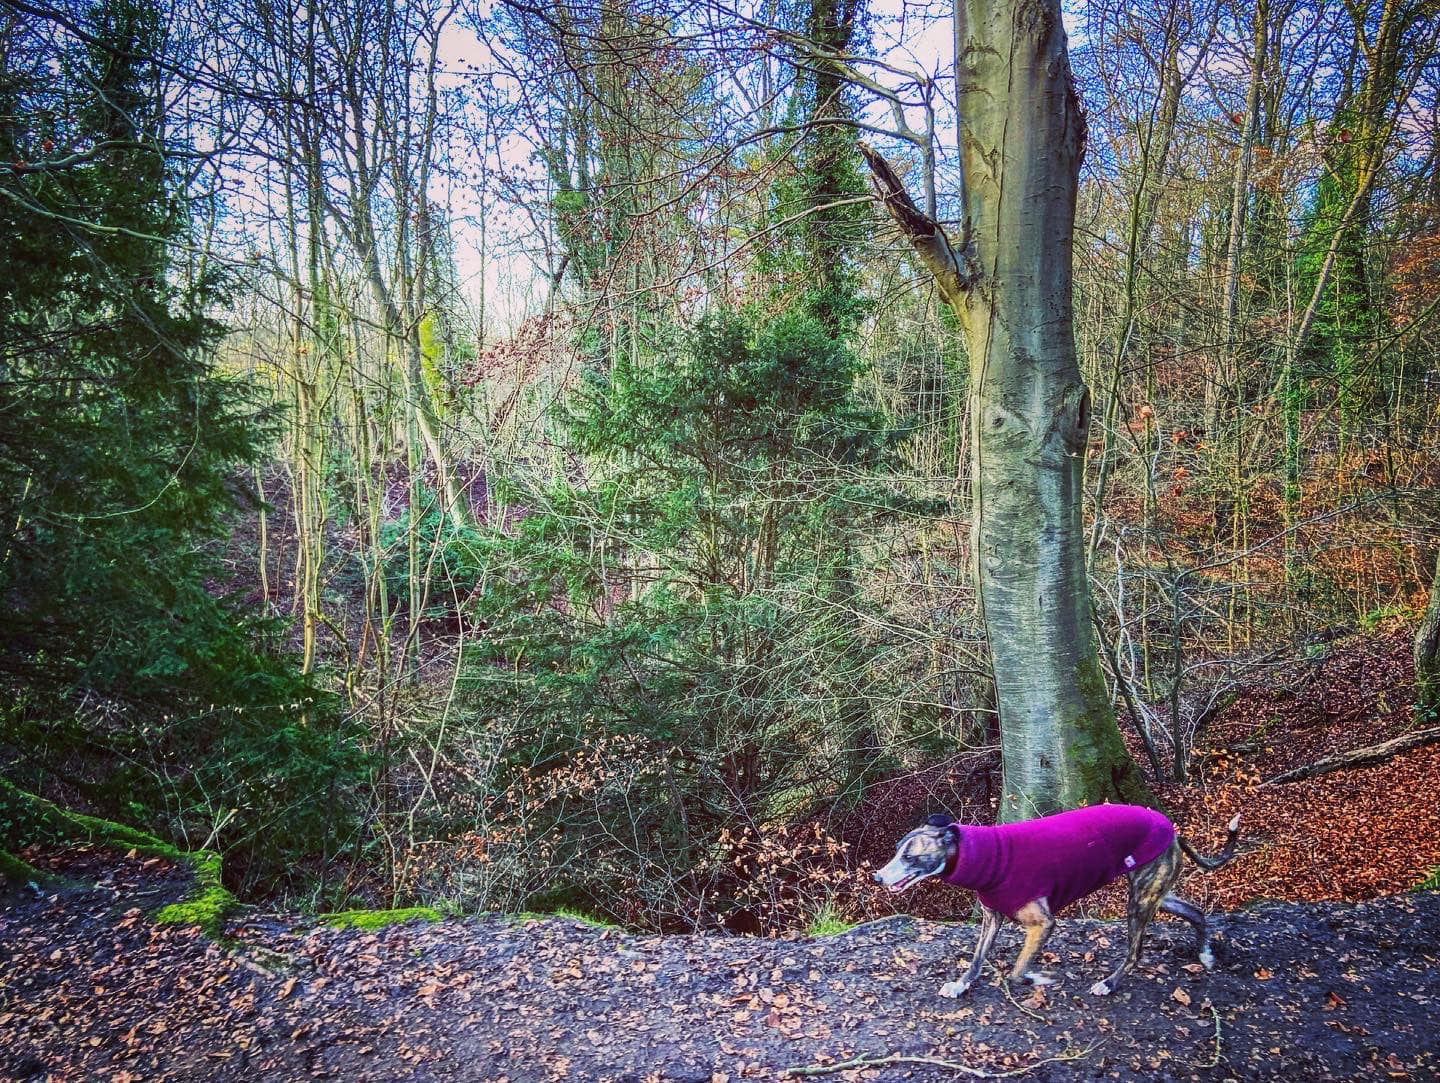
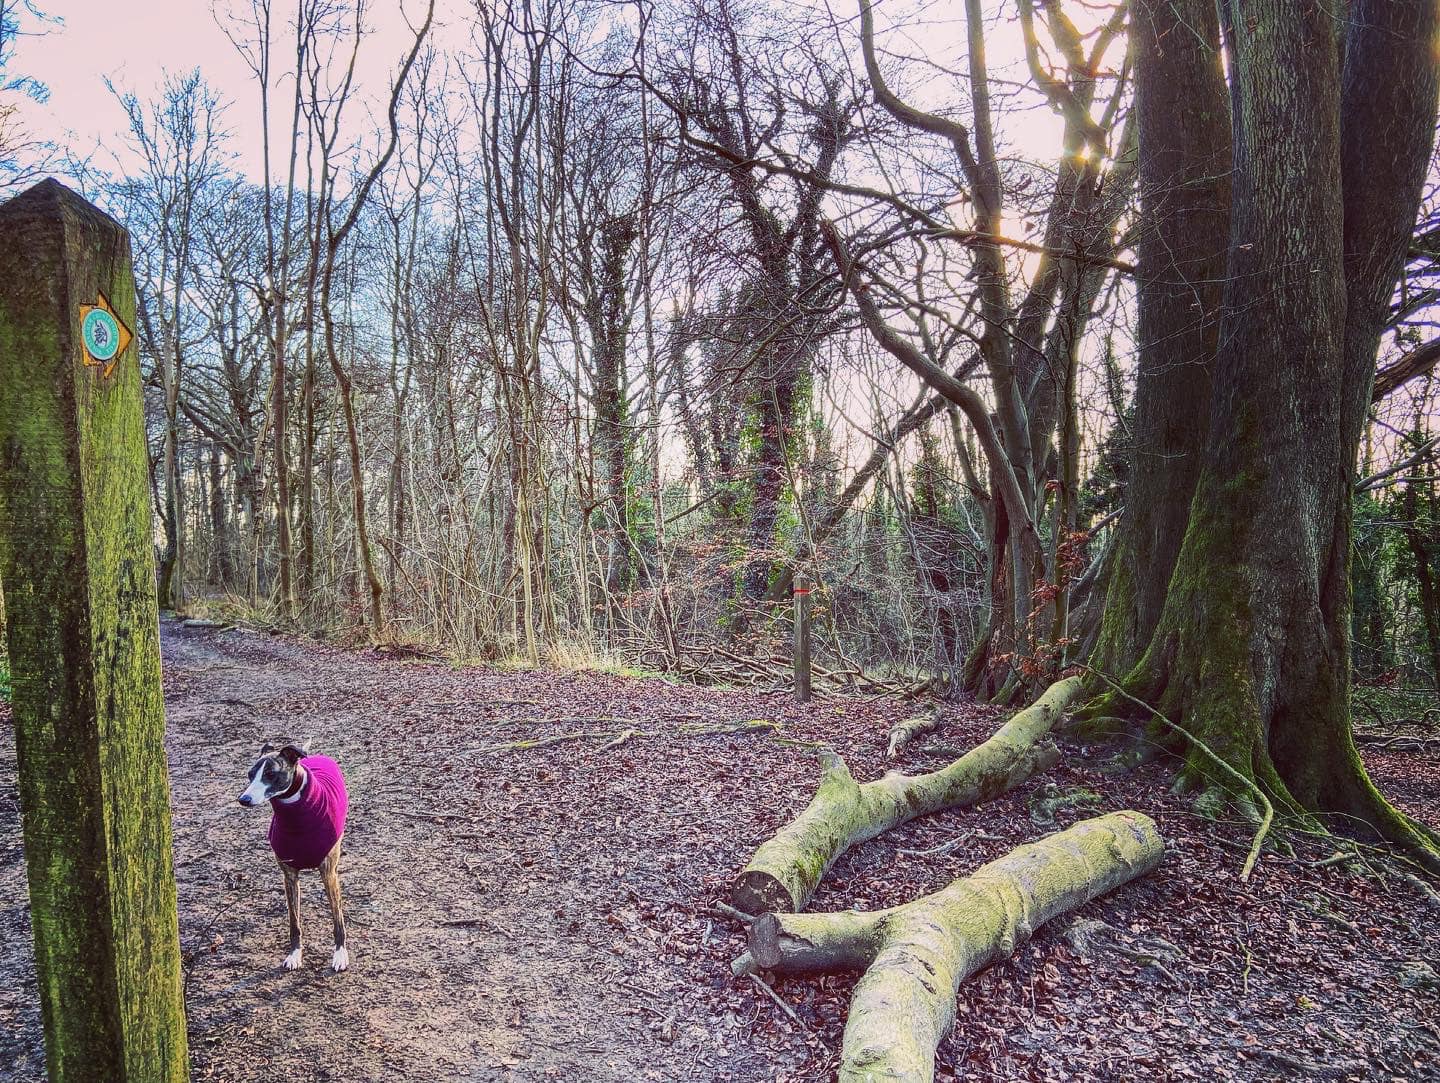
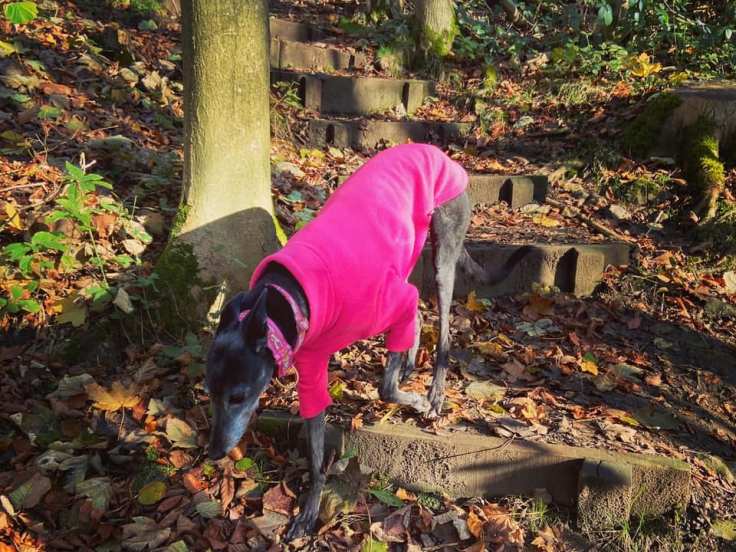
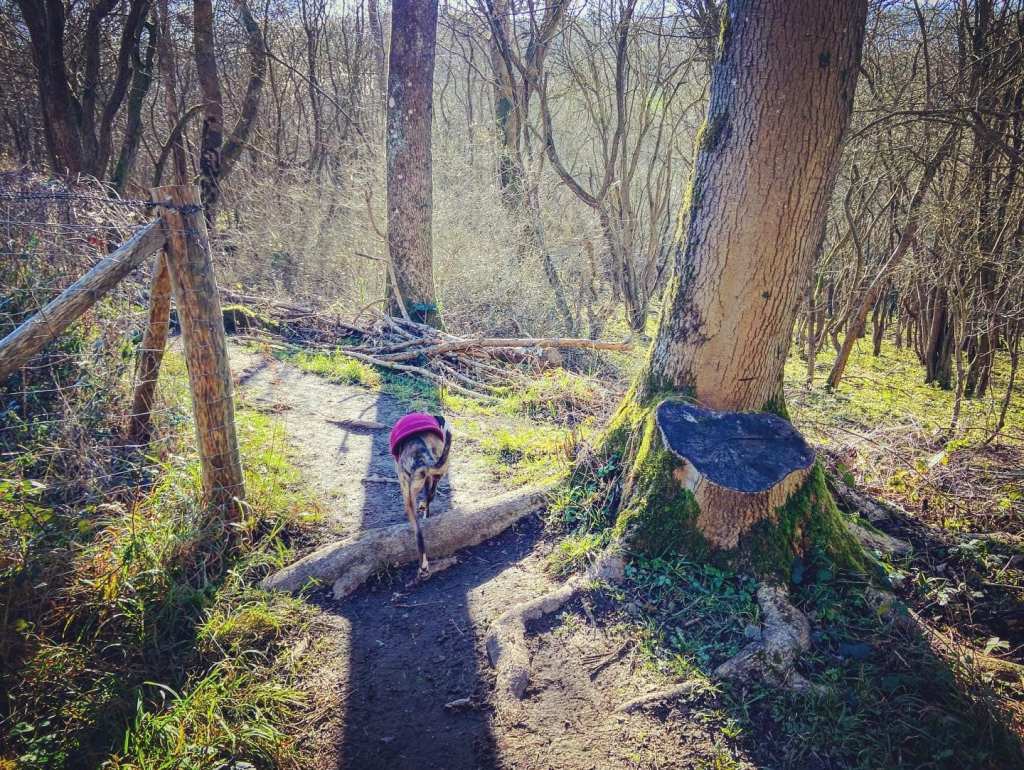
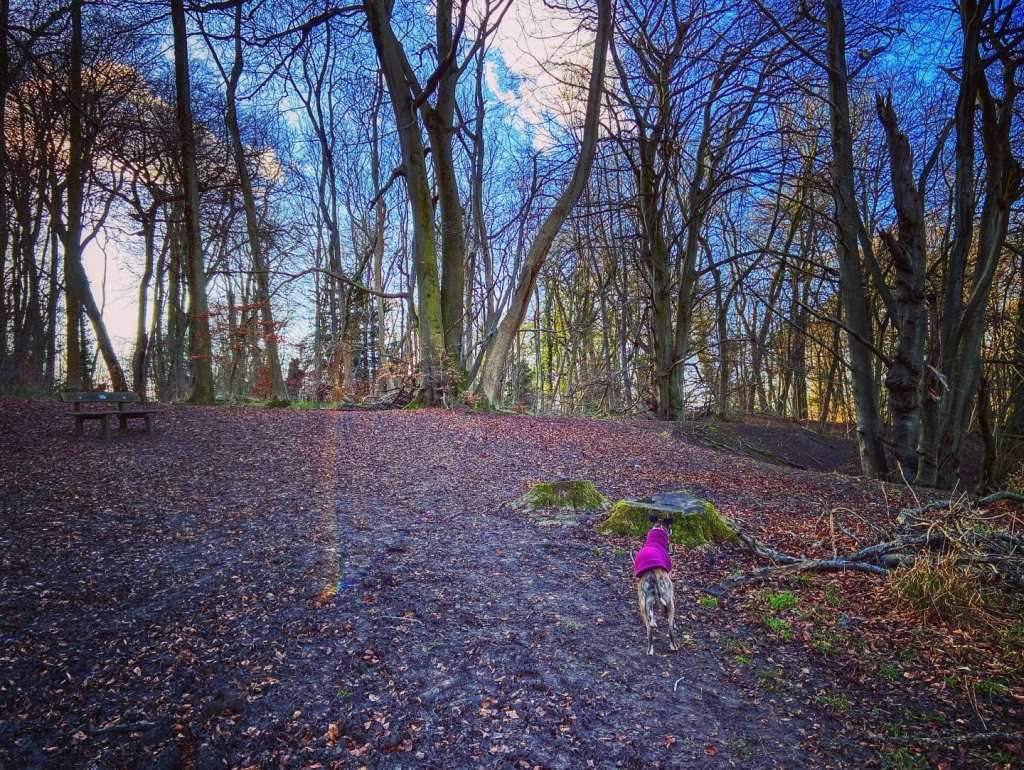
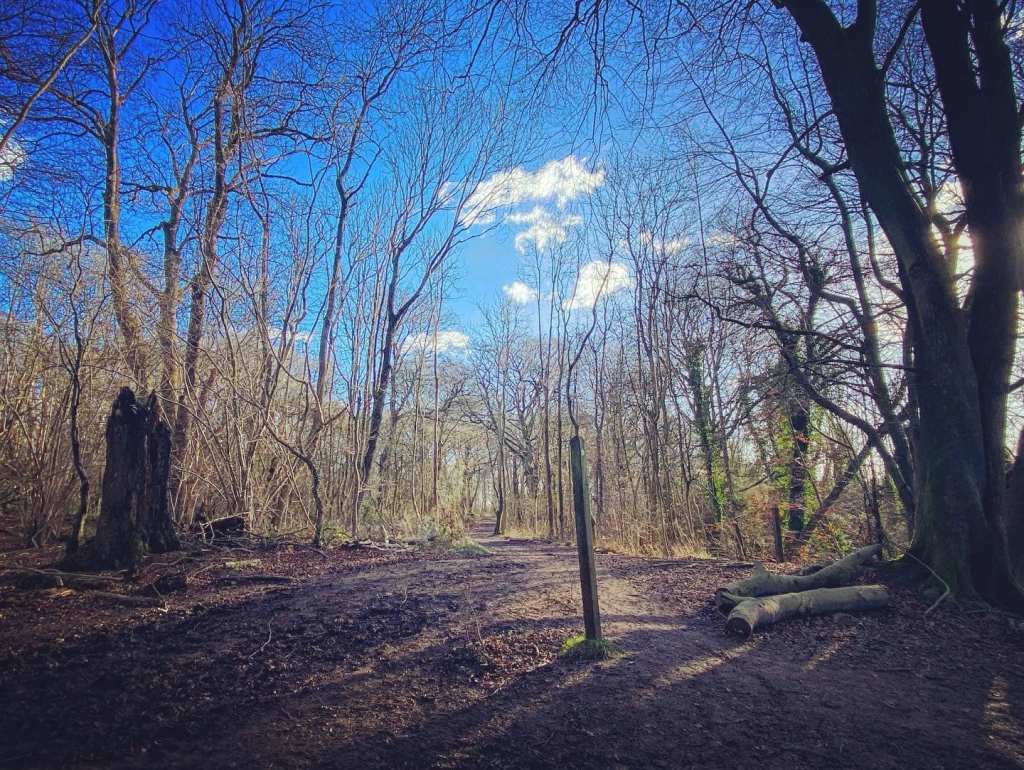
Gallery: What’s it like here?


Parking
There is a free car park just off Gangers Hill with space for about 12 cars.
GOOGLEMAPS LINK: https://goo.gl/maps/YnP3acMXuCdspGKv9
WHAT3WORDS: toast.weep.custom
NEAREST POST CODE: CR3 7AD
Poo bins?
Poo bin at the car park!
Self-guided walk
Here is is a Footpath app route which takes you through Great Church Wood and Marden Park Wood. This route is on AllTrails. The stars on the map indicate where there are two ventilation shafts for the railway tunnel that passes under the wood. This page describes optional detours that will take you to them if you want, although number 1 is harder to find than number 2.
Length: approximately 3km/1.9 miles
Terrain: Undulating with some slopes, one of which is long and quite steep, and a few flights of steps
Stiles/kissing gates? No stiles, no kissing gates

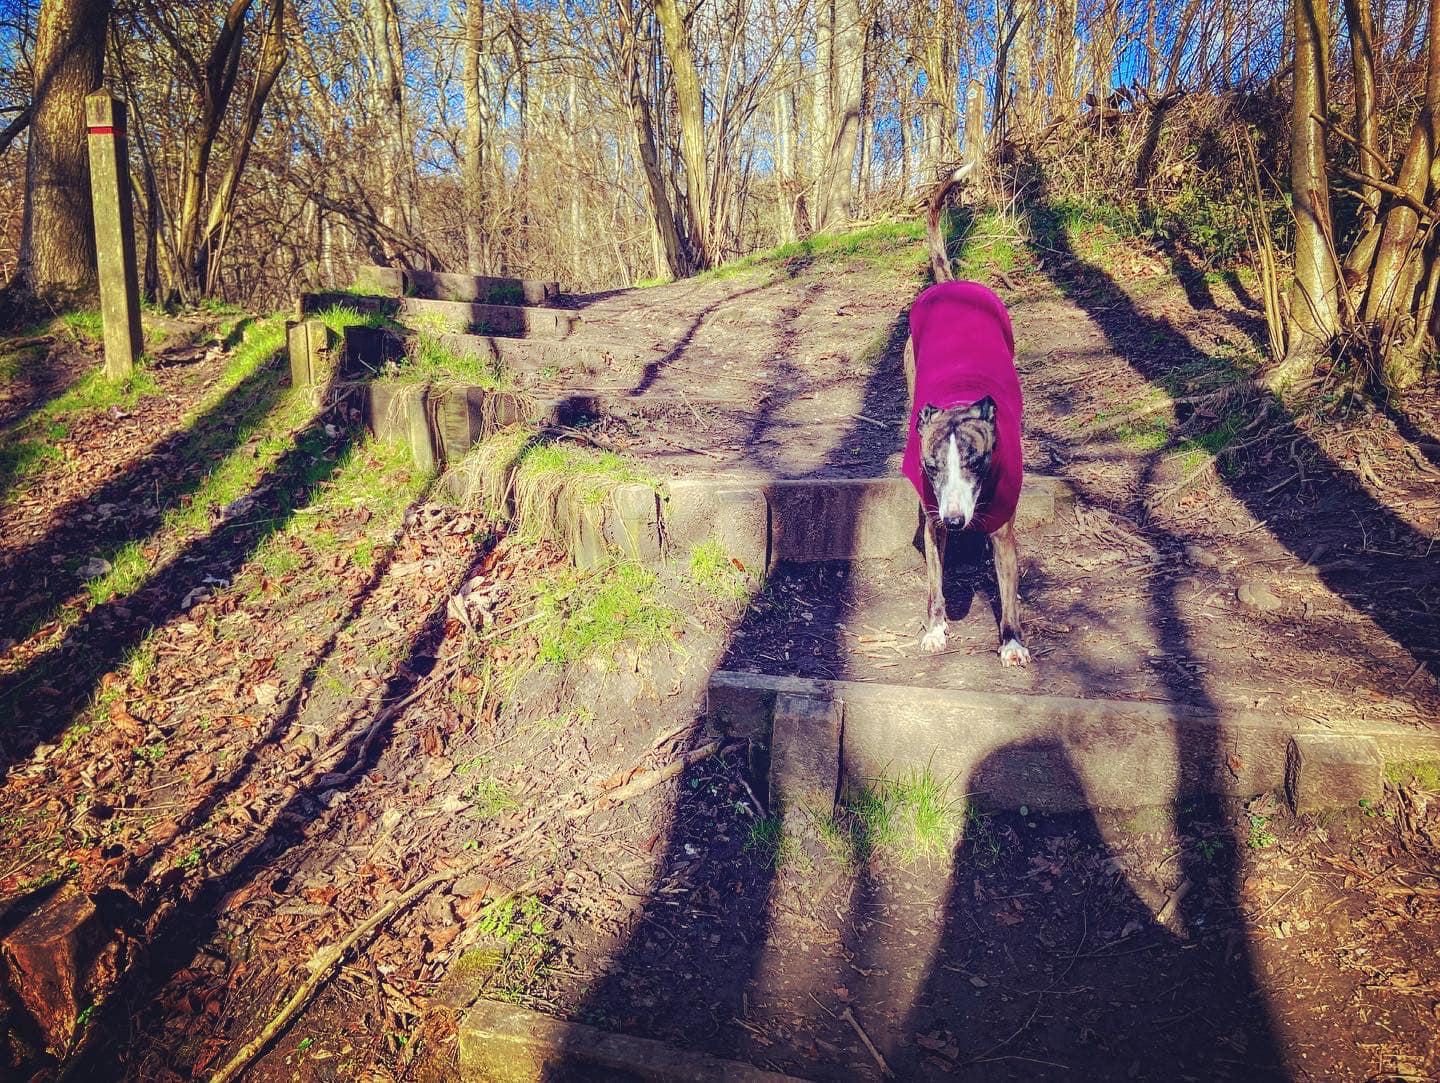
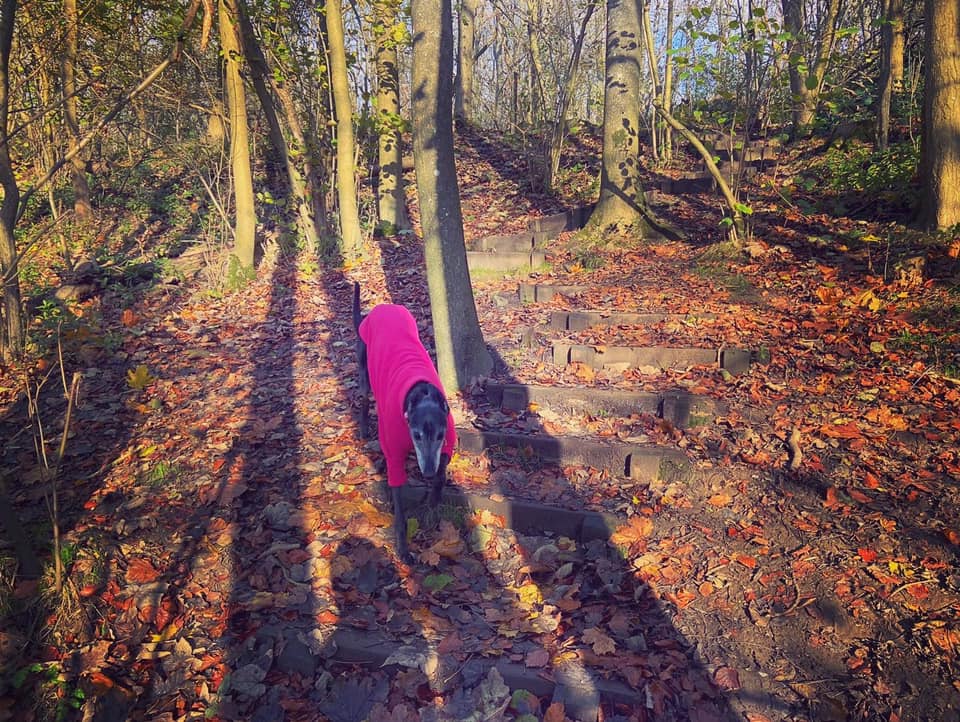
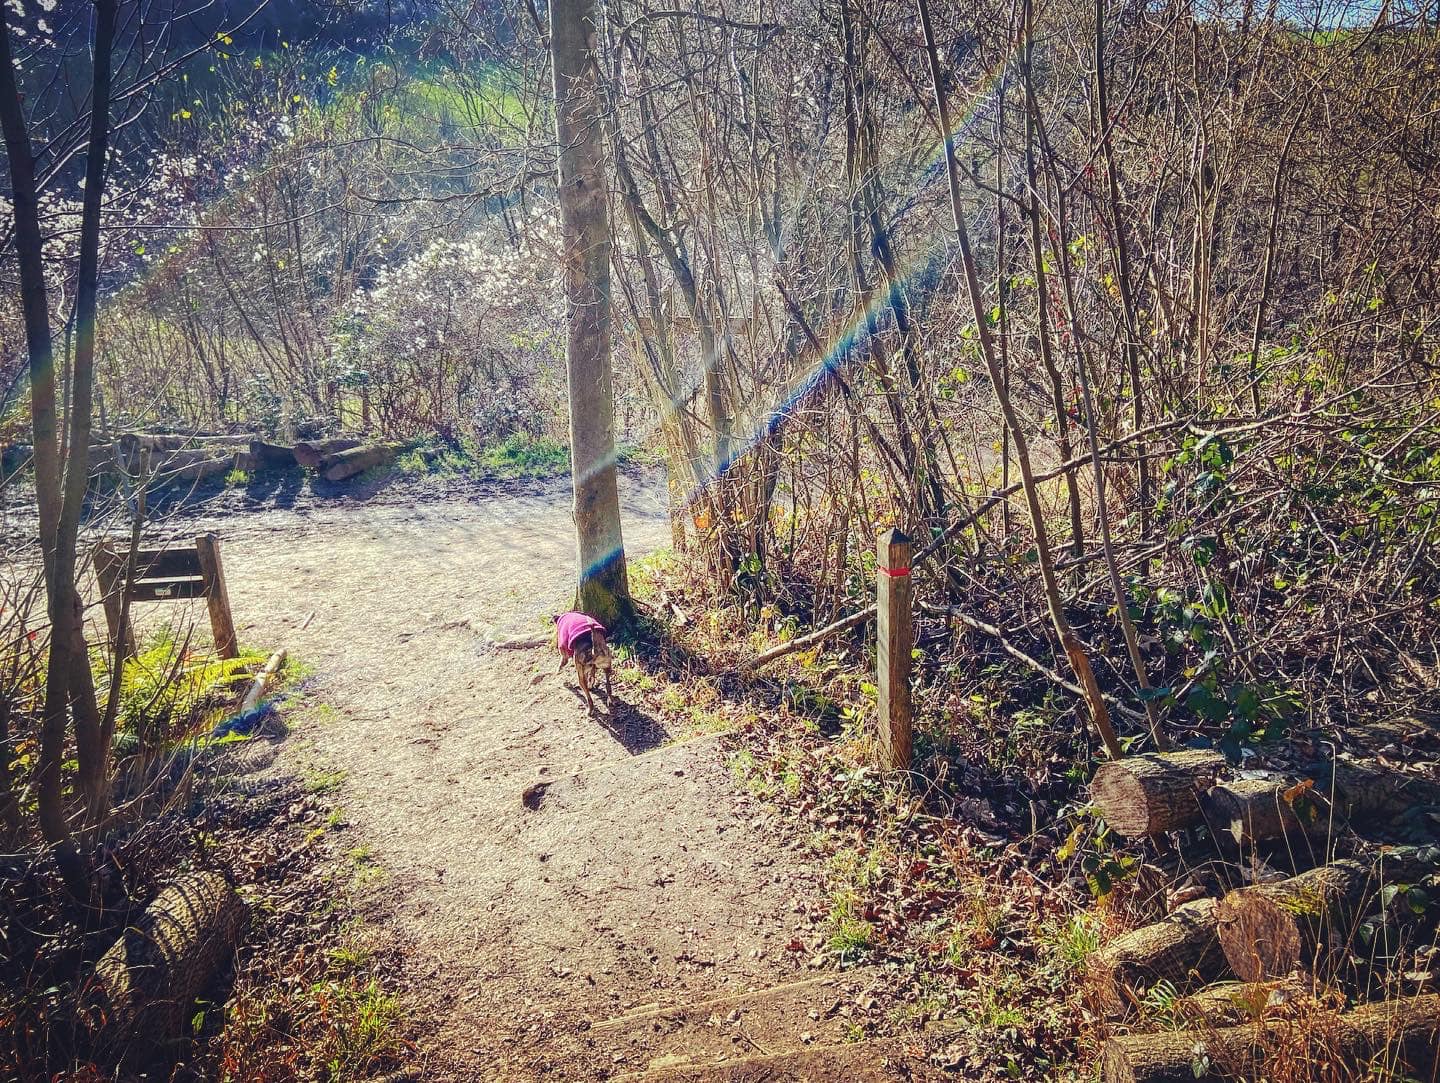
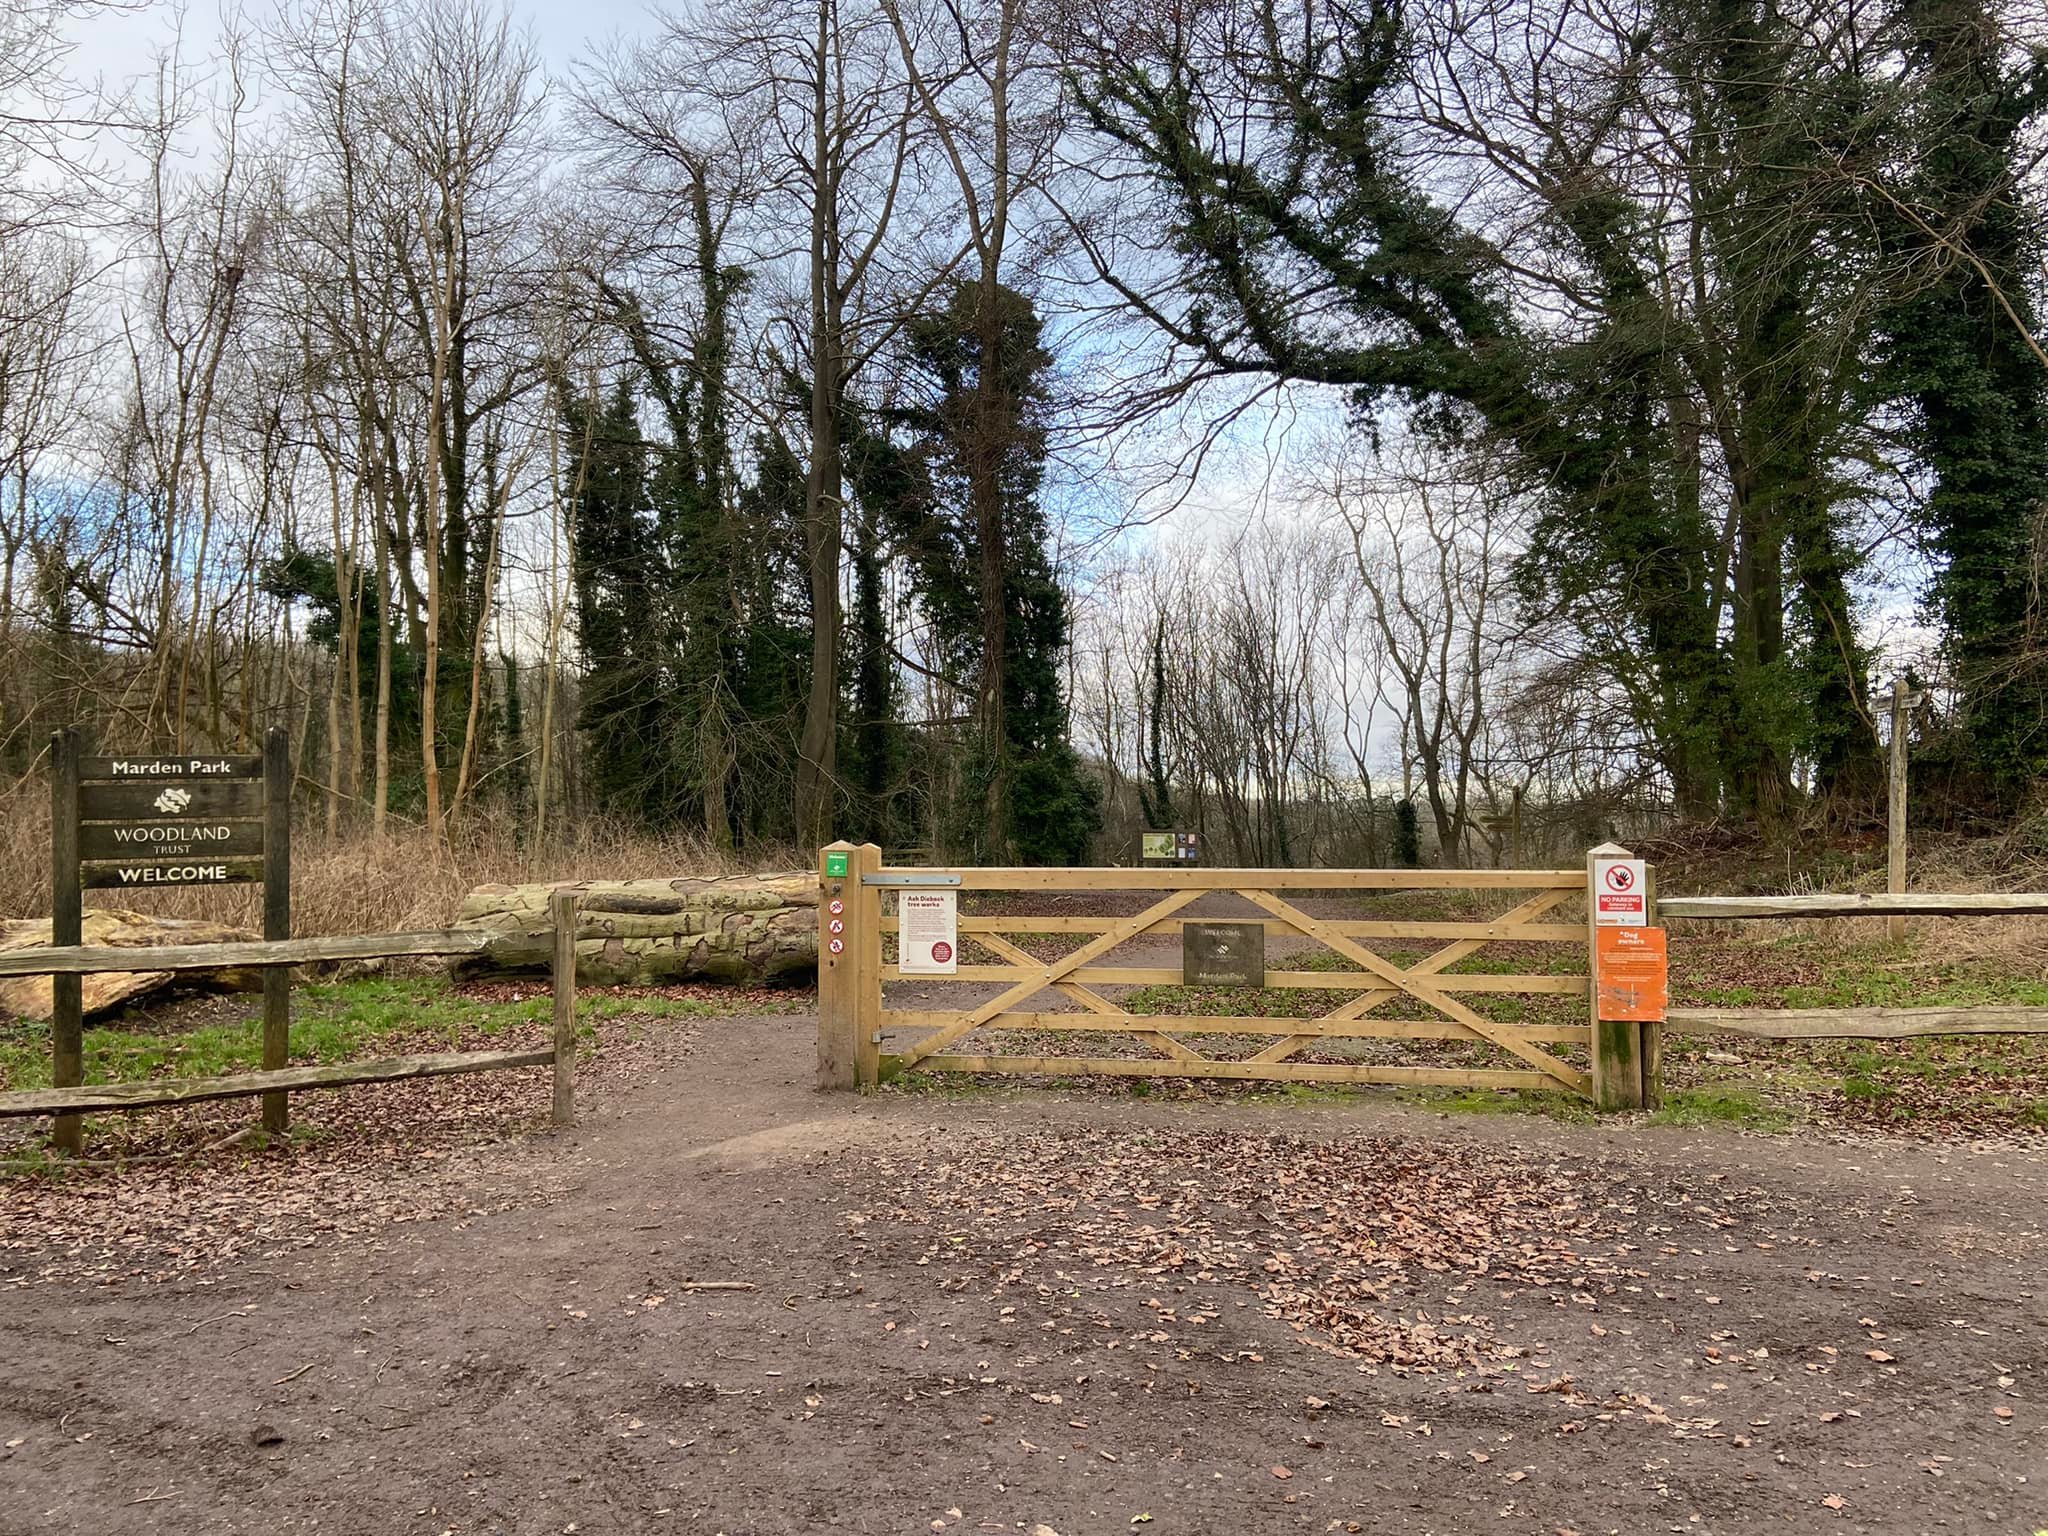
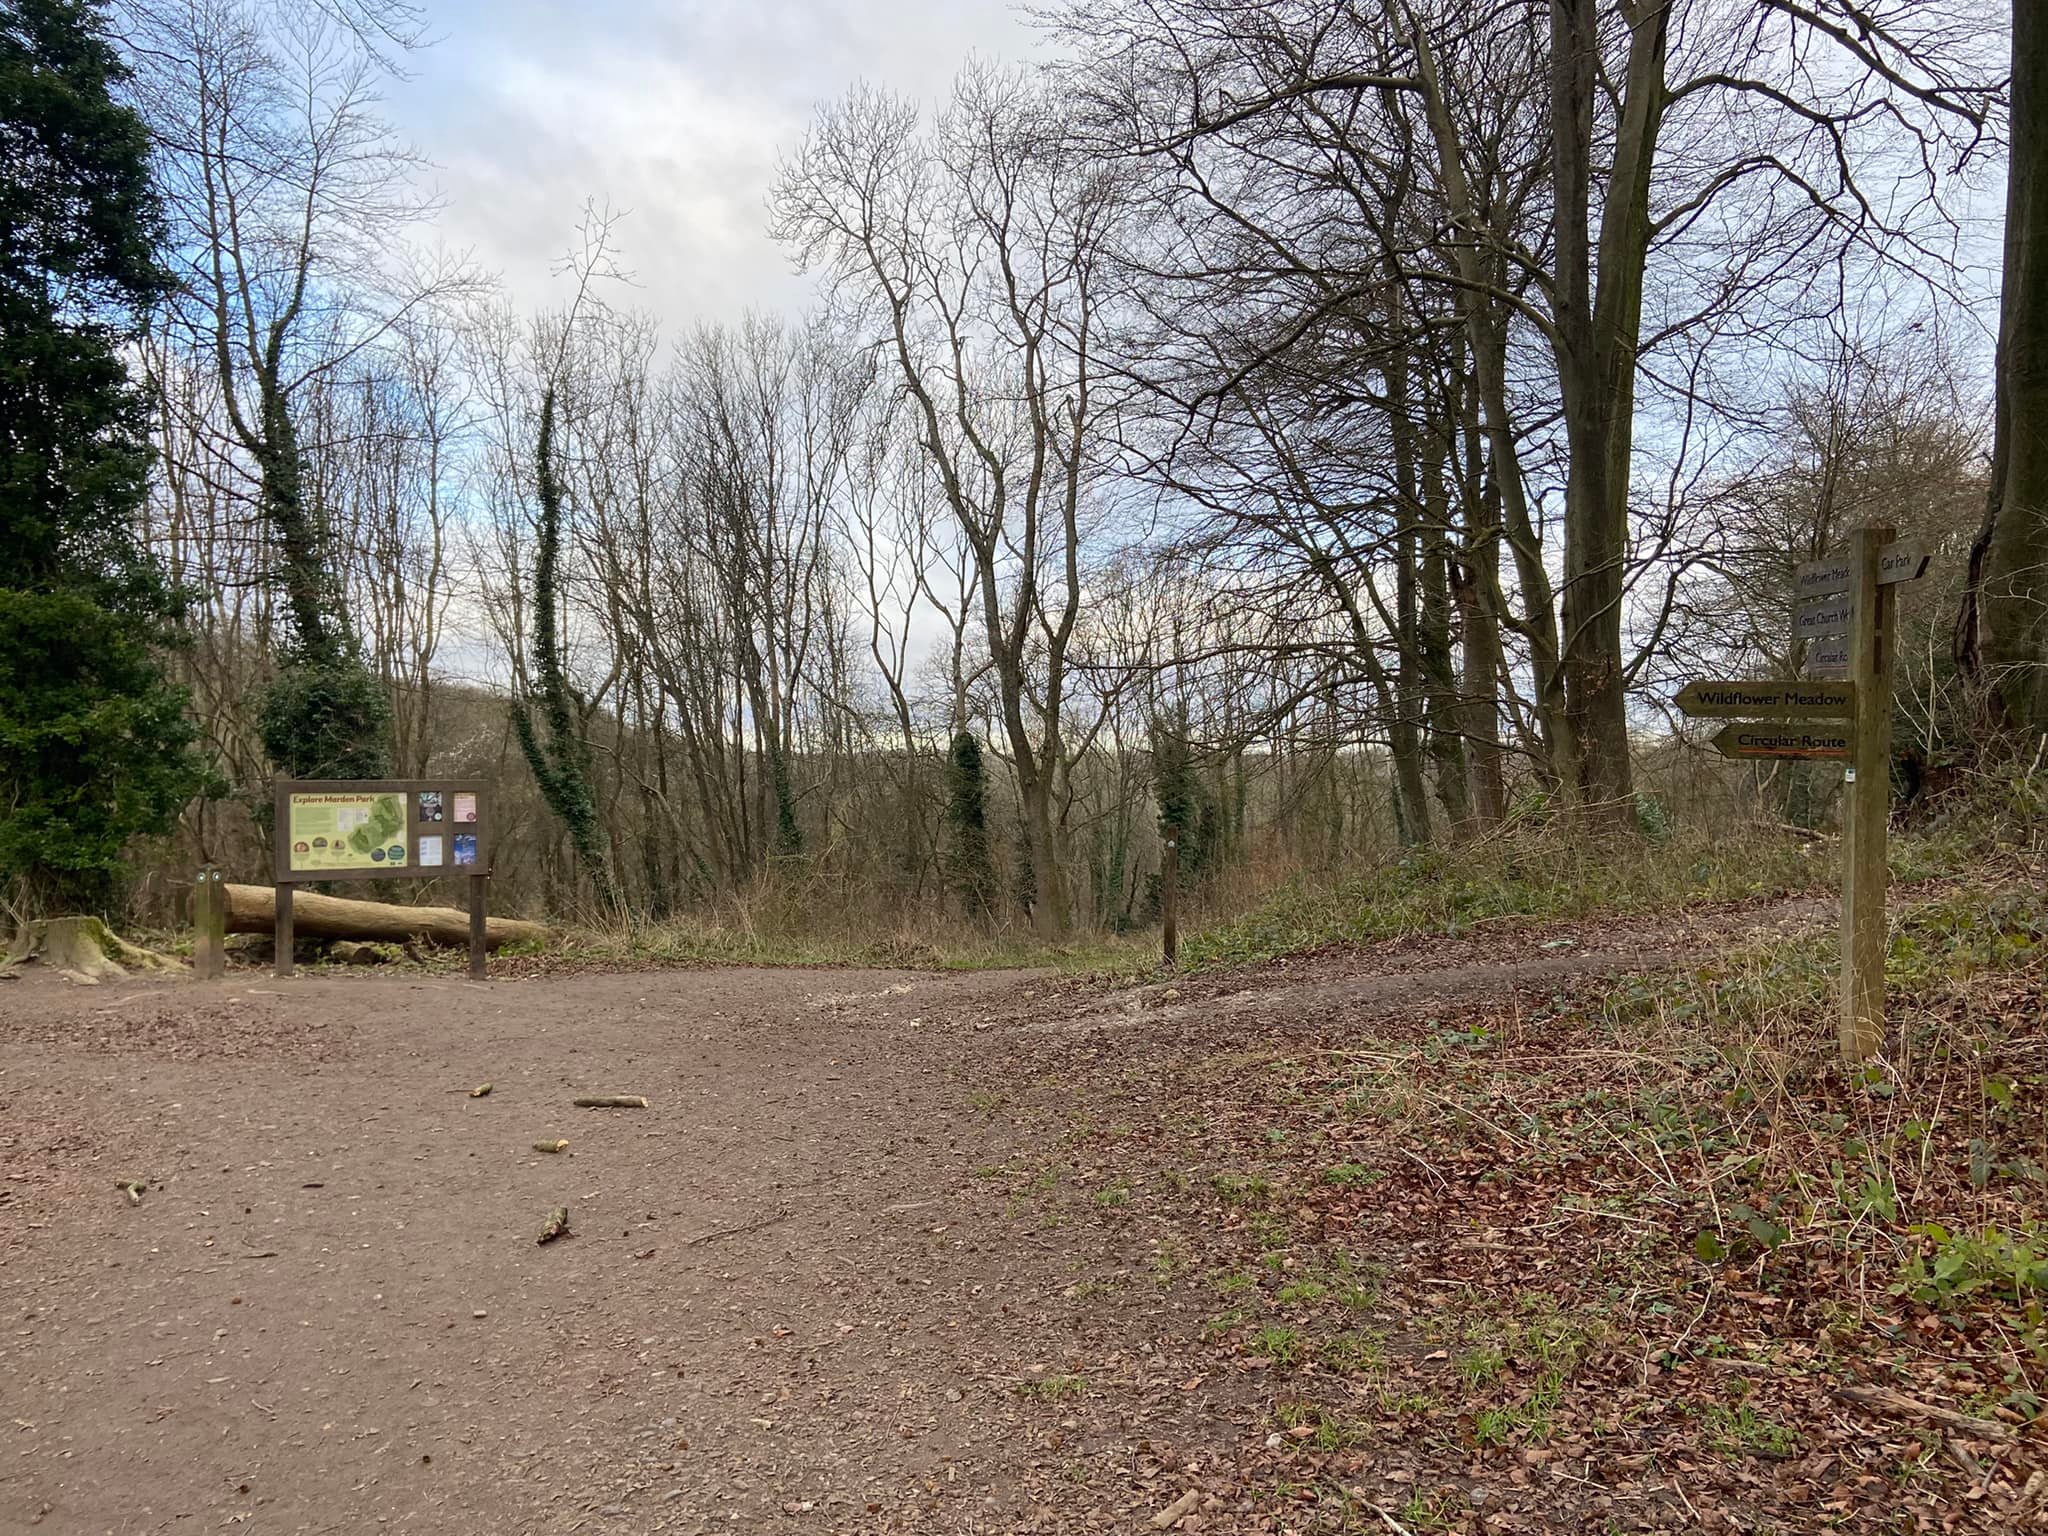
With the car park behind you, pass through the gate and walk straight ahead on the main path slightly downhill, passing an information board with a map of Marden Park, and ignoring a large path to the left (this is where you’ll come out at the end). The wooded area on your left will give way to an open meadow that slopes down away from you.
A little further along, as the meadow ends, you’ll see to your right a set of steep steps up the hill. Ignore these (you’ll come down then in a bit!) – and ignore the steps just after them that head down to the left. Keep straight on the main path.
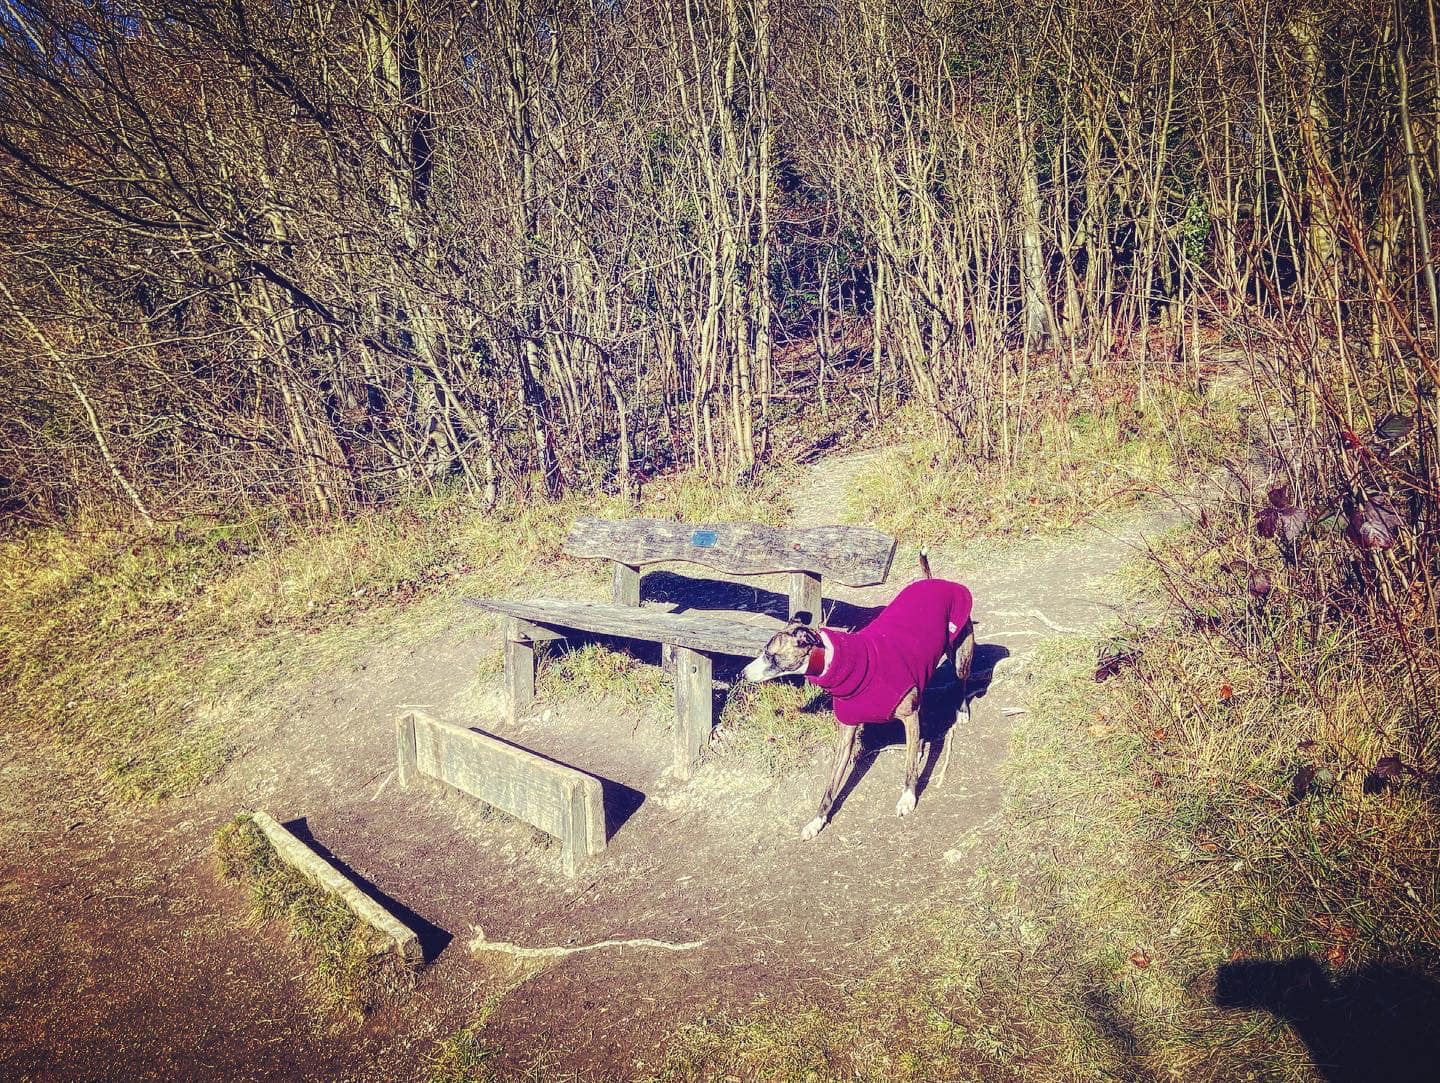
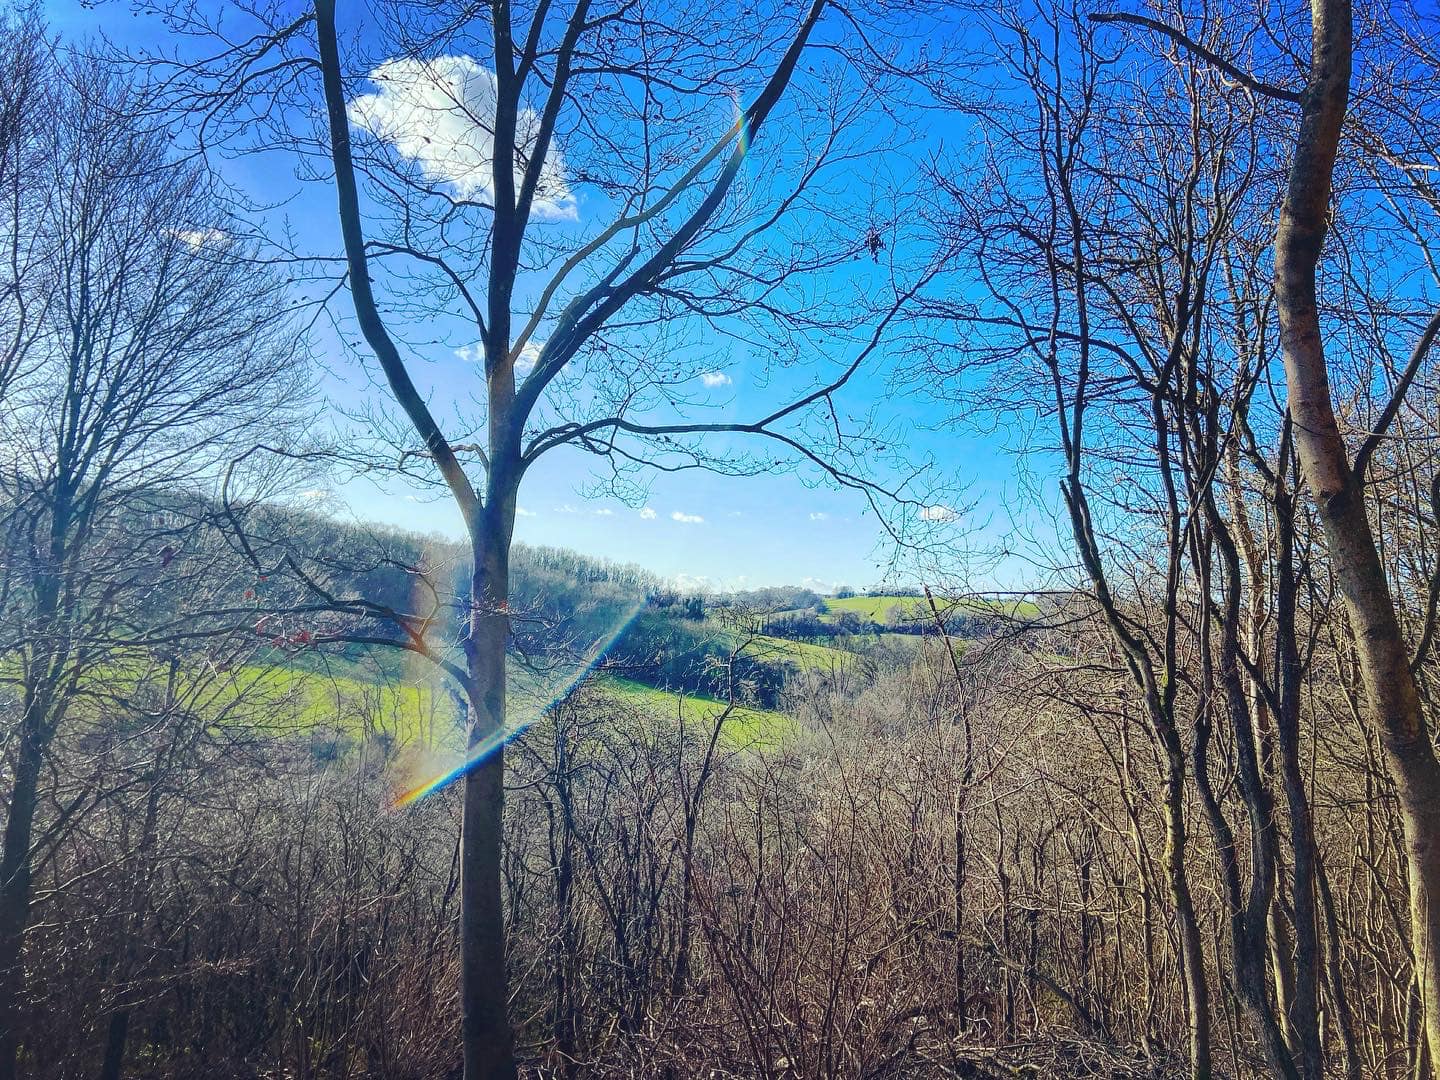
There’s not a great deal to say about this long straight path, but there are a couple of benches along it where you could pause to enjoy the views.
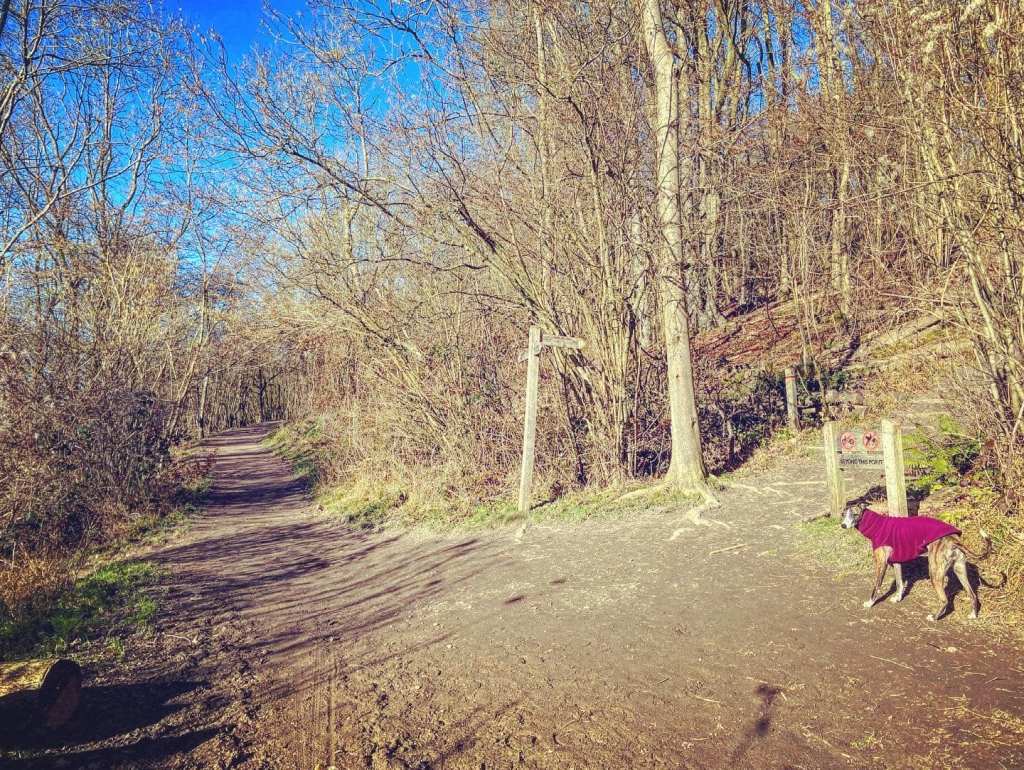
You’ll come to a four-pronged finger post (on the left), and a major path off up to the right. Three of the finger post’s arrows point back to where you came from (wildflower meadow, circular route, car park) and the fourth points to the right (circular route). Ahead there is also a vehicle gate blocking the way into a field with a black building in it. Turn right here.
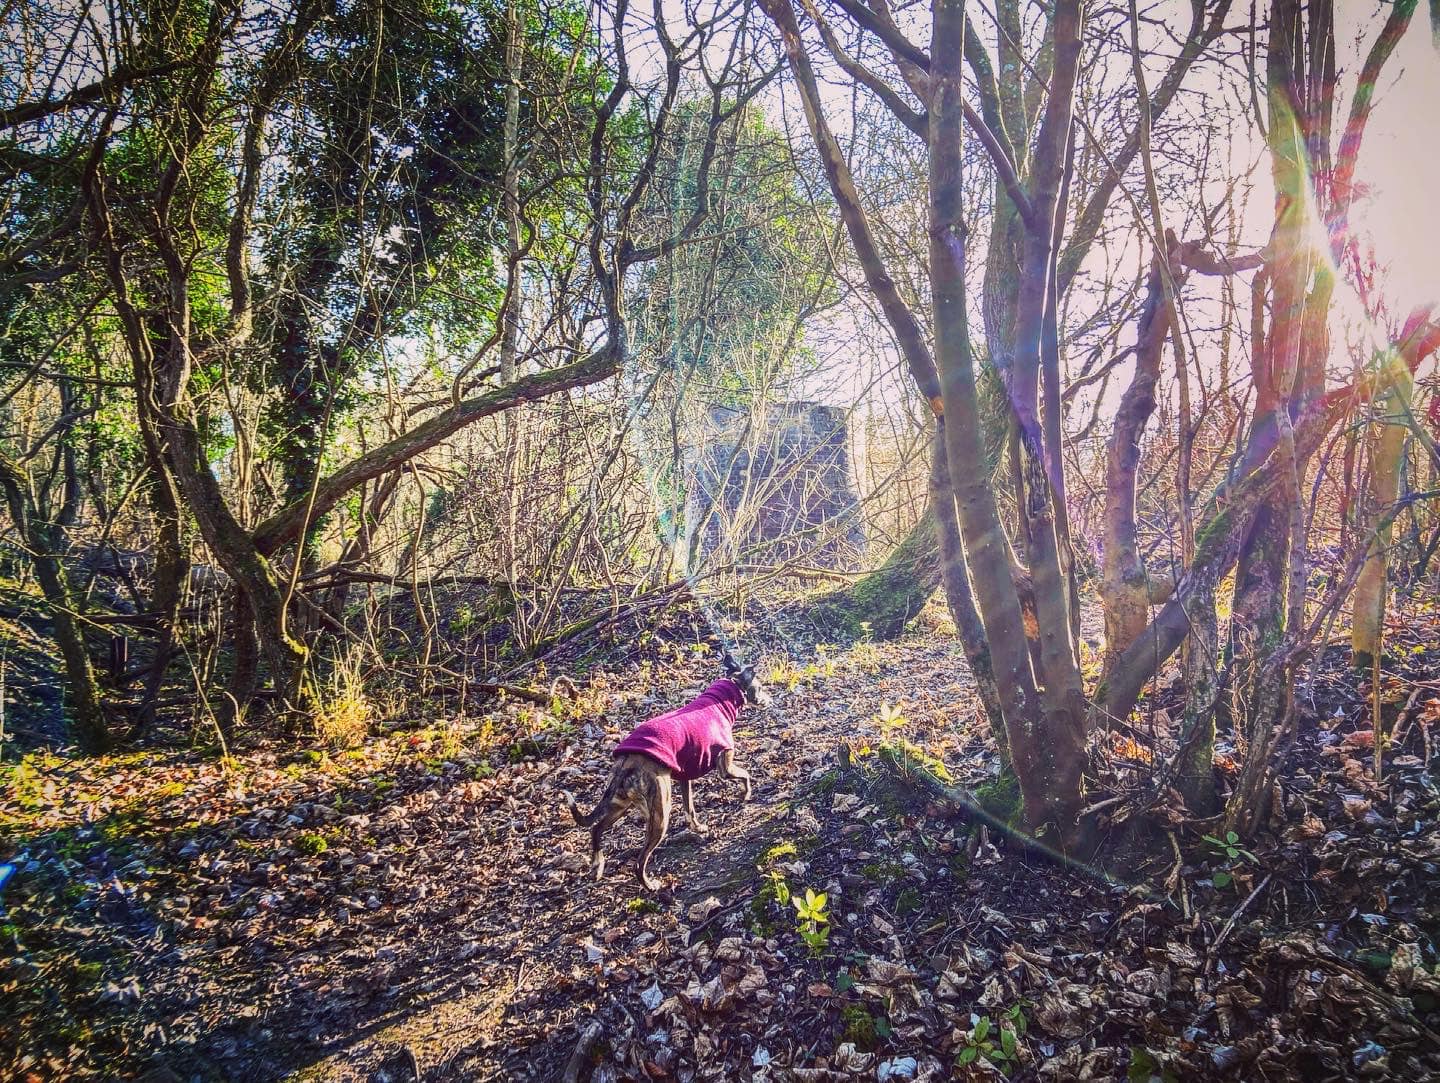
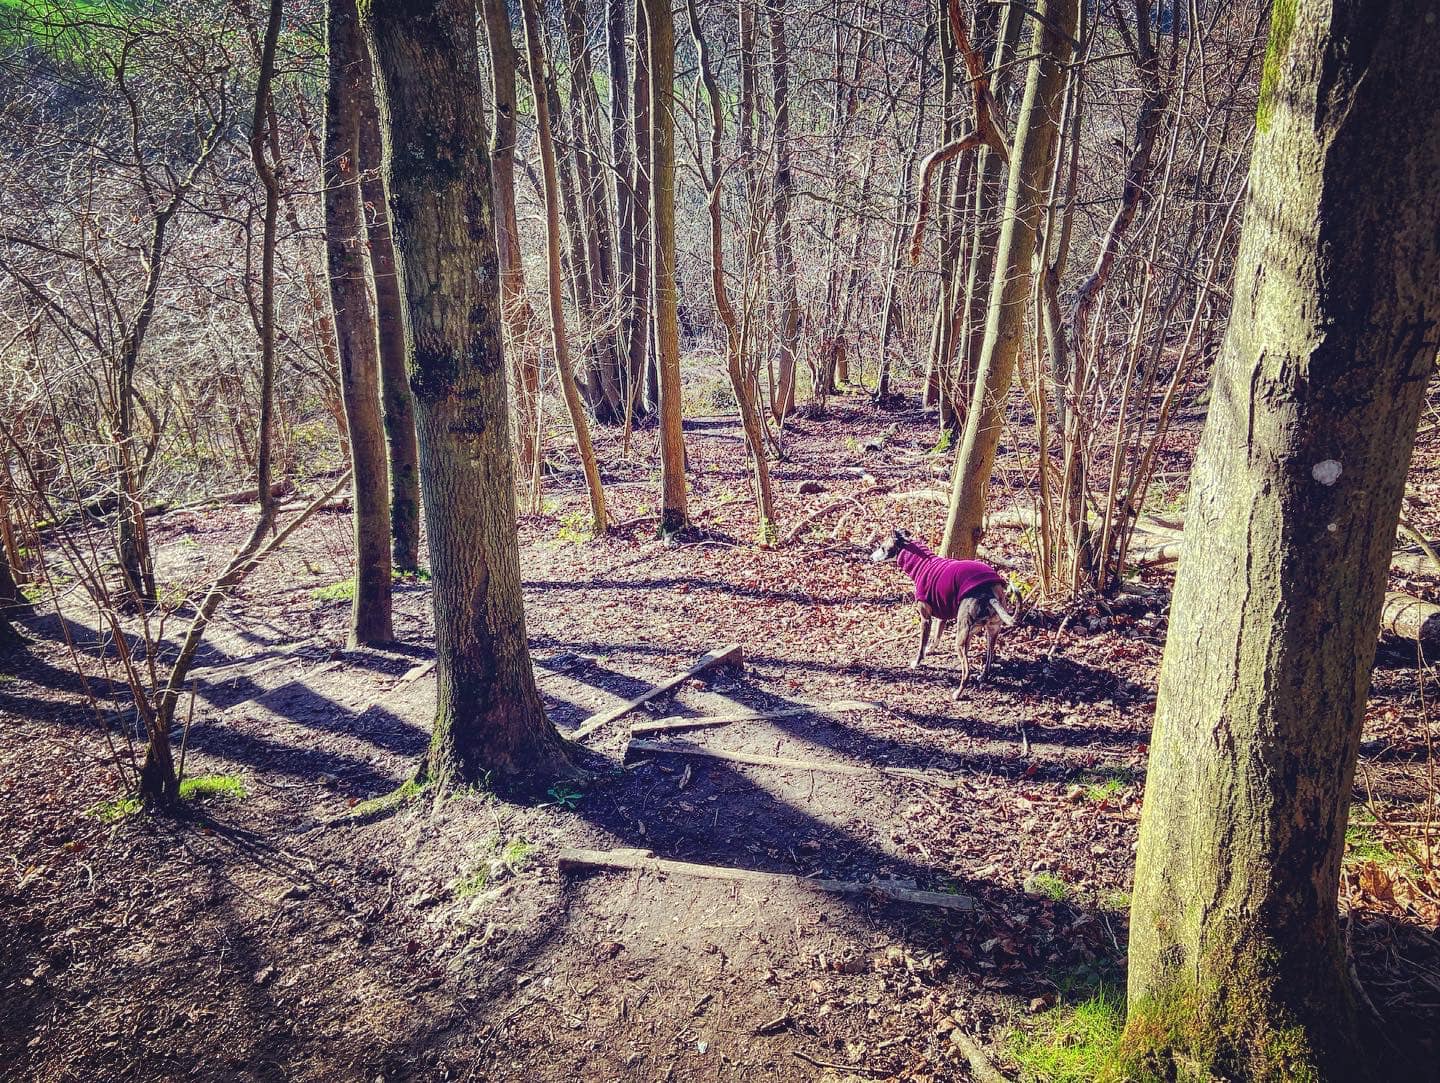
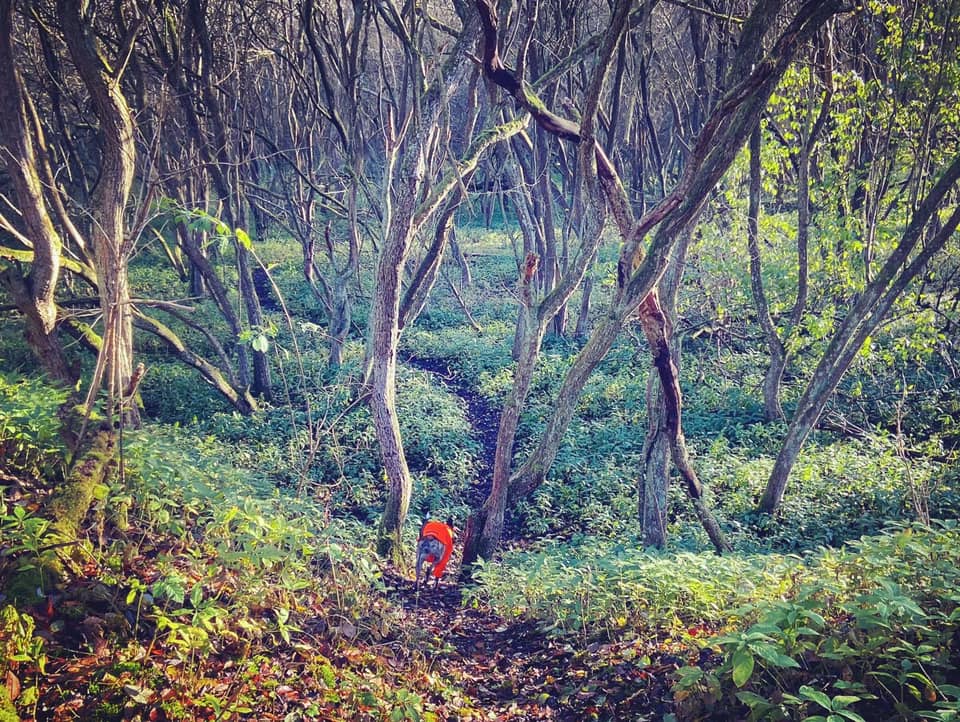
Almost immediately on the right, there is a small path by red-topped post and a wooden sign advising no bikes or horses beyond that point. Take this small path and wind through the woods. If it feels like you’re going back on yourself, well, you are – and if you look down to the right, you can see the long straight path you just walked along.
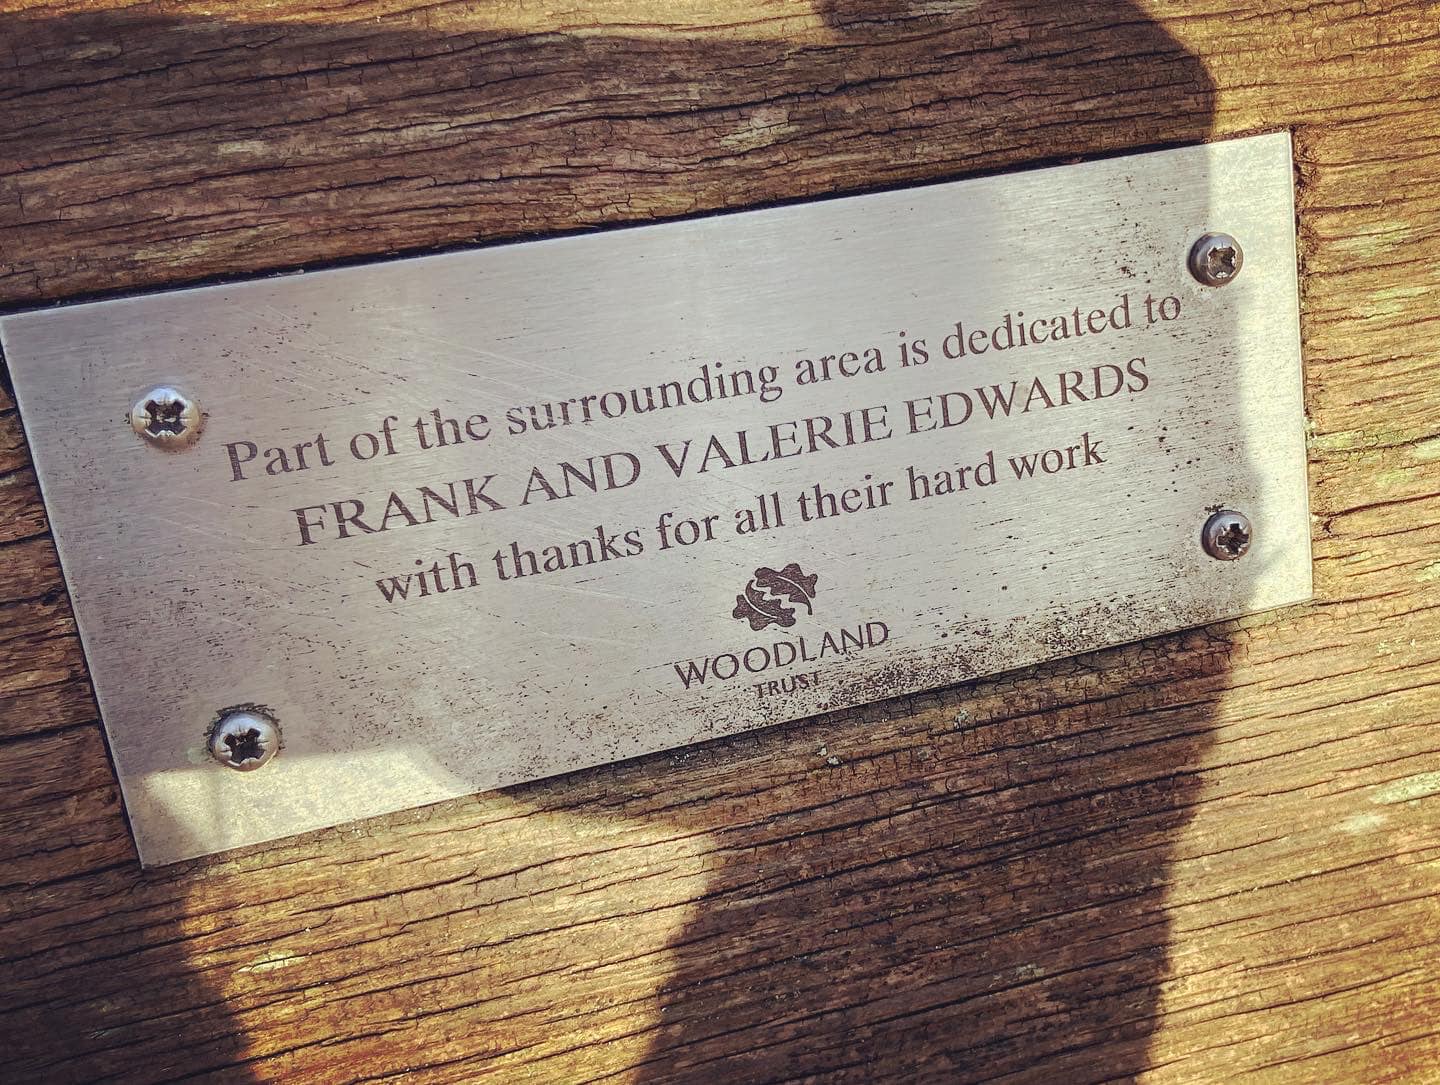
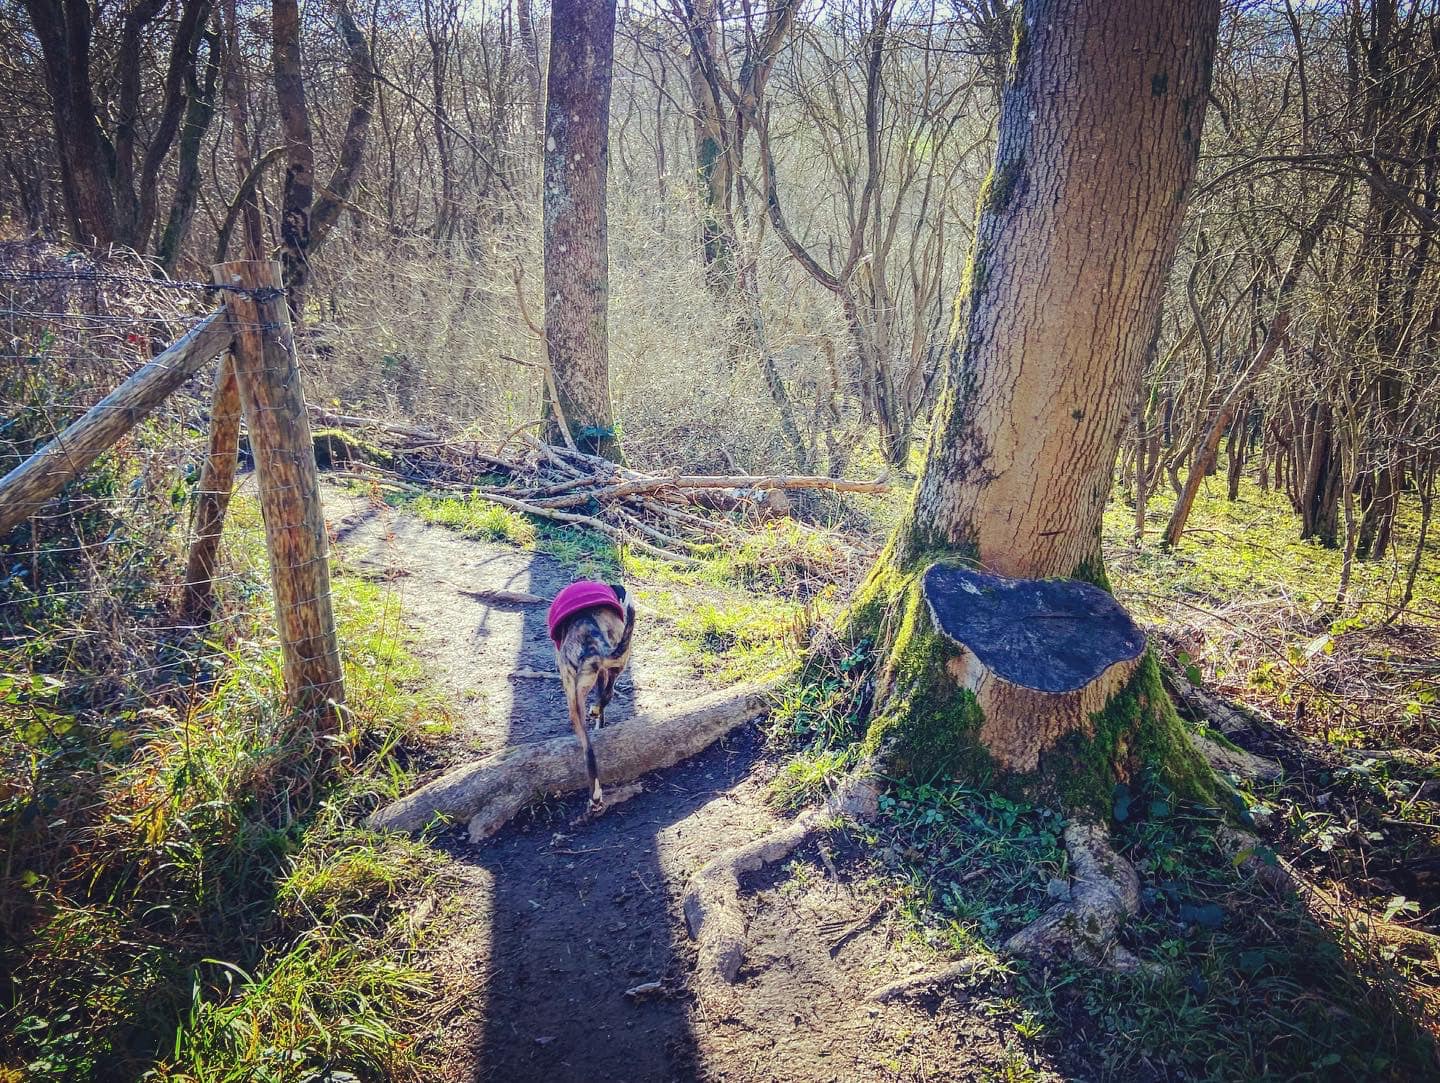
This little path is not on any maps but it is quite clear so you won’t have any issues seeing where it goes – just stay on it. Keep an eye out for a little post on the left with a plaque dedicated to Rosemary Joyce Moss. You’ll pass a bench on the left, which is dedicated to Frank and Valerie Edwards, and just after that, there are some steps that snake down to the right – these are the steps you passed earlier. Take them down (carefully as they are uneven and some are quite high) to the main path, then dog leg right, then left to cross the path to the other long set of steps that continue down the hillside. Go down these.
At the bottom, go over the tree root across the path and follow the path around the sharp left-turn corner.
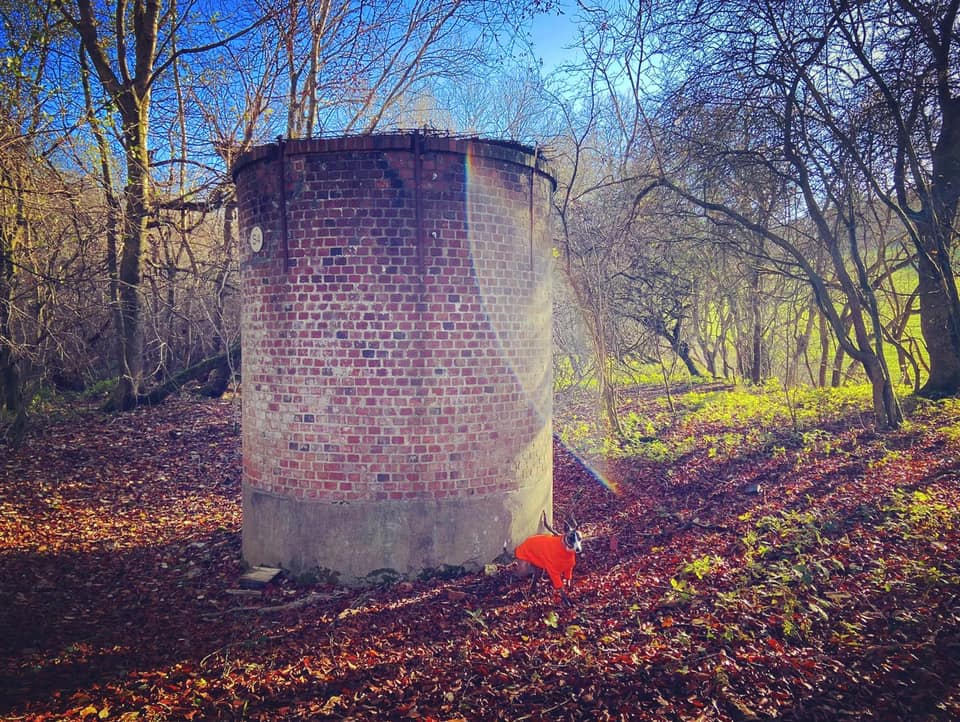
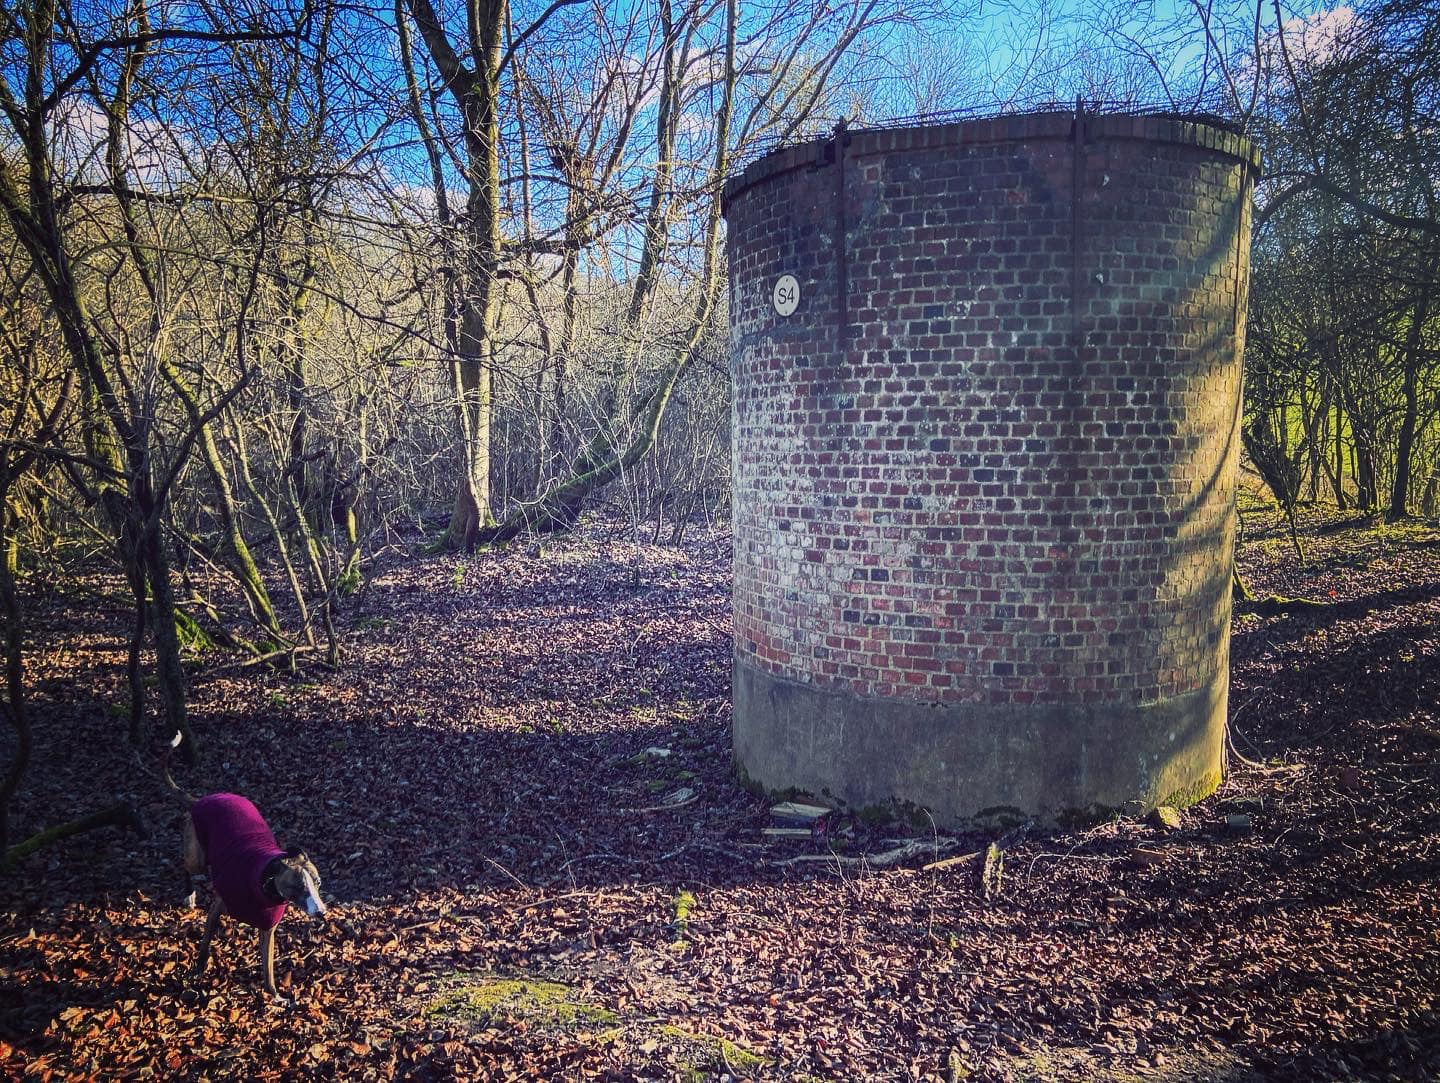
*Ventilation shaft 1
If you want to do an out-and-back detour to the ventilation shaft that I marked with a 1 on the route overview map, the little path you want for this can be found at this sharp bend – just detour on the tiny path that goes off to the right (where the main path goes around to the left.) It’s quite a way but just follow the way between the foliage. At one point you need to go to the left and up a short bank, then you’ll come to the shaft. Retrace your steps back to the corner to continue with the rest of the walk. You might not want to bother though as the second ventilation shaft isn’t much further along the main walk and it’s easier to find.
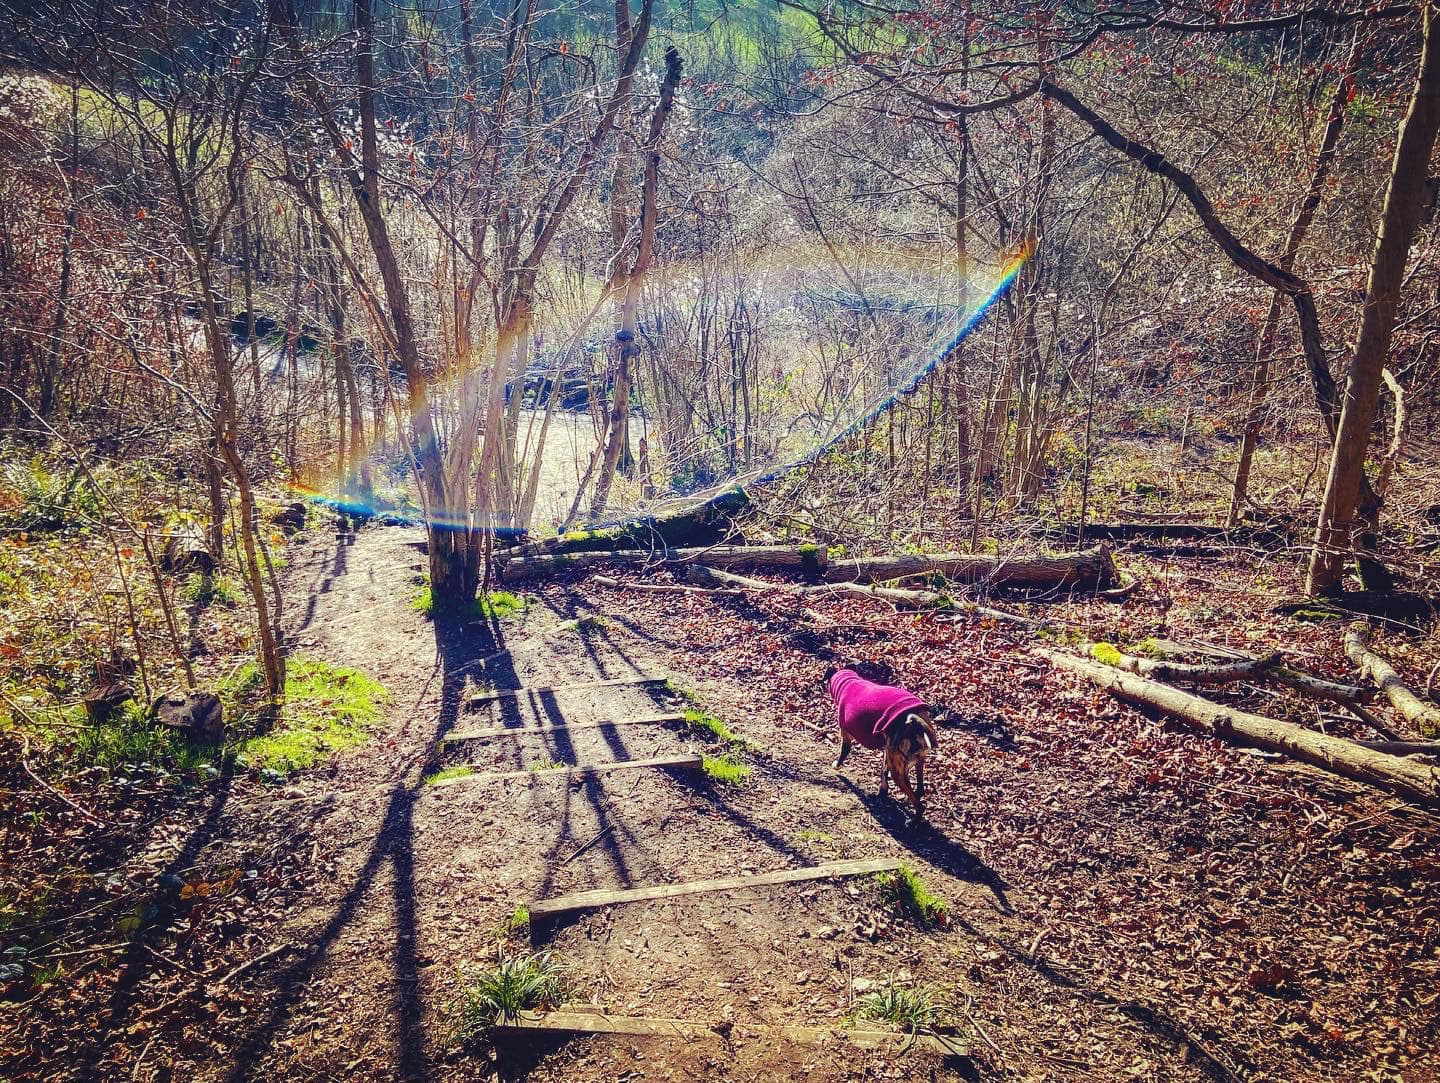
After going around the corner, follow the path along the bush/fence that runs along the bottom of the meadow. You’ll bear uphill and round to the right, then down some more steps, before bearing to the left and then straight again.
Continue straight, the meadow on the left will end and you’ll have woodland on both sides – with a field visible through the woods to the right. The path will reach a red-topped post and if you stop by it, you’ll see there is a hump of land in front of you, while the path bends sharply to the right and goes down hill (where there is another red-topped post).

At this point, you can take an optional detour to the railway ventilation shaft marked with a 2 on the route overview map.
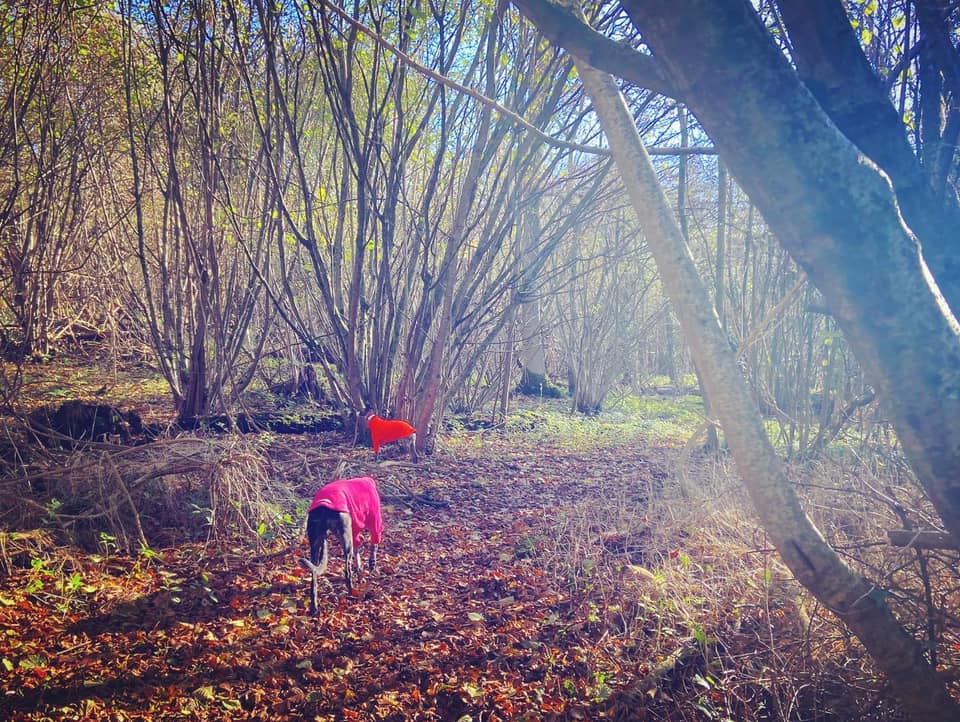
*Ventilation shaft 2
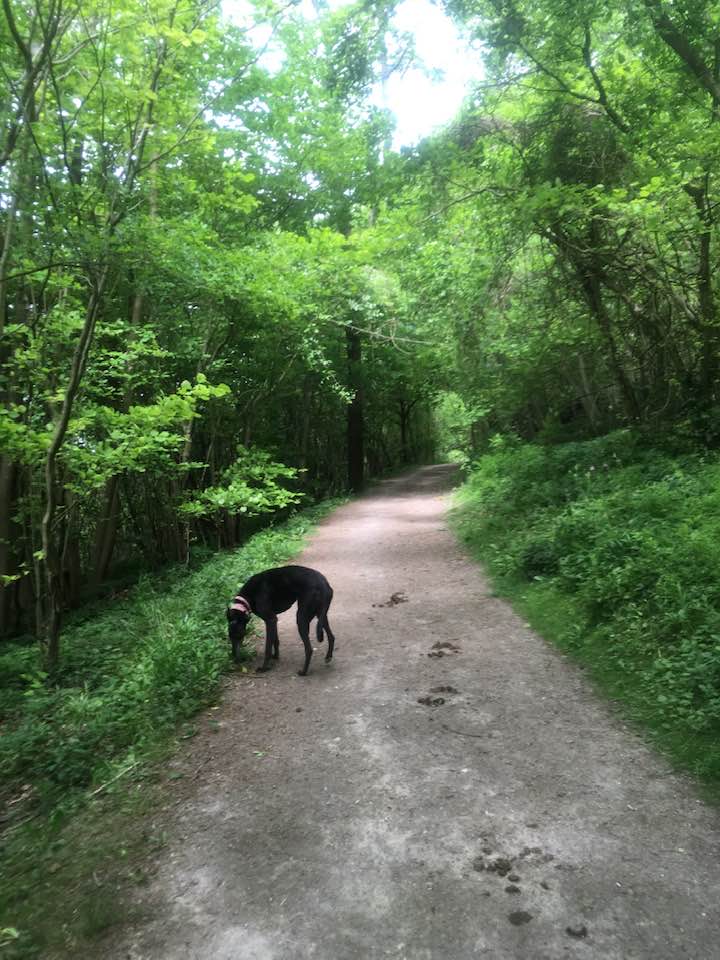
On the sharp bend to the right, there is a small path that comes off to the left that goes up and over tree roots and curves to the right around the hump of land that was in front of you. 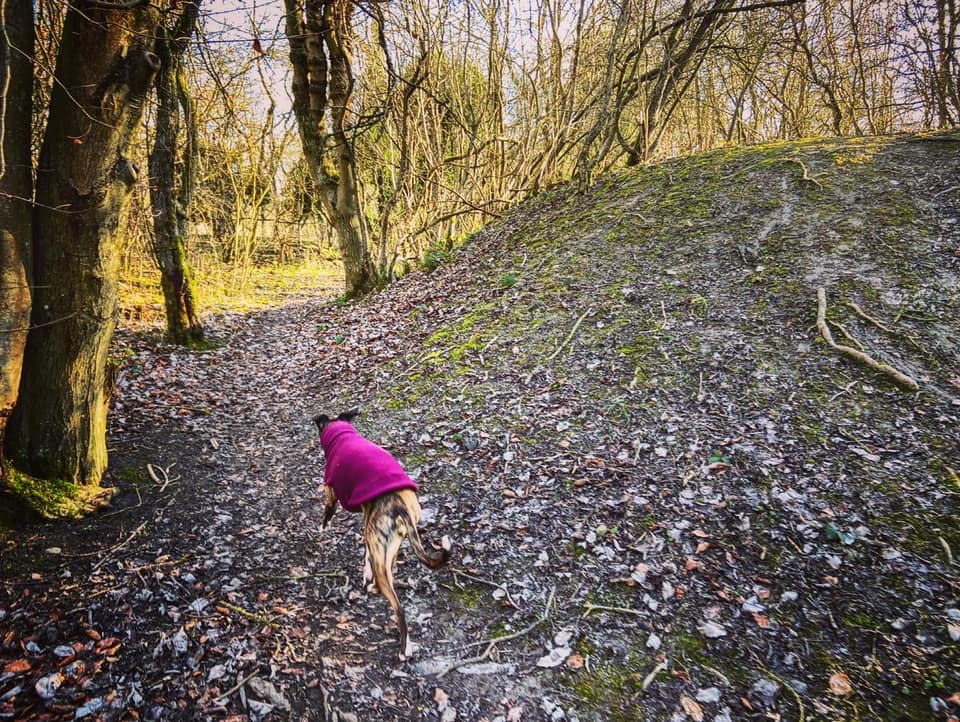
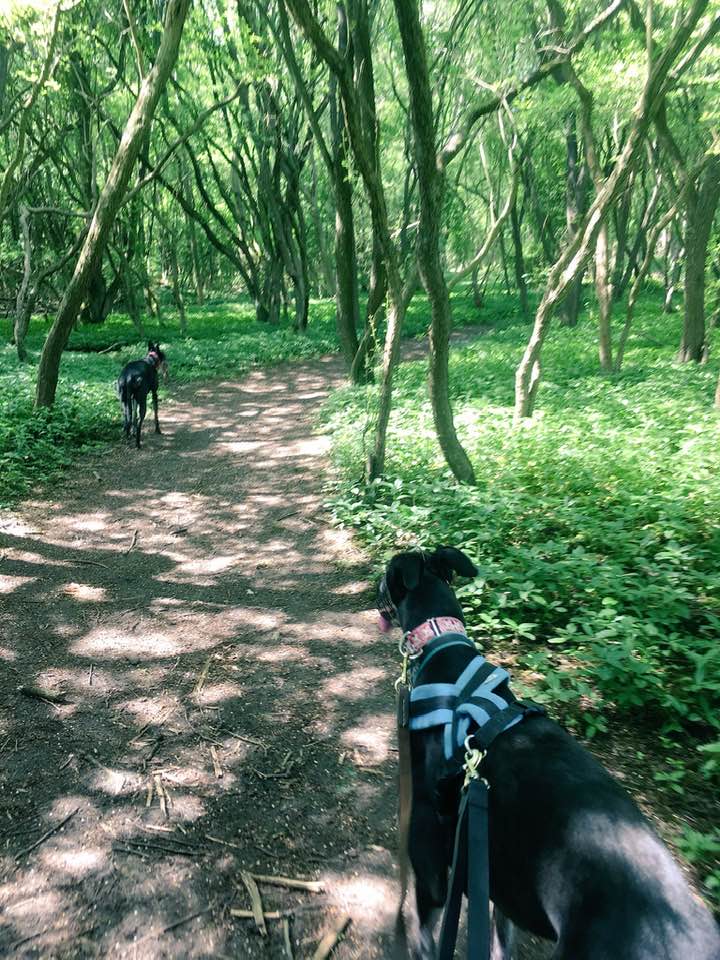
If you follow this little path around the hump (as demonstrated by Jett above) and walk a very short way, you’ll come to the chimney. When you’re done, go back the way you came, and continue on the path down the slope and passing the second red-topped marker.
If you don’t want to detour to the other chimney, follow the path round the right-hand bend, passing the red-topped marker.
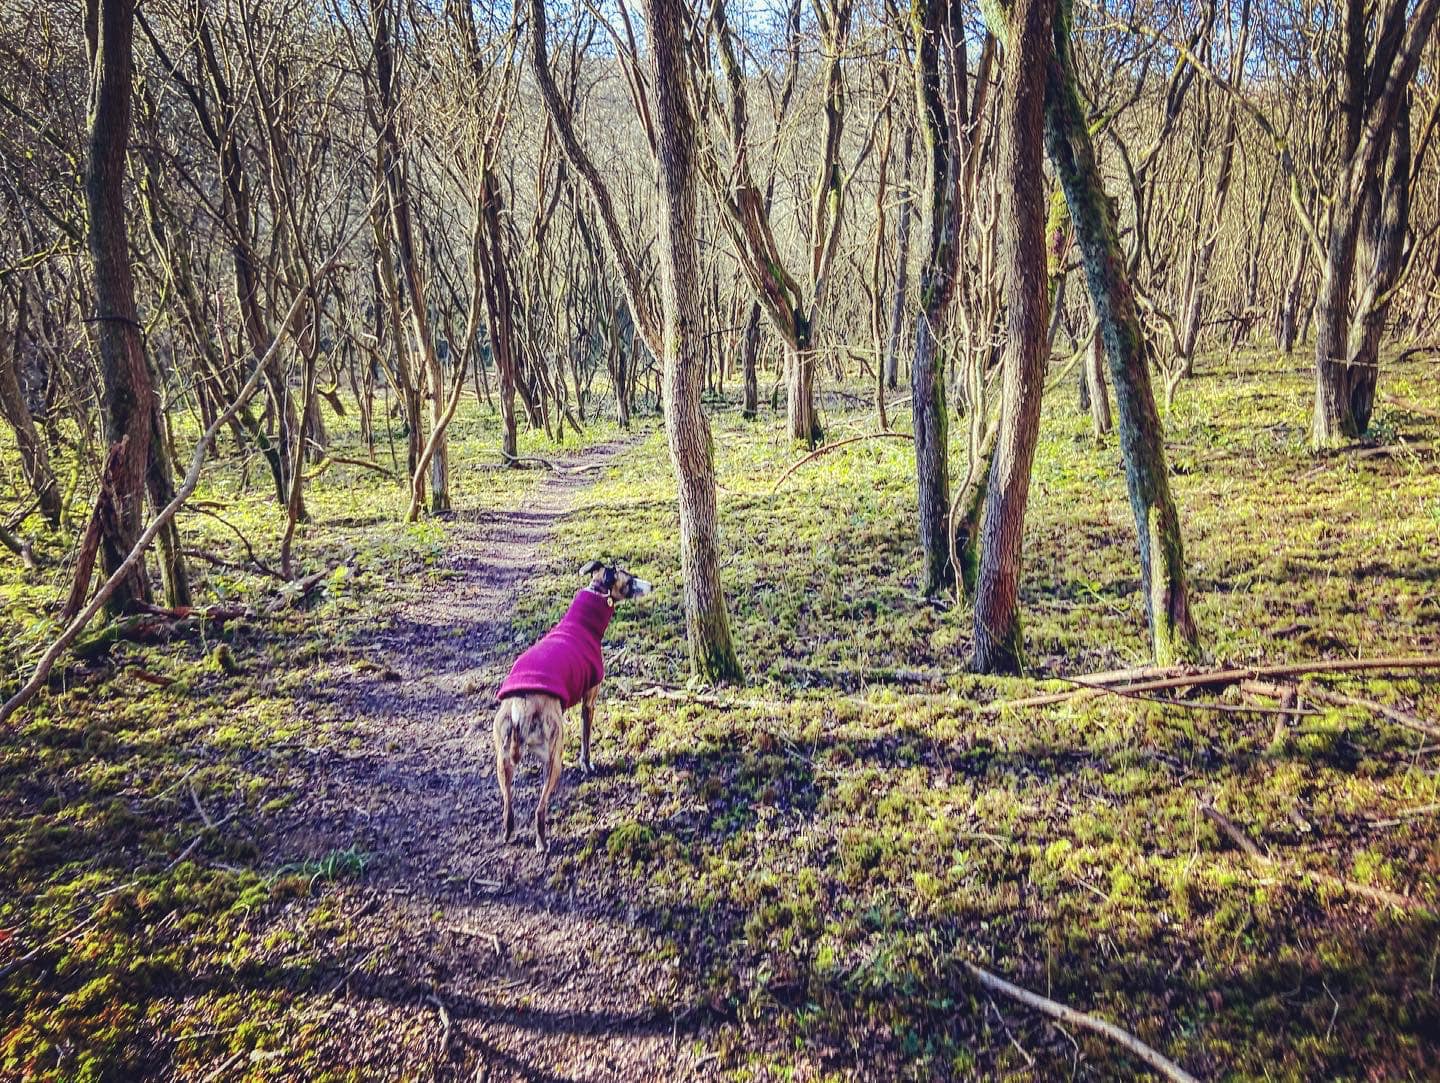
The path goes down, then flattens out and you can see rolling fields ahead through the trees. The path goes uphill here. It then bends to the left and goes up a long slope, which isn’t the steepest ever but because it’s so long, it’s quite a challenge. You’ll still be in the wood but at the time of writing (Dec 2021), a lot of clearing had been done to manage the Ash trees. At the T junction at the end of the climb, turn right.
After a short distance, the woodland opens out and the path (which in winter doesn’t really look like a path because of dropped leaves) bears to the left (ahead there is a fence cordoning off part of the wood). It’s quite cavernous here with very little growing on the ground and the tree canopy closing over your head. Go straight through the middle of this space, passing the bench on the left and a big old dip on the right. God knows what caused it.
You’ll go over some humps and dips and tree roots, and then you’ll pass another really big dip on the right.

The path will reach a tall way marker post with a circle on it, which reads “Woldingham Countryside Walk”. To the left, there is a dead tree, and to the right, there is a big tree (unsurprisingly really, given that you’re in a wood) with a red-topped post by it. Turn left here.
Follow the path straight until you come to a squat wooden sign with two legs (on the left – no bikes, no horses) and a tall tree just beyond it by a red-topped post. There is a finger post on your right-hand side here too, with two arrows pointing out the circular route, one for the wildflower meadow and one for the car park. Turn left at the red-topped post and head in the direction of the car park and wildflower meadow.
From here, you just follow the main path (there are a few red-topped markers along the way) and you’ll find yourself back at the information board mentioned at the start of the walk – turn right and the car park is ahead.

Leave a comment