Page contents
About
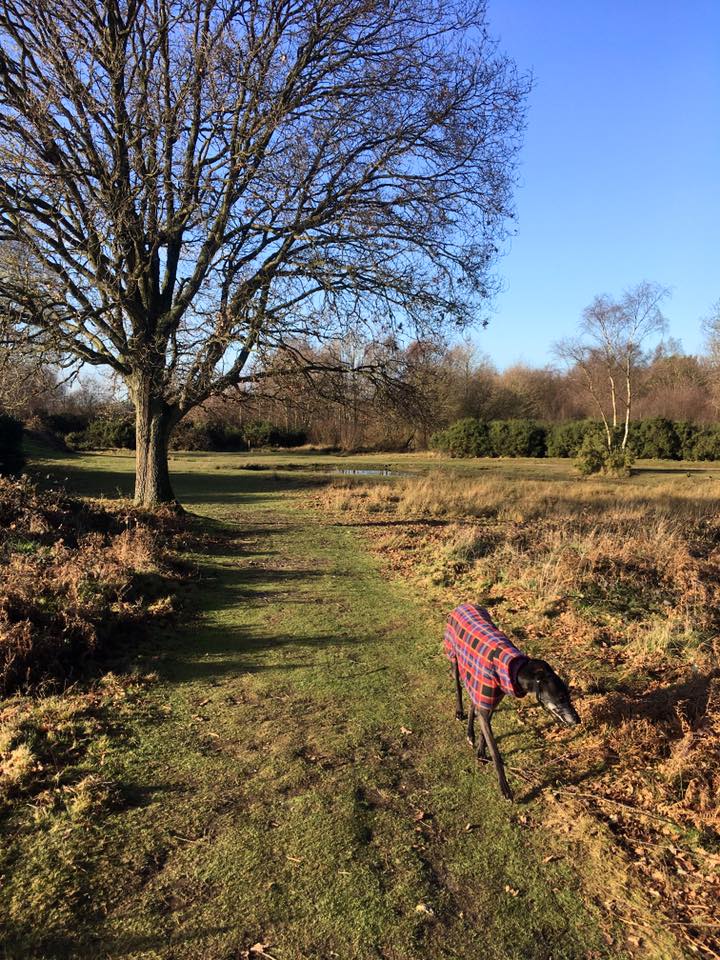
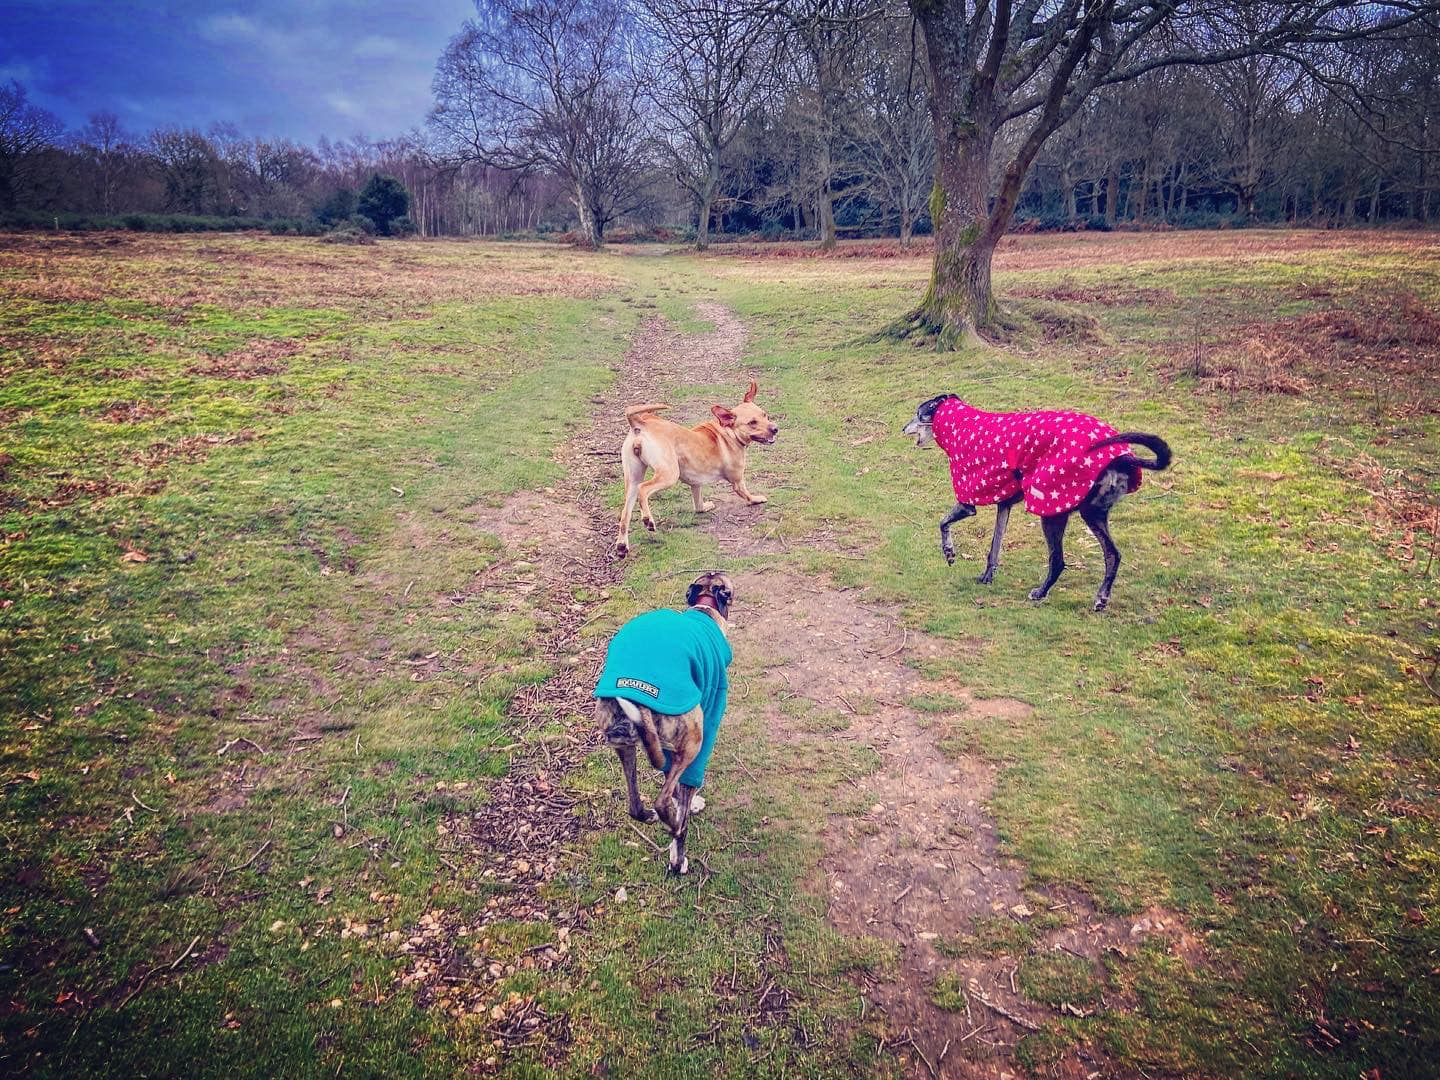
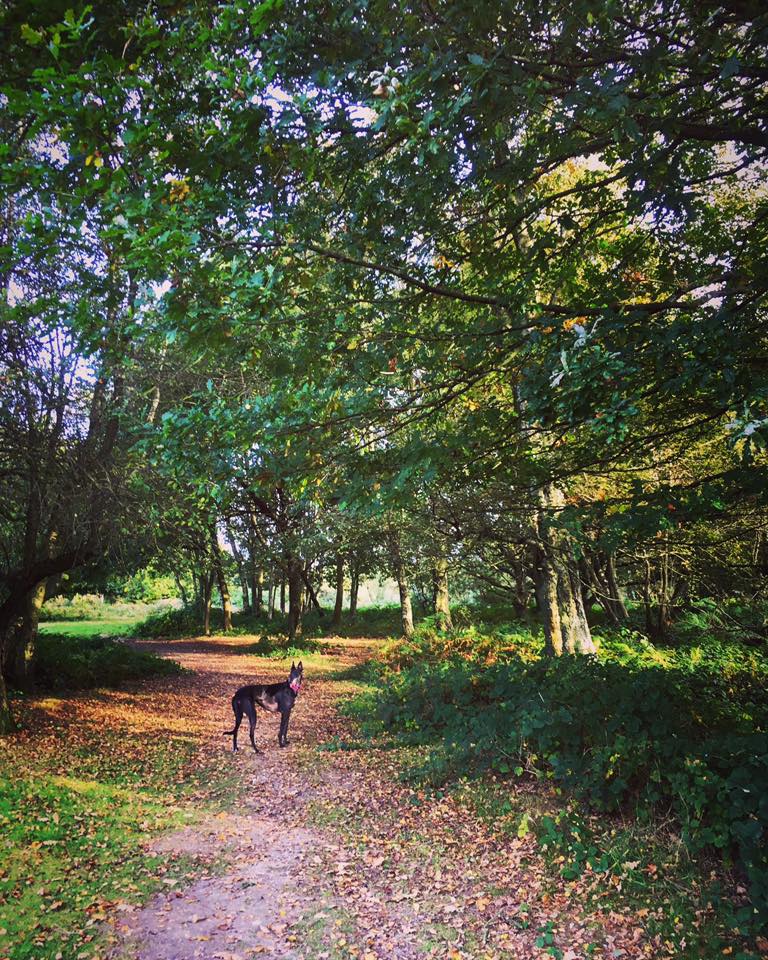
Gallery
Instagram reel showing here
Parking
Poo bins?
Self-guided walk
About
The name Headley, ‘Hallega’ in old English, means a clearing with heather. Headley, to the south of Box Hill, can trace its origins back to the Saxon age, when it was part of the Copthorne Hundred and used by commoners for grazing animals and collecting furze, bracken and firewood. The Manor of Headley was held by Countess Goda, mother of King Harold, having been granted to her by King Edward the Confessor. By the time of the 1086 Domesday Survey, it was held by Ralph of Felgeres. From the 18th century, Headley was part of Ashtead Park Estate.
During WWII, Headley Heath was used as a training ground by the Canadian Army. Engineers learnt to build trench systems, gun emplacements, roads and even a runway. The idea was that, when they finally arrived in Europe after D-Day, the army would be fully trained and not have to learn on the job.
In the early hours of 3 September 1941 two Royal Air Force aircraft crashed on Headley Heath just thirty minutes apart. The first was Vickers Wellington Z8851 of 150 Squadron RAF, which crashed close to Brimmer car park and pond at 2:15am on its return from attacking Frankfurt. Thankfully all six crew members on board survived. The second was Handley Page Hampden AD913 – 44 (Rhodesia) Squadron RAF, which was also returning from attacking Frankfurt. While bombing their target, anti-aircraft fire disabled one engine, forcing them to retreat back to the UK with just one working engine. This failed as they passed Dorking, causing the plane to dive to the ground. Three of the crew managed to parachute out but the body of the fourth, Sergeant Stevens, was found at the crash site near Headley Court at 2:45am.
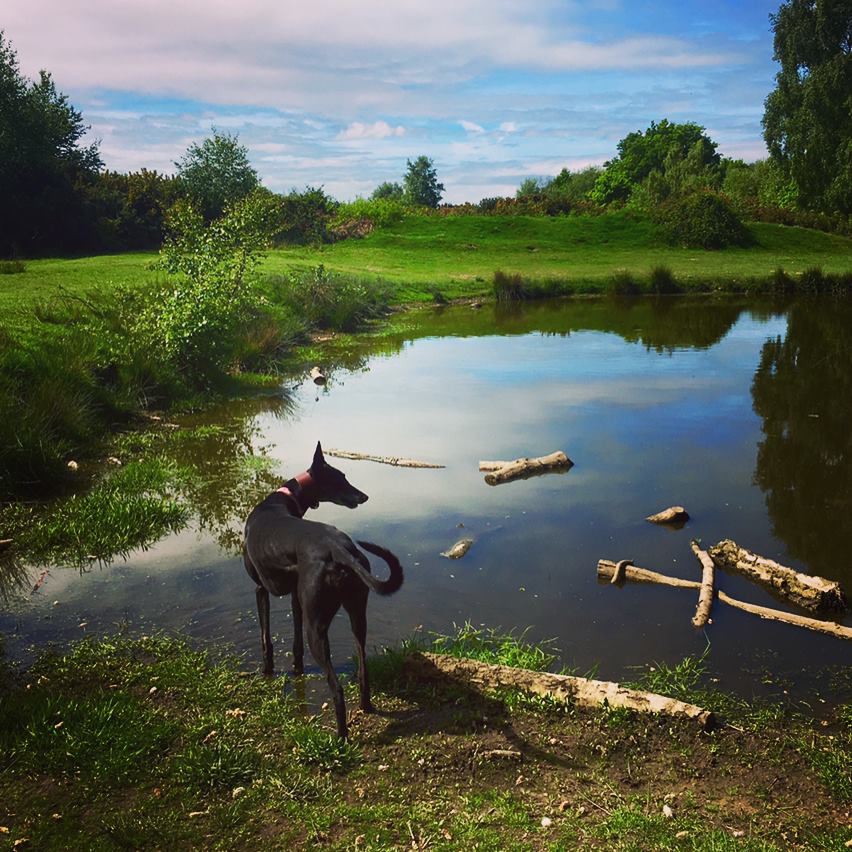
In 1946, Headley Heath’s then-owners, Mr and Mrs Crookenden, gave it to the National Trust, Today, it is a designated Site of Special Scientific Interest (SSSI), providing a rich habitat for many different species of flora and fauna. It is one of the few places where alkaline/chalk-loving plants such as cowslips and acidic/chalk-hating plants like heather can be found growing together. The ponds are home to an array of aquatic life, including dragonfly nymphs, newts, grass snakes, toads and frogs. Various grasses and rushes thrive in the damp ground near the water’s edge.
A small herd of nine Belted Galloway cattle owned by Surrey Wildlife Trust graze Headley Heath. The micro habitats they create cannot be replicated mechanically and so grazing the site is crucial. Usually these furry lawnmowers keep together as a group and are not dangerous to dogs or people. However, like most cattle, they are curious and may watch you as you pass. If you find yourself near them, walk calmly past and put all dogs on lead.
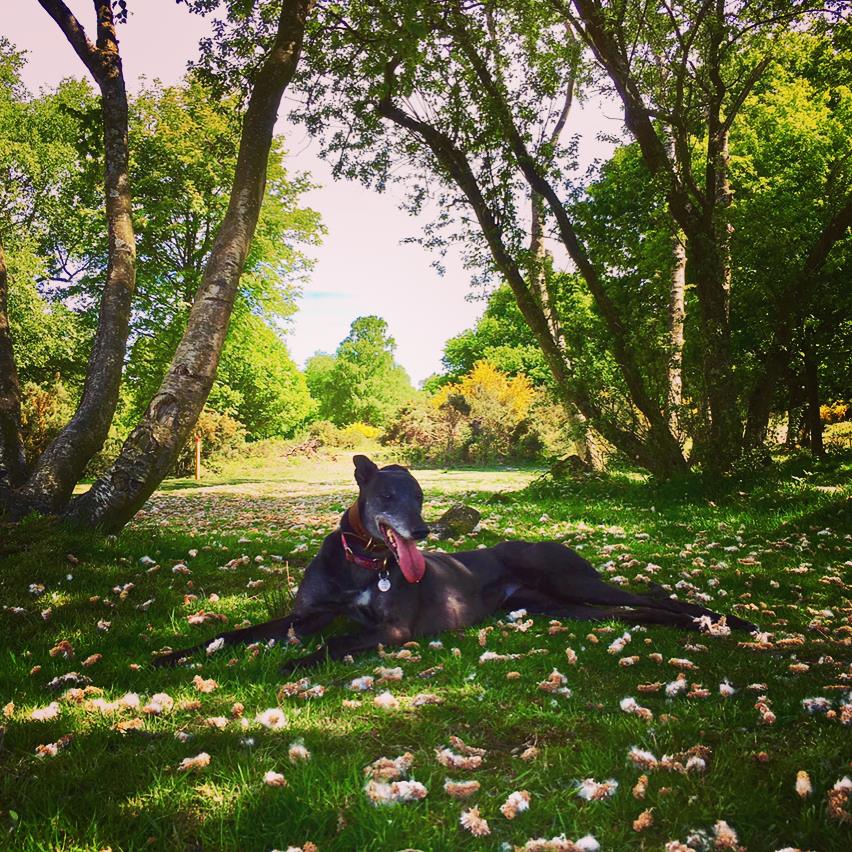
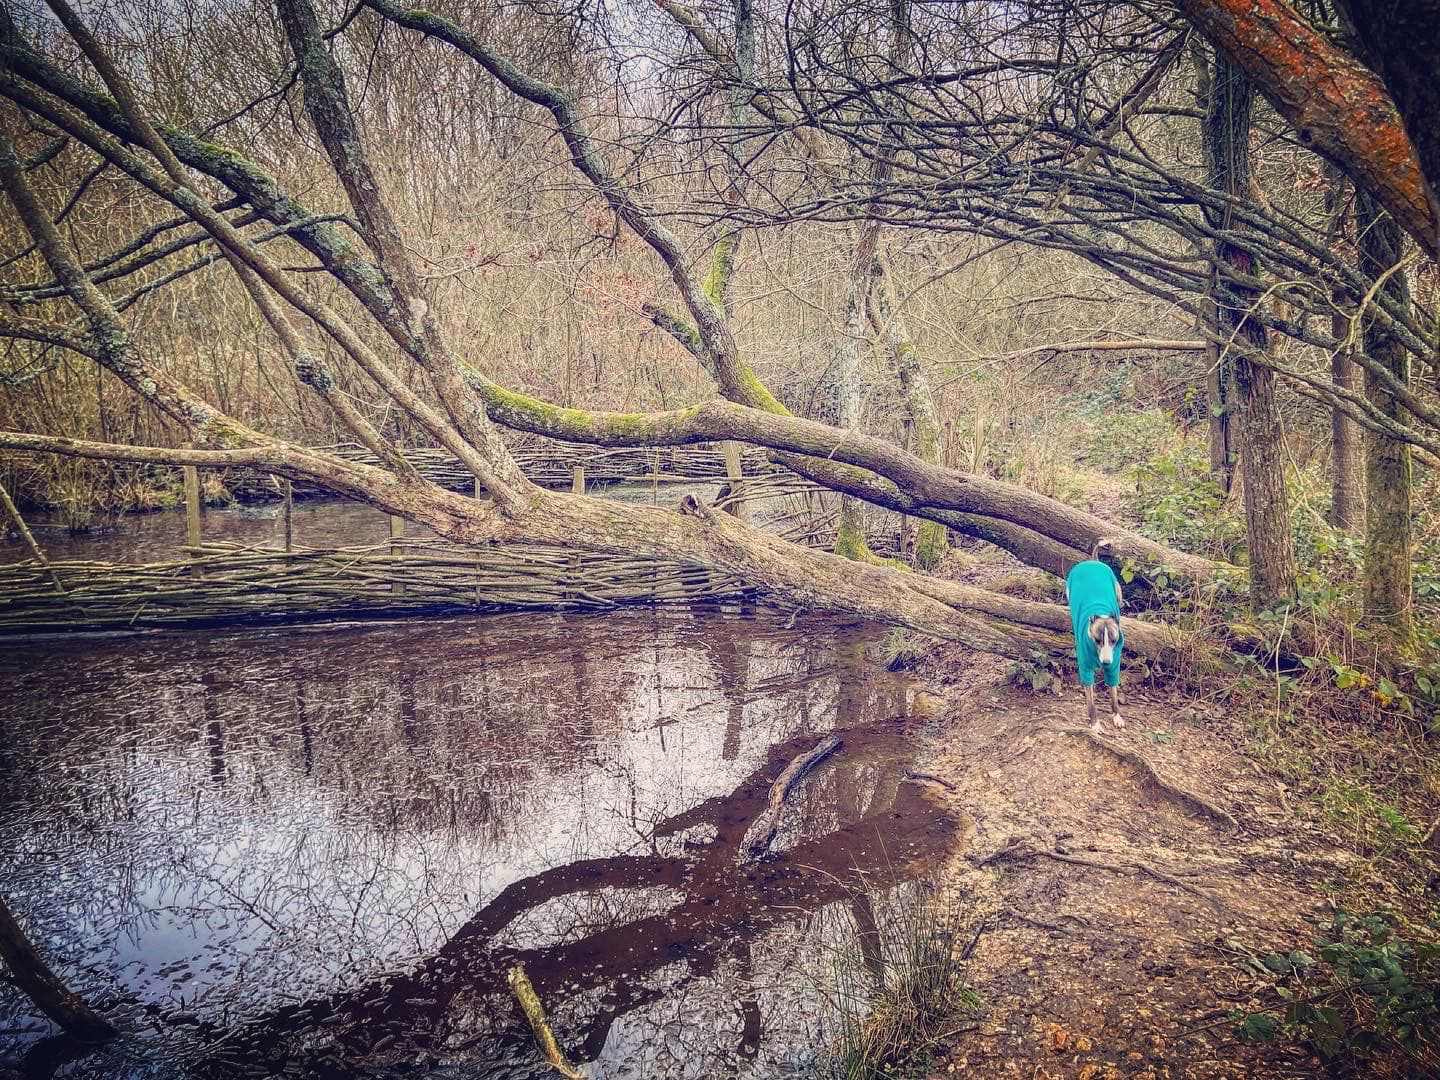
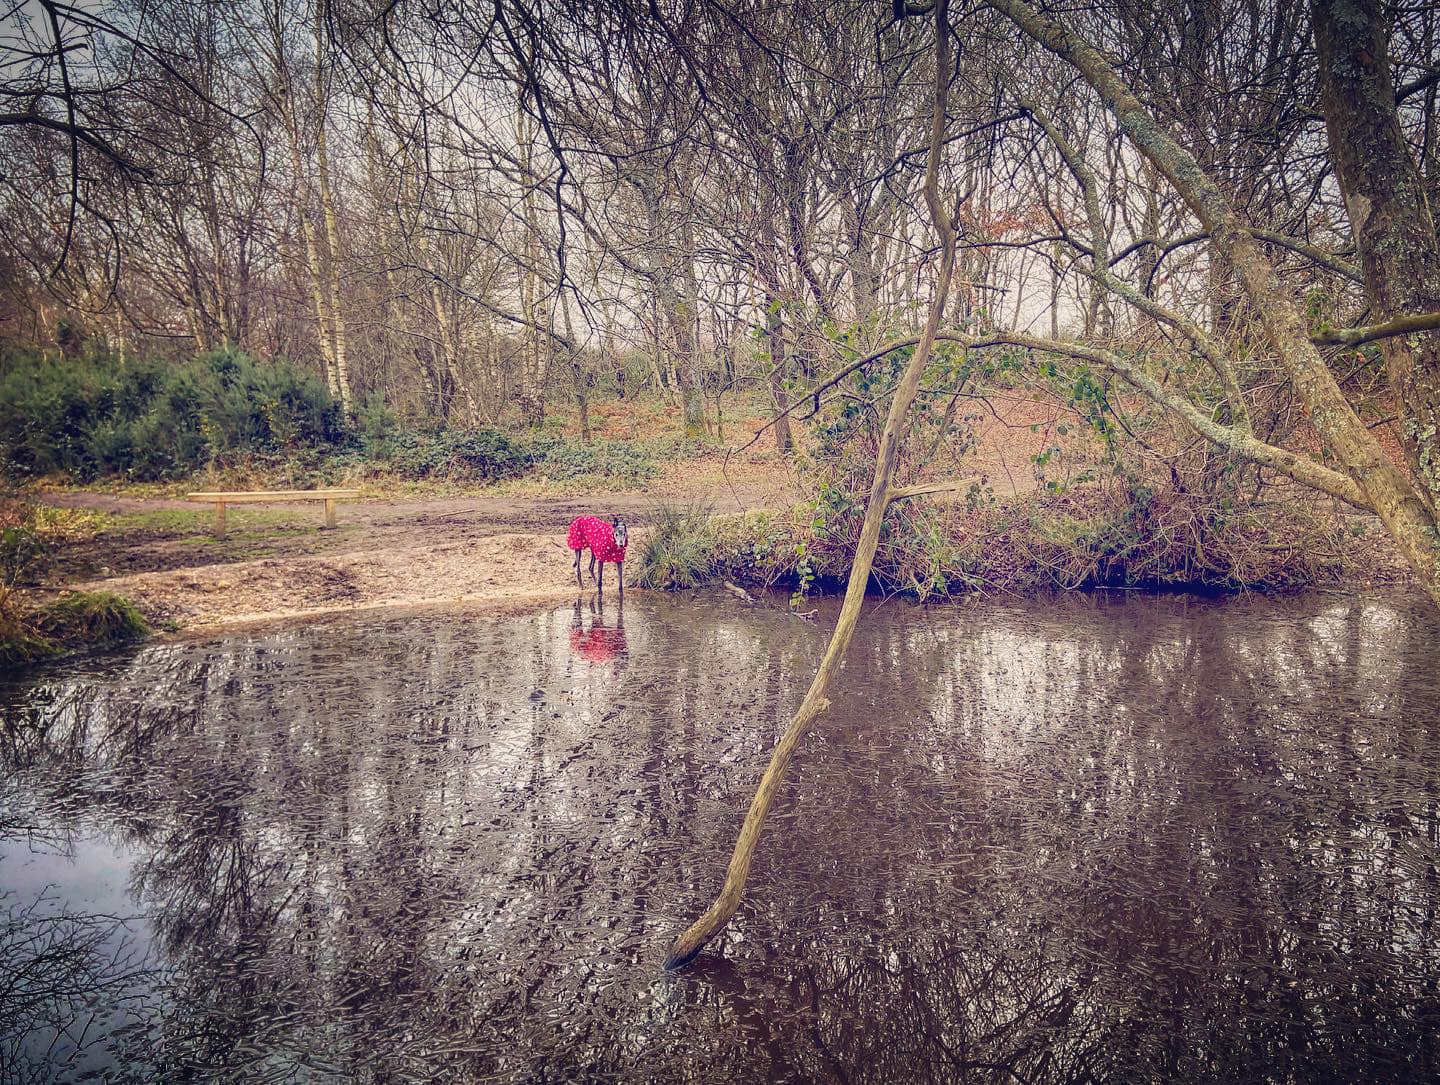
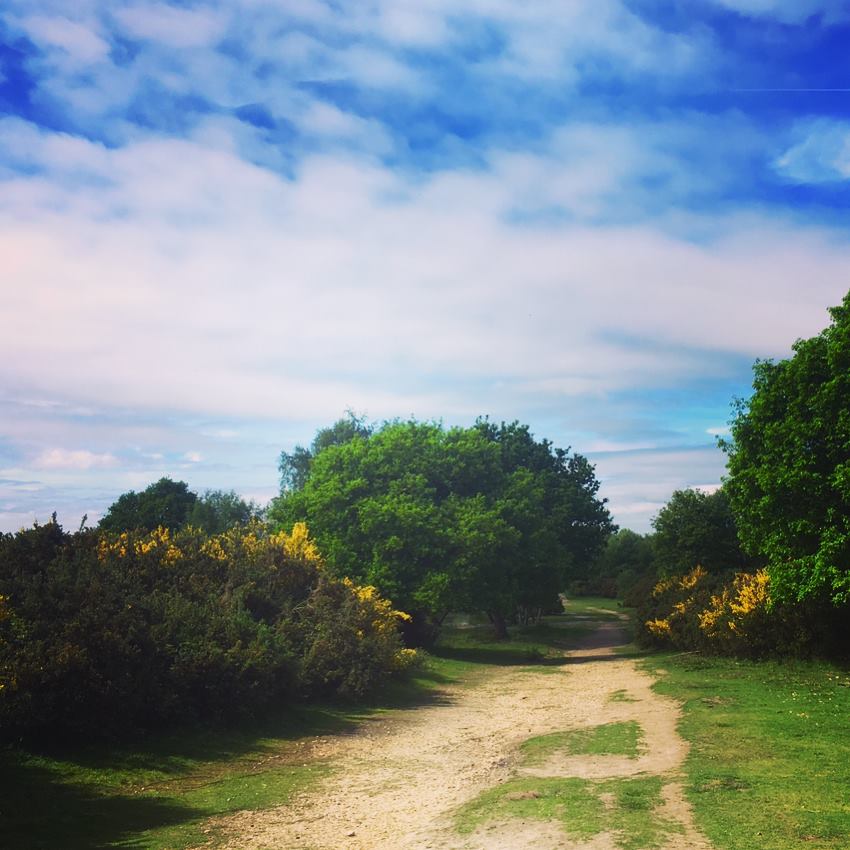
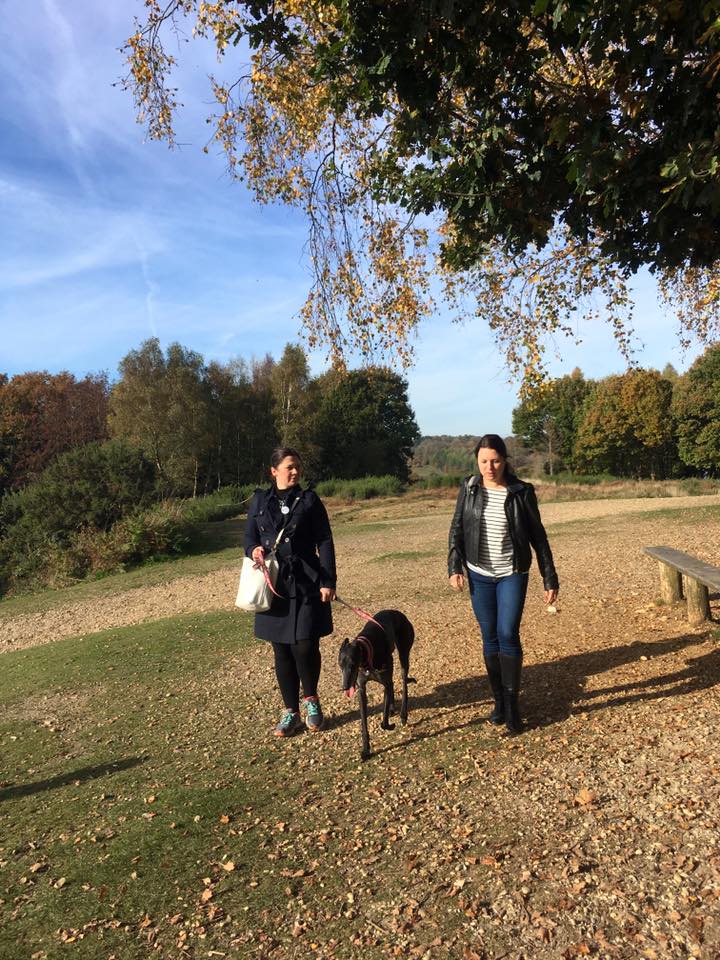
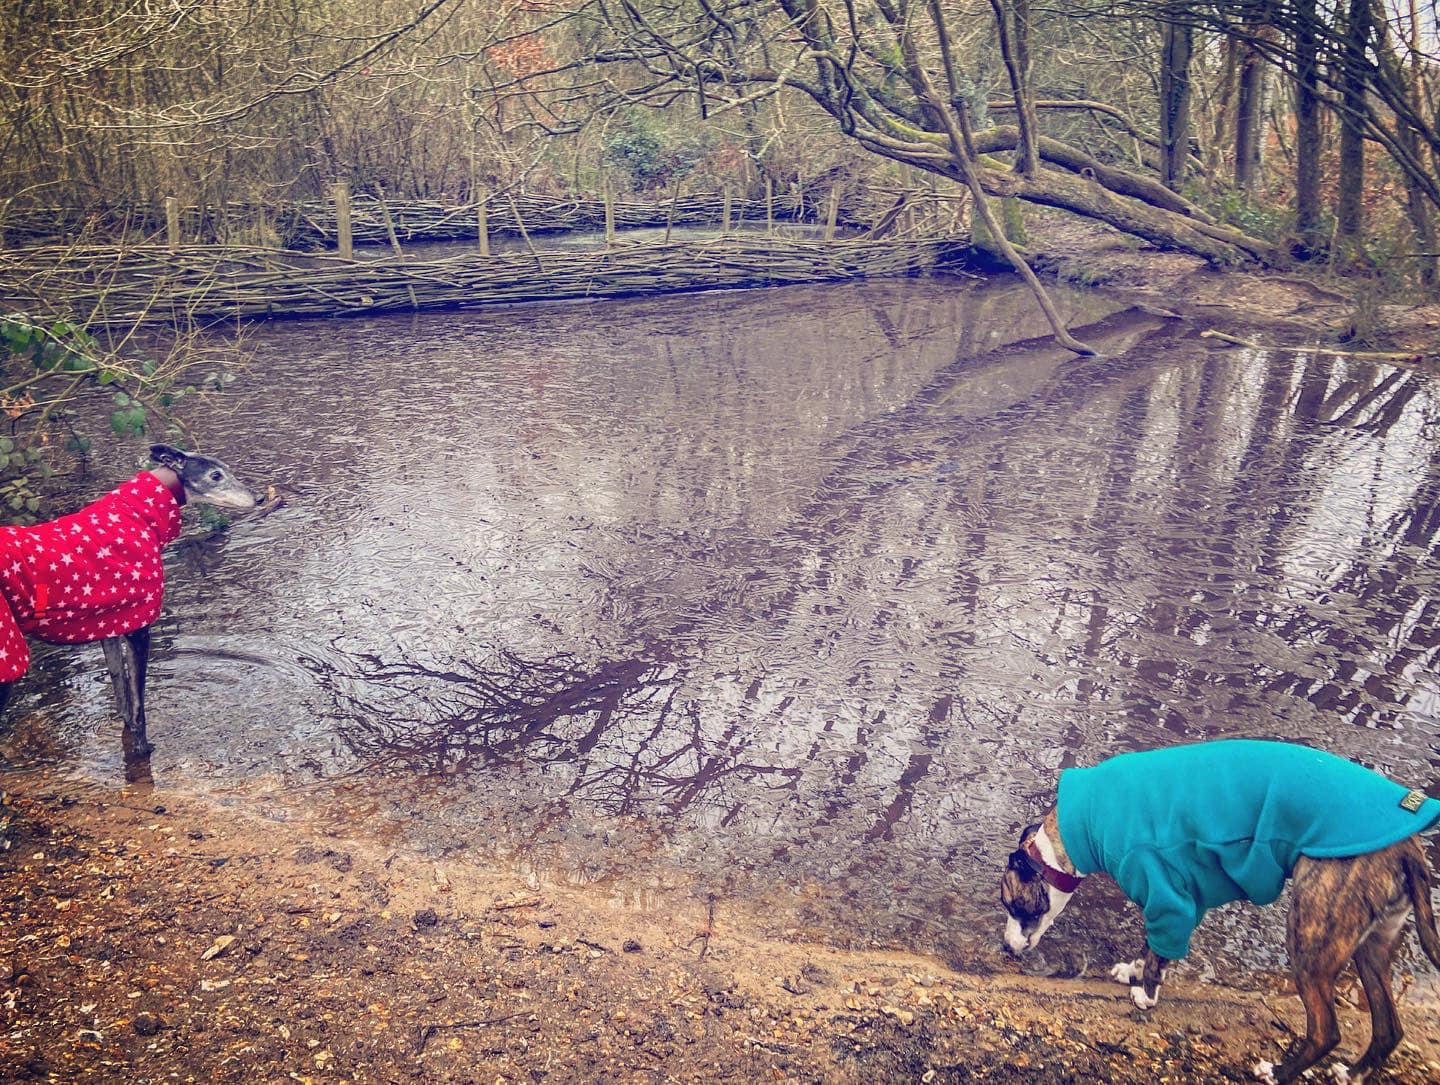
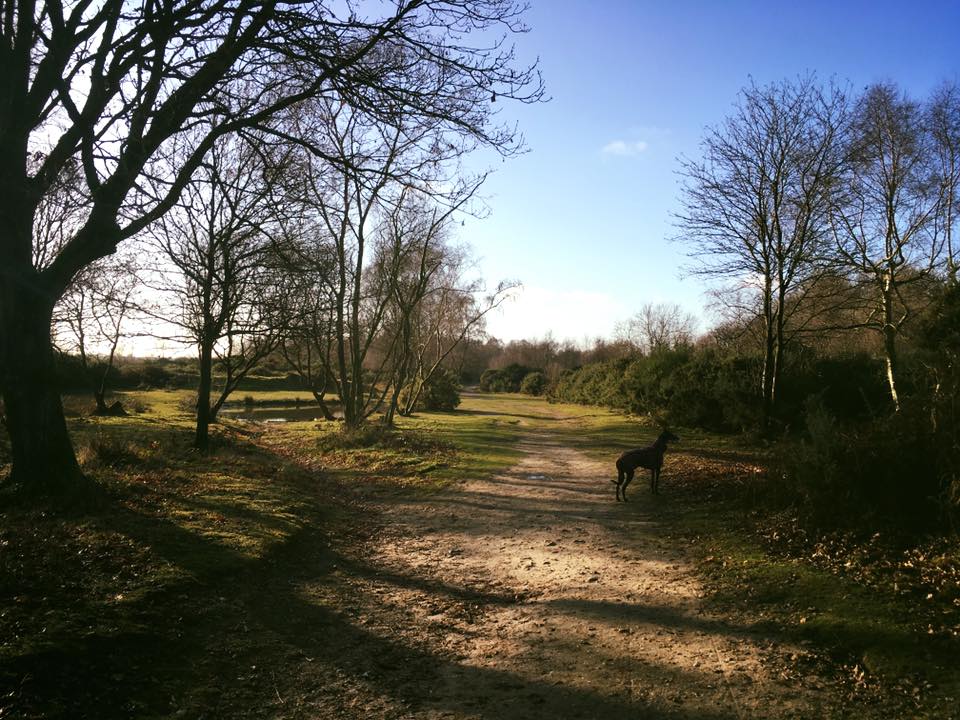
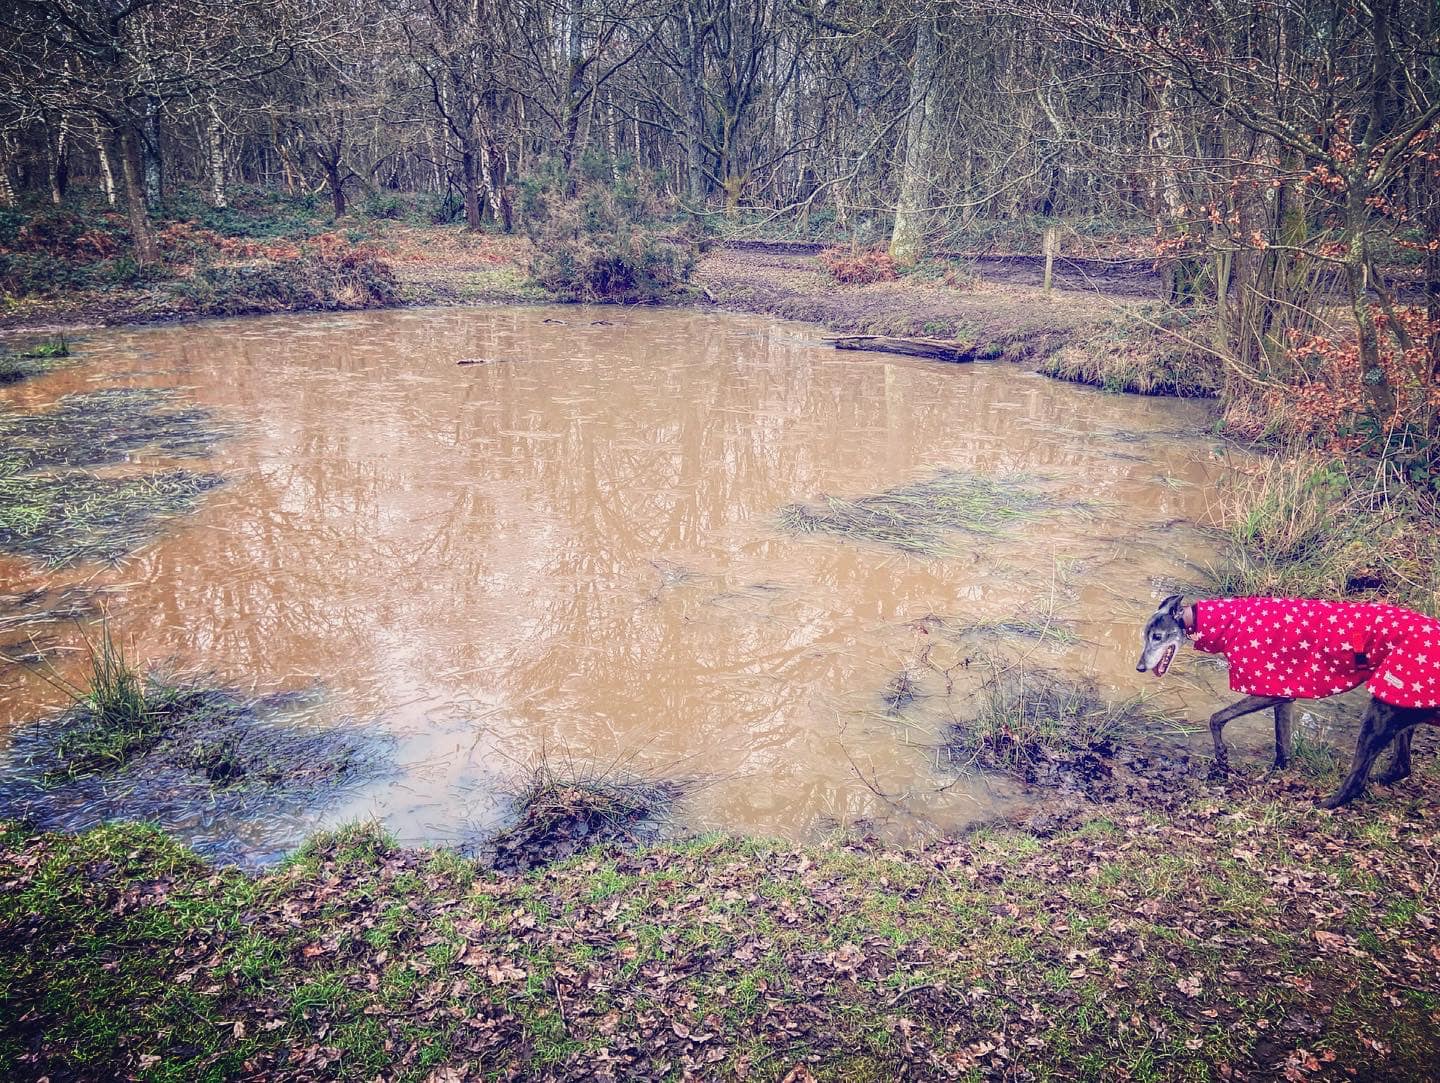
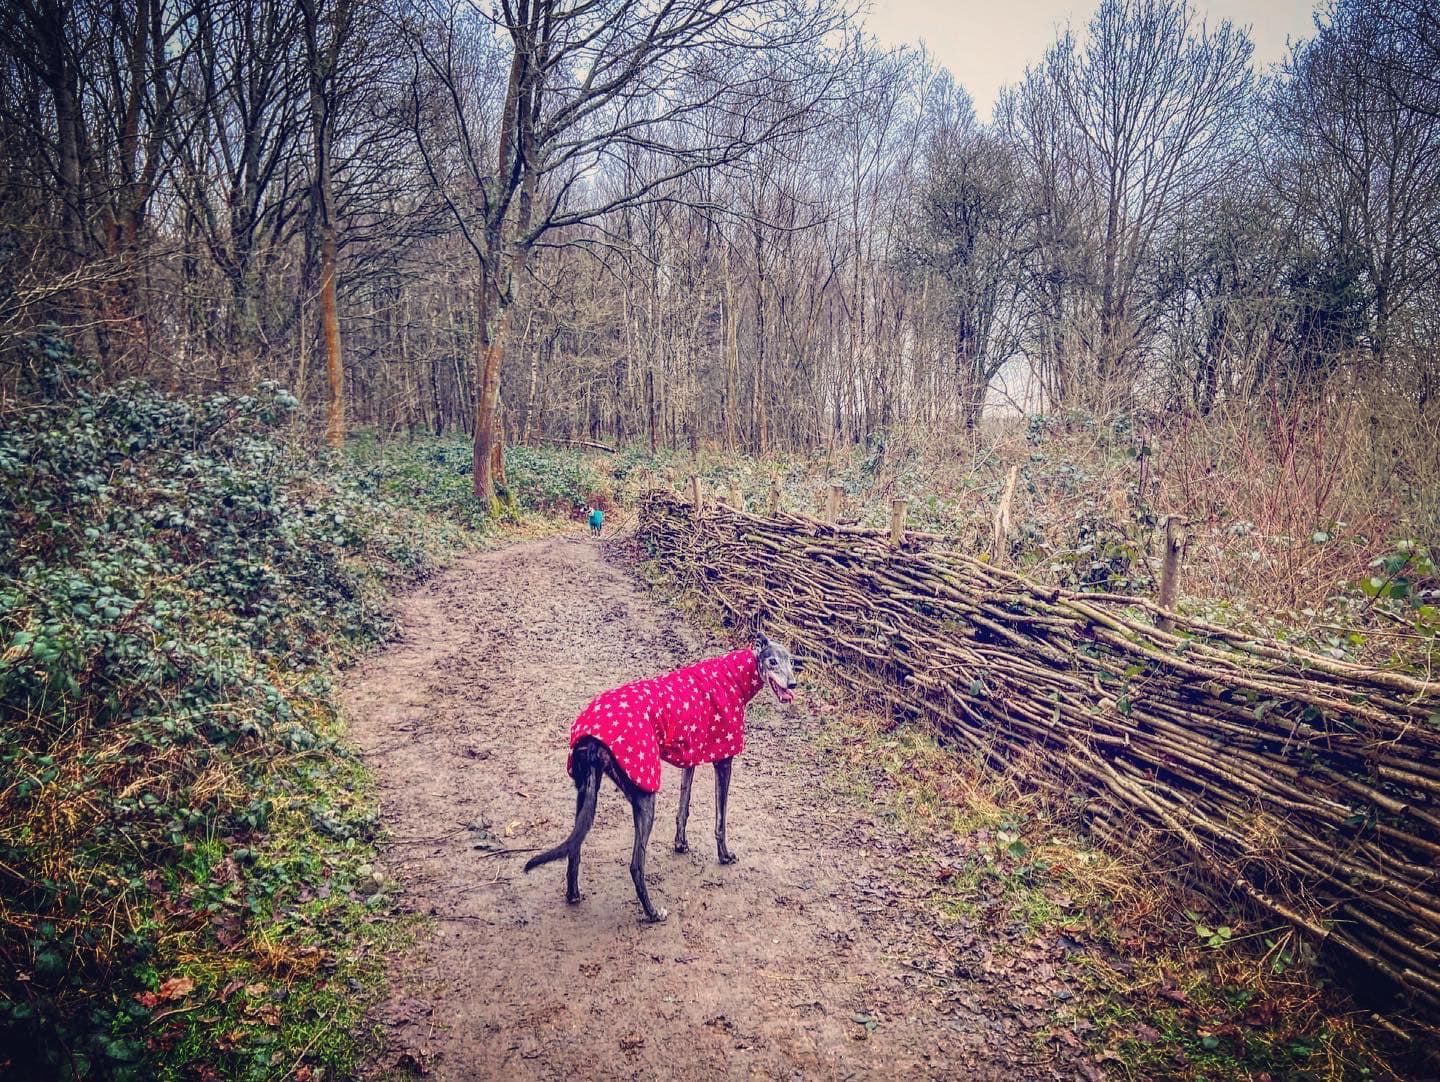
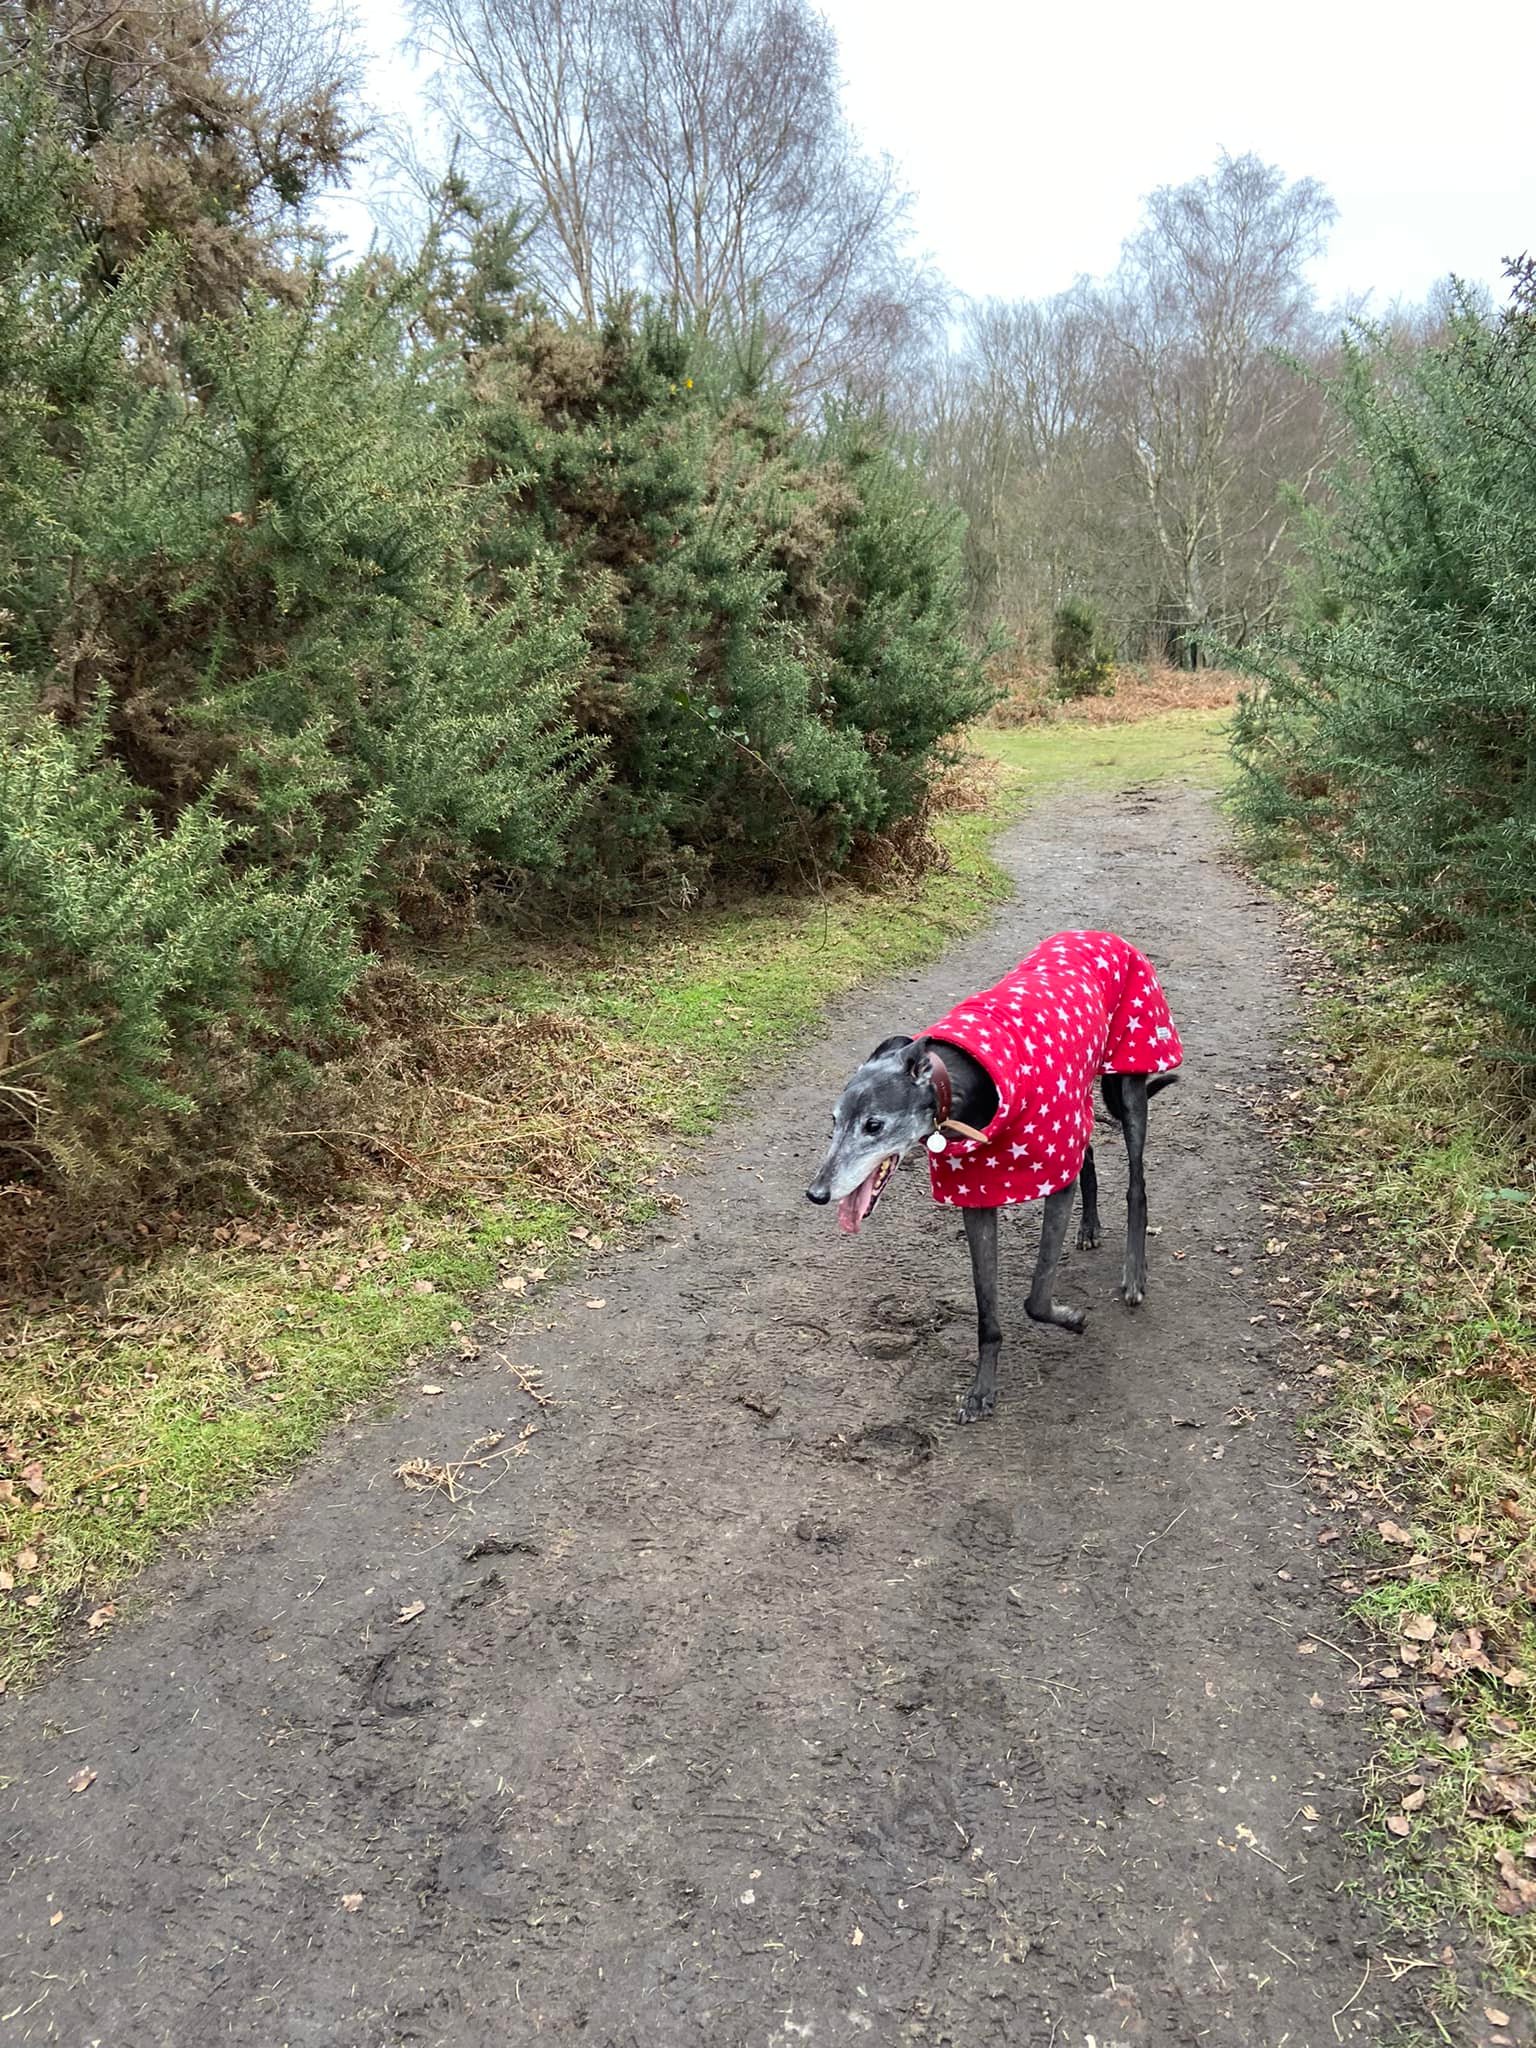
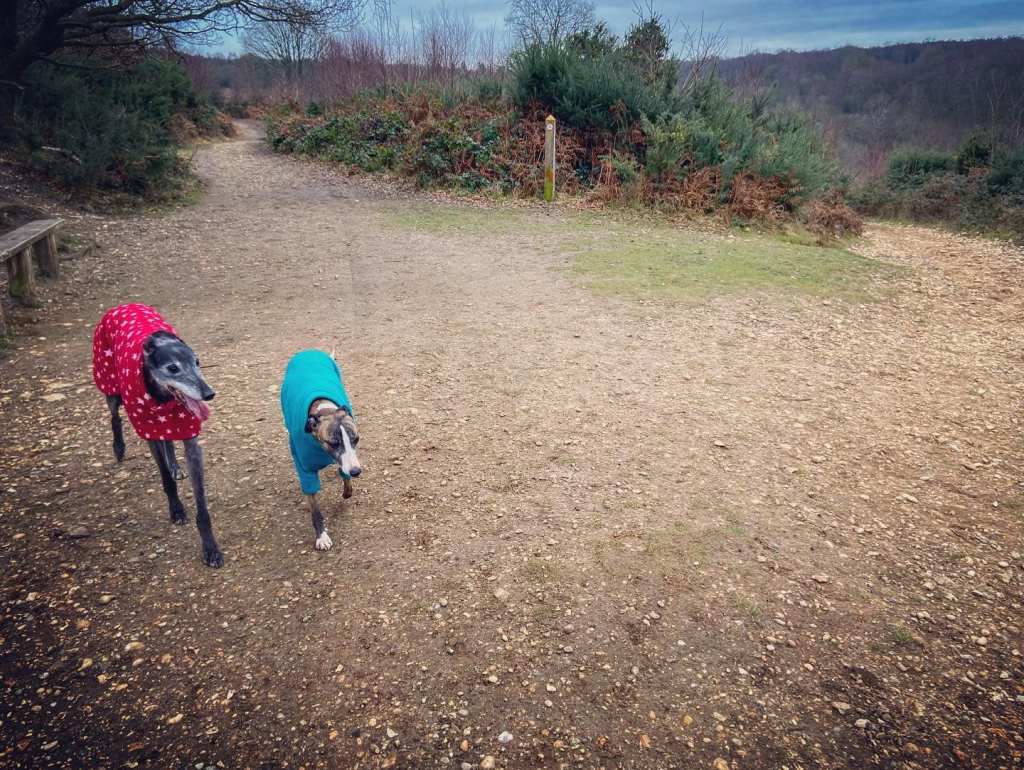
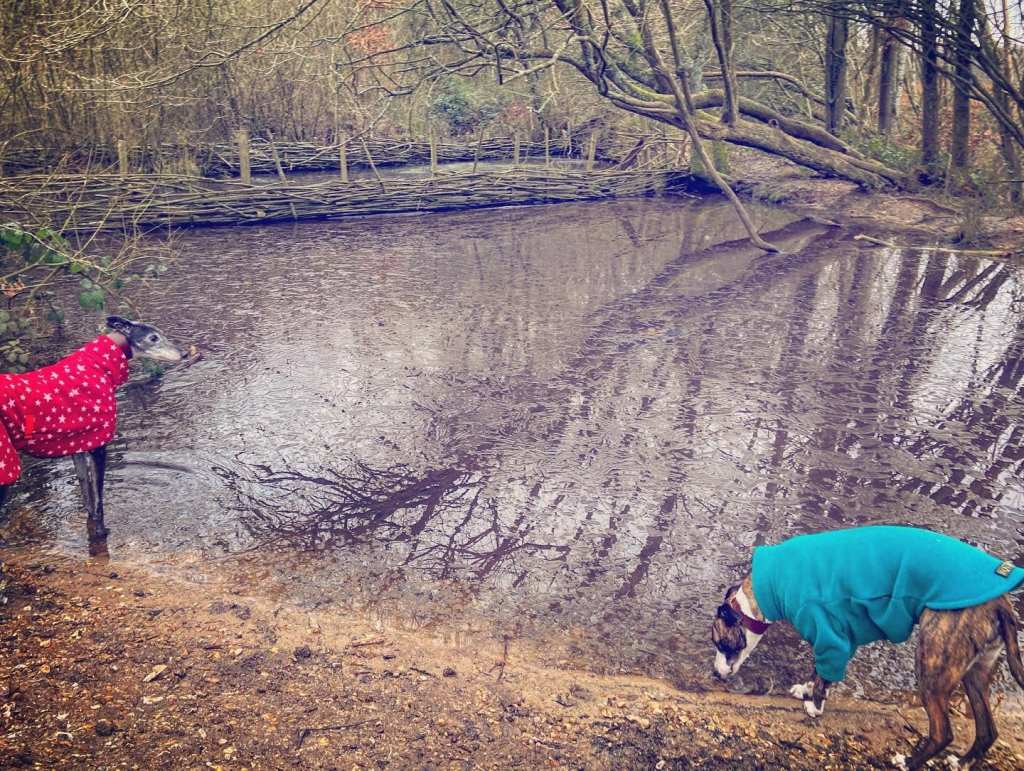
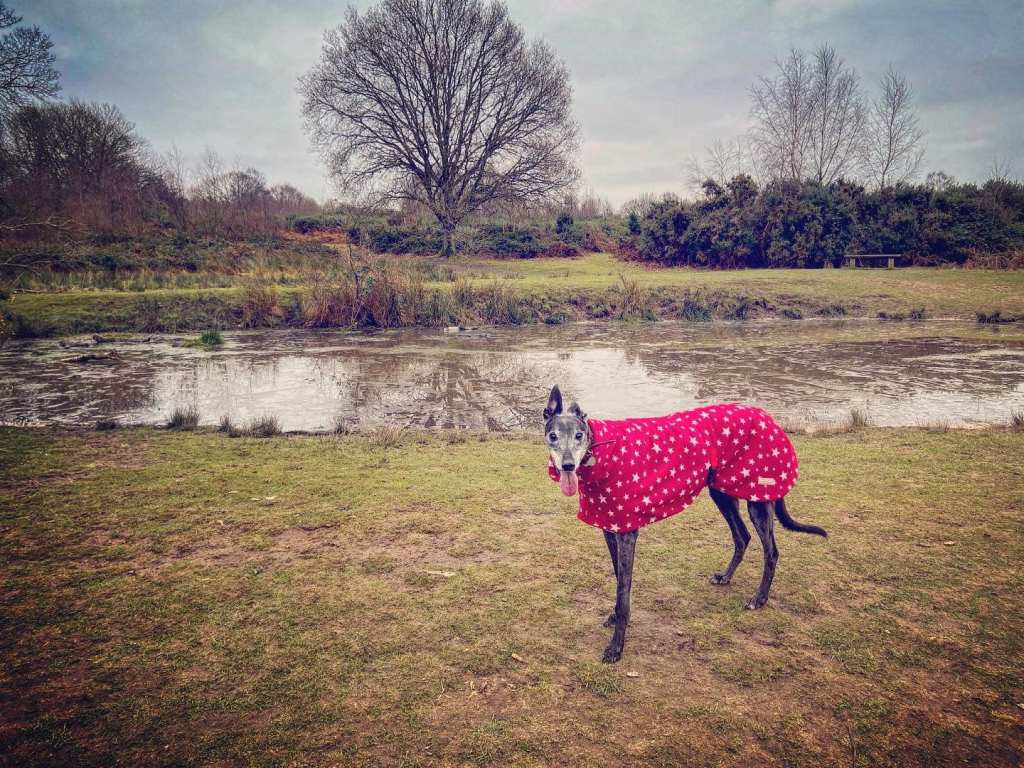
Gallery: What’s it like here?


Instagram reel showing here
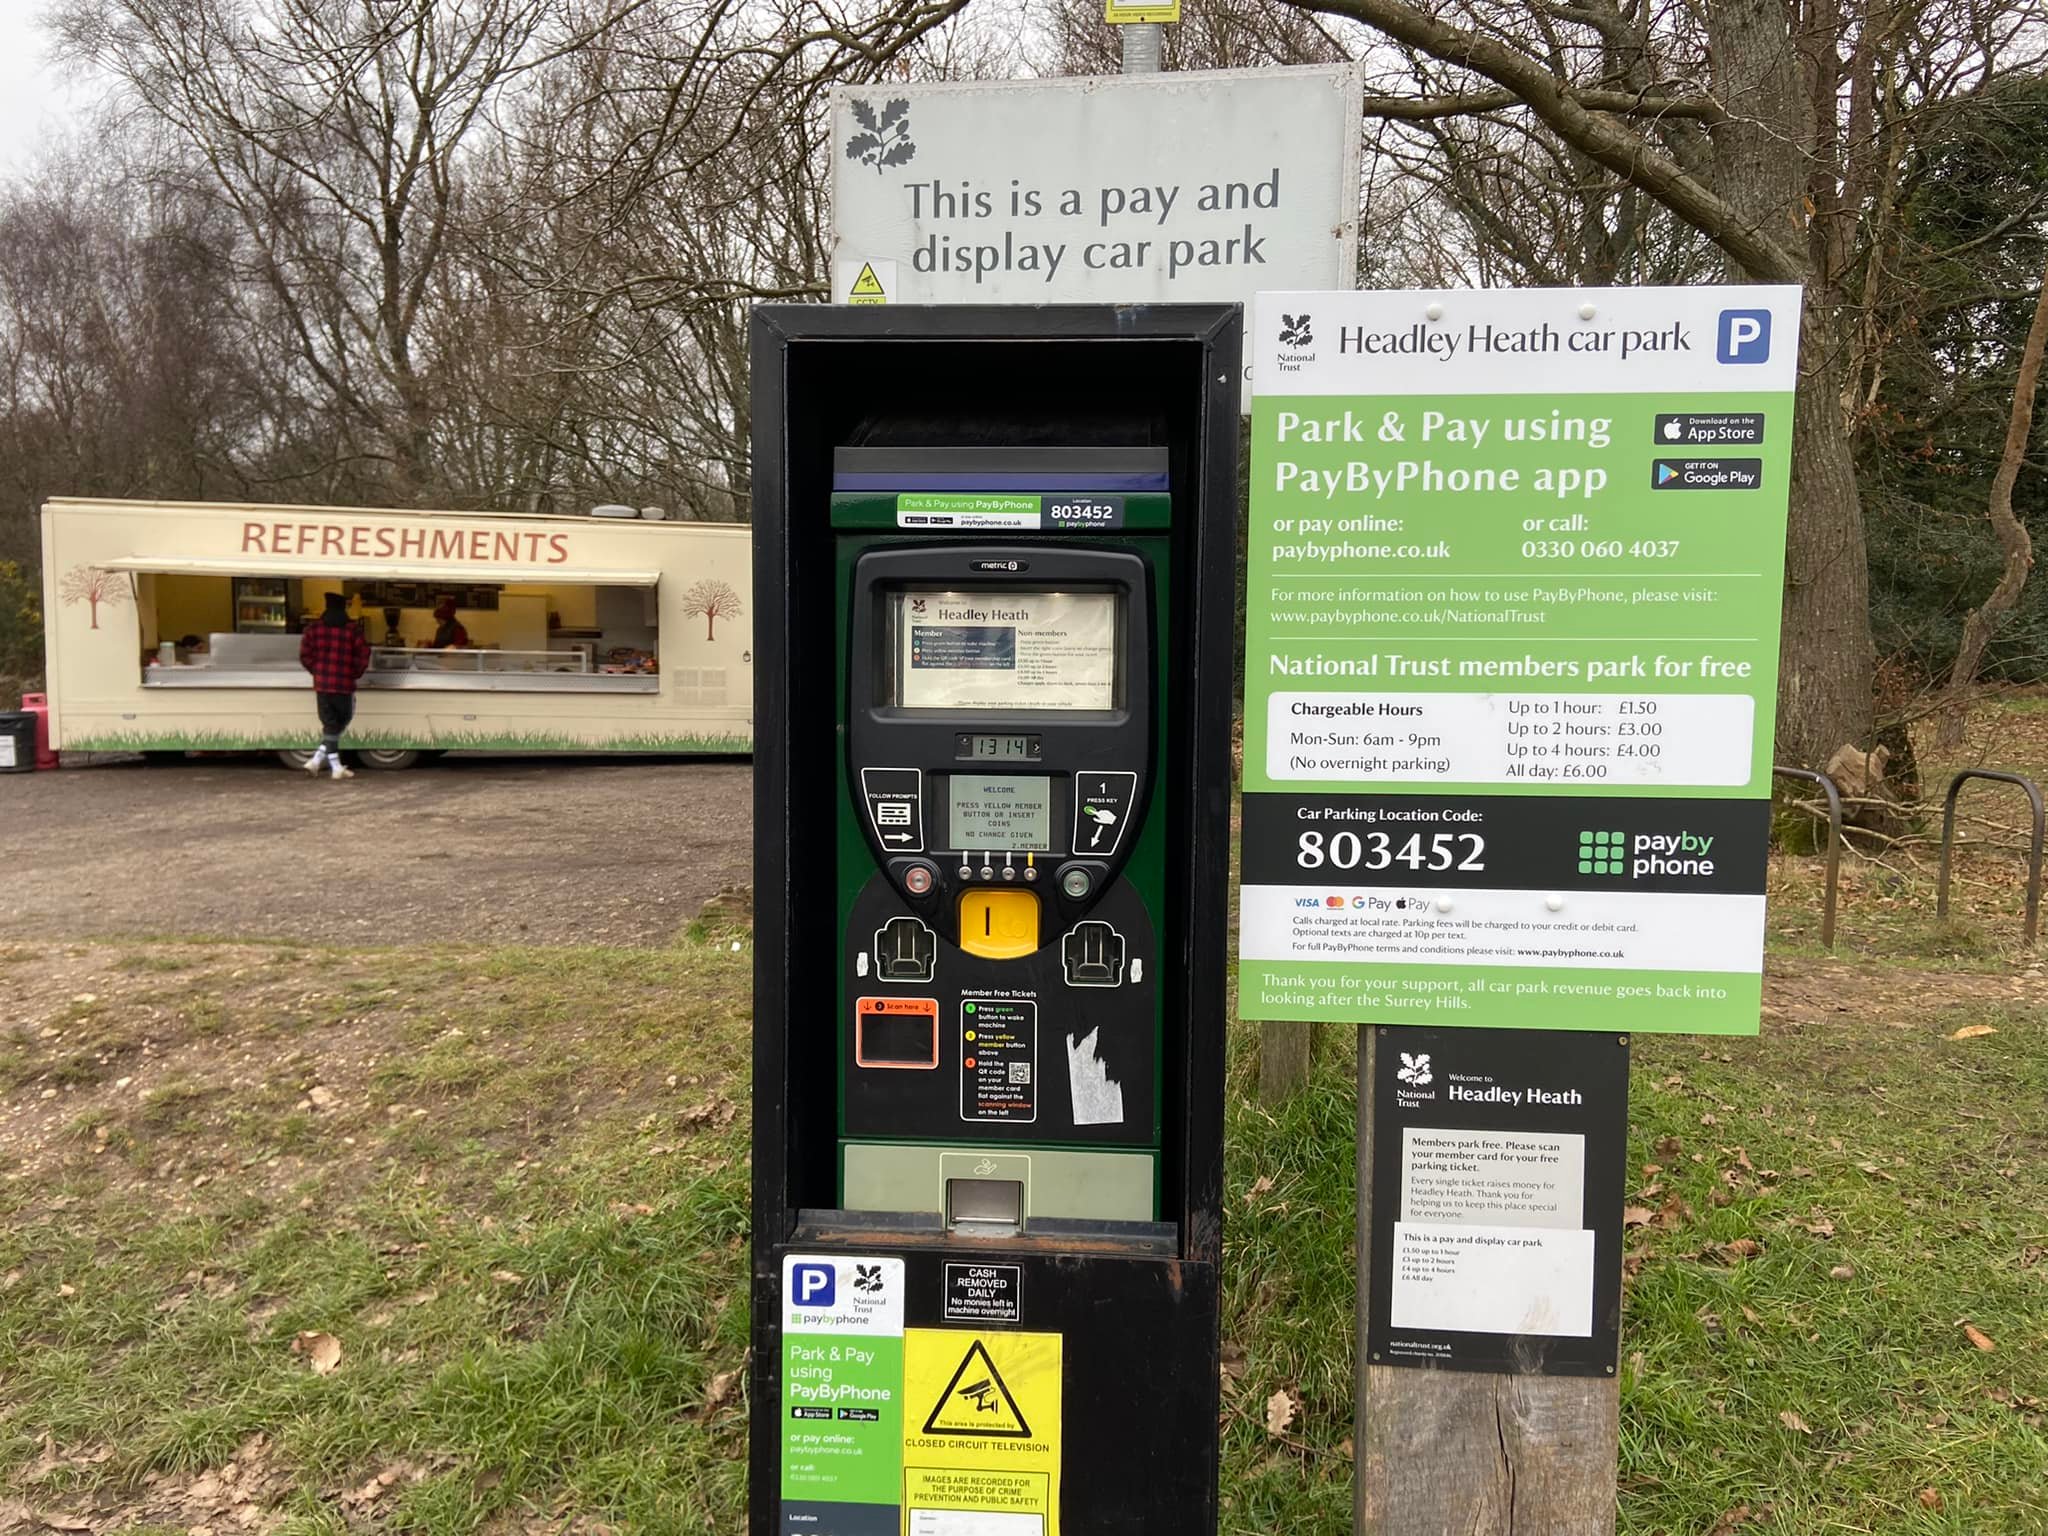
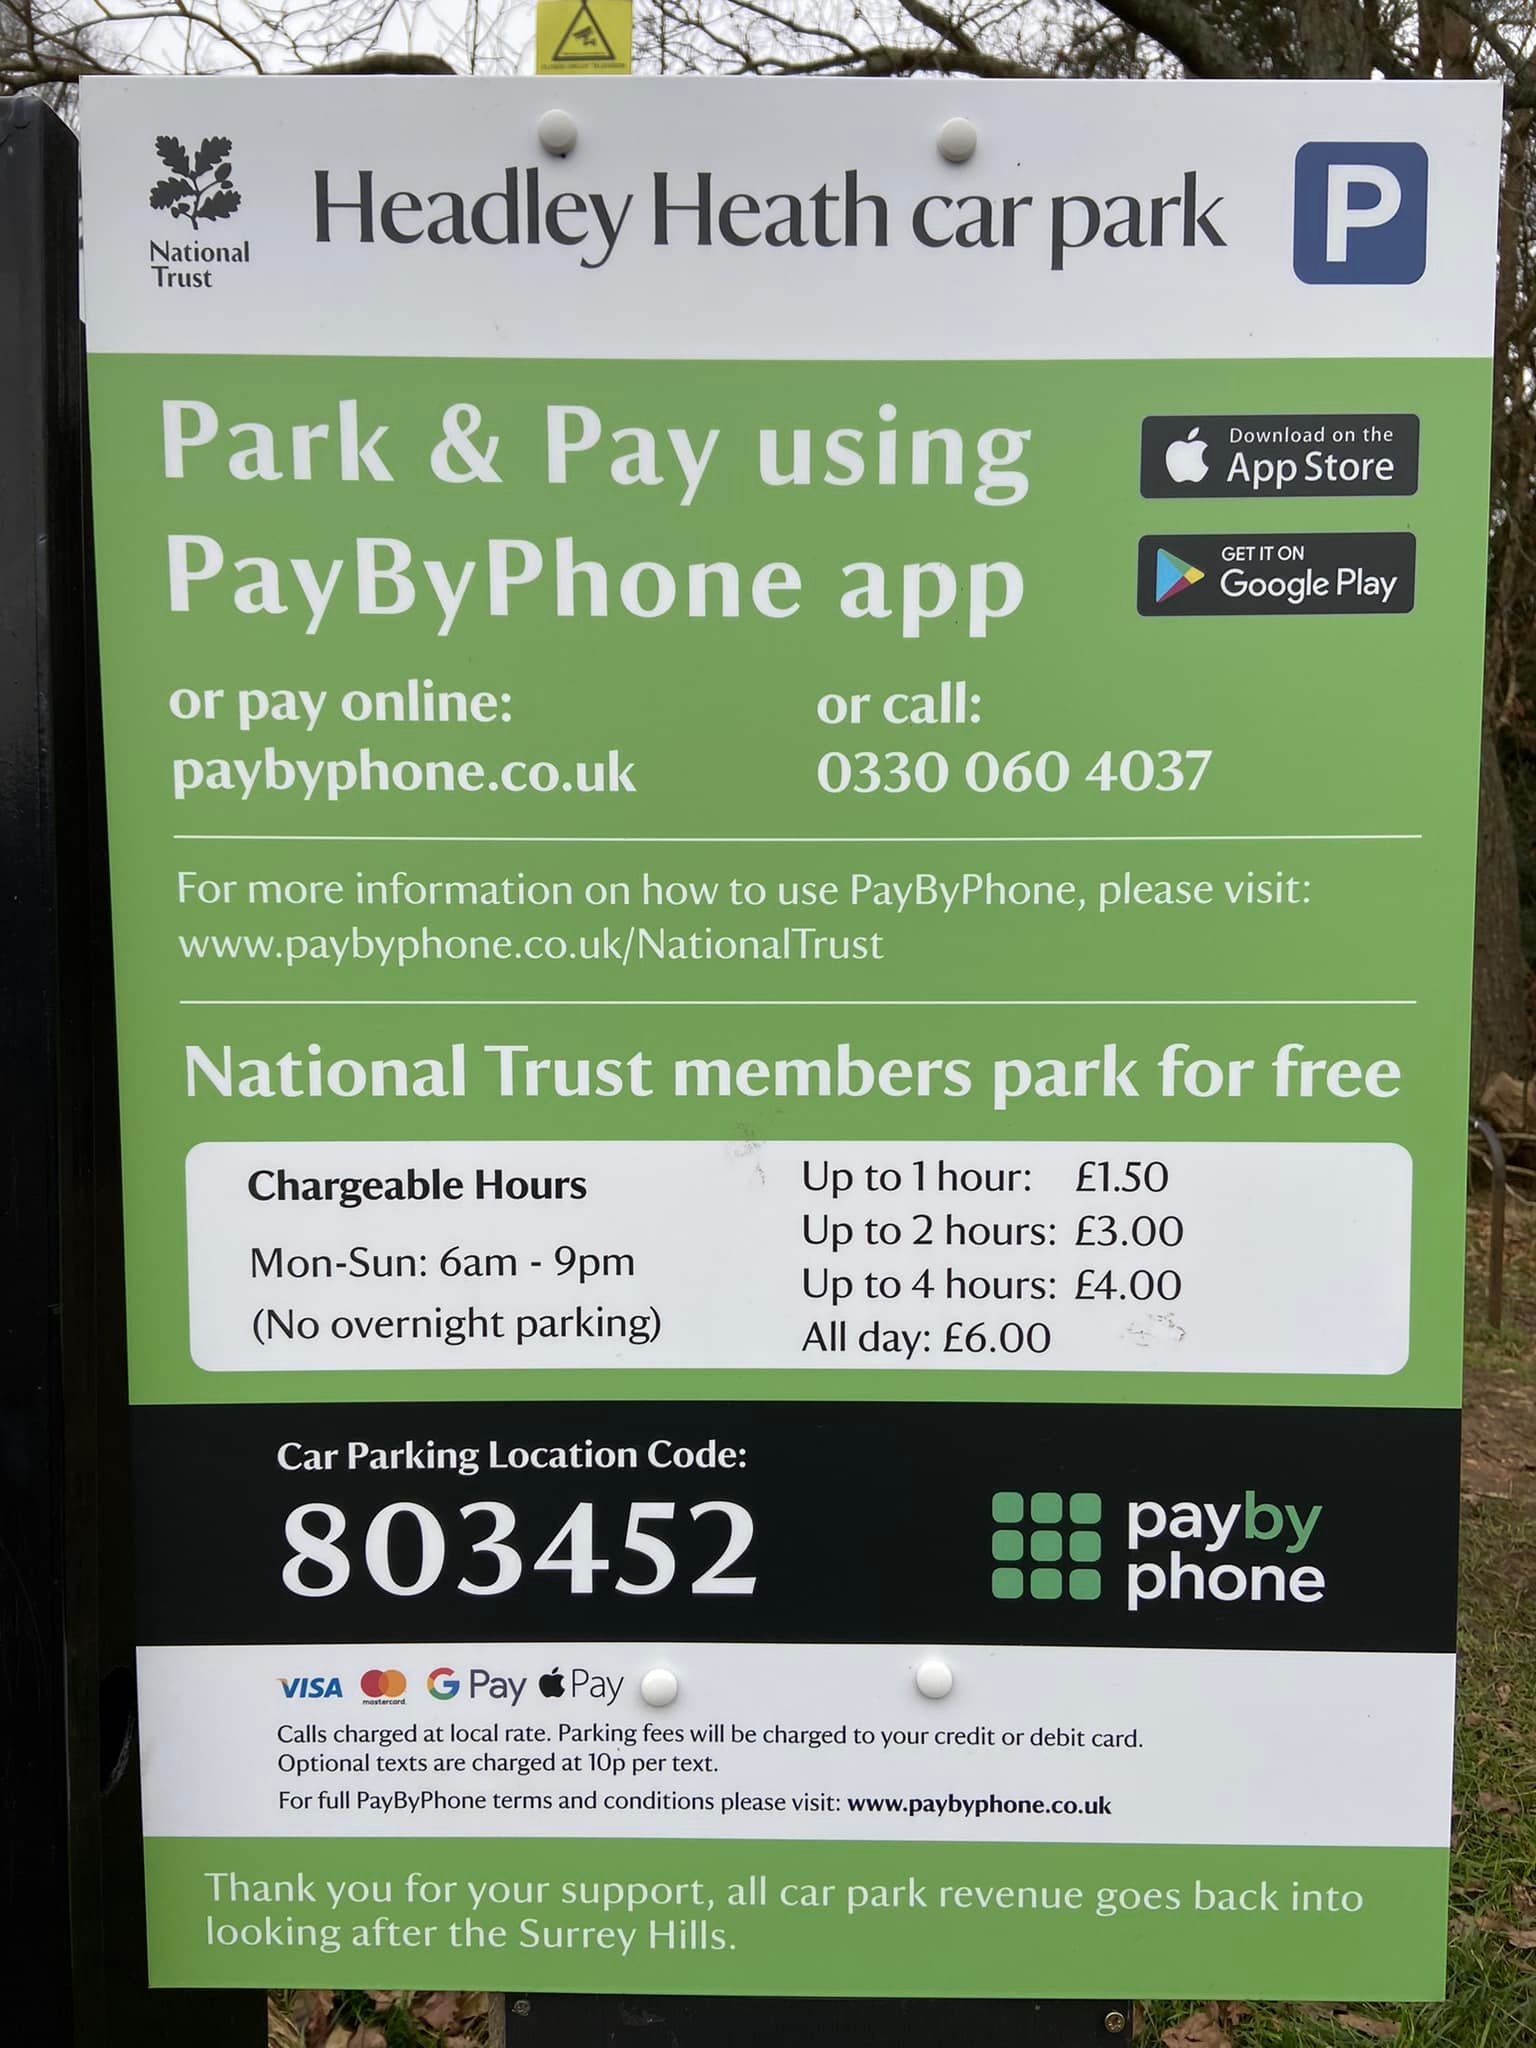
Parking
Headley Heath is owned by the National Trust. There are two car parks for it on the B2033 Headley Common Road, with the larger one (called Headley Heath main car park) often hosting a refreshments van/trailer at the far right-hand side. The smaller car park is called Brimmer car park.
There are charges to pay at both car parks, although National Trust members can park for free – you must bring your membership card as you have to scan the QR code on it to get the machine to give you a free ticket to display on your dashboard.
Non-members can pay and display with cash, over the phone, using the paybyphone app or online.
Up to 1 hour is £1.50; up to 2 hours is £3; it’s £4 for 4 hours; and £6 for all day.
GOOGLEMAPS LINK: https://goo.gl/maps/ccuxP8qb4yby1jhU8
WHAT3WORDS: https://w3w.co/bolt.fish.exists
NEAREST POSTCODE: KT18 6NN
Poo bins?
Several poo bins at the two car parks, please use them.
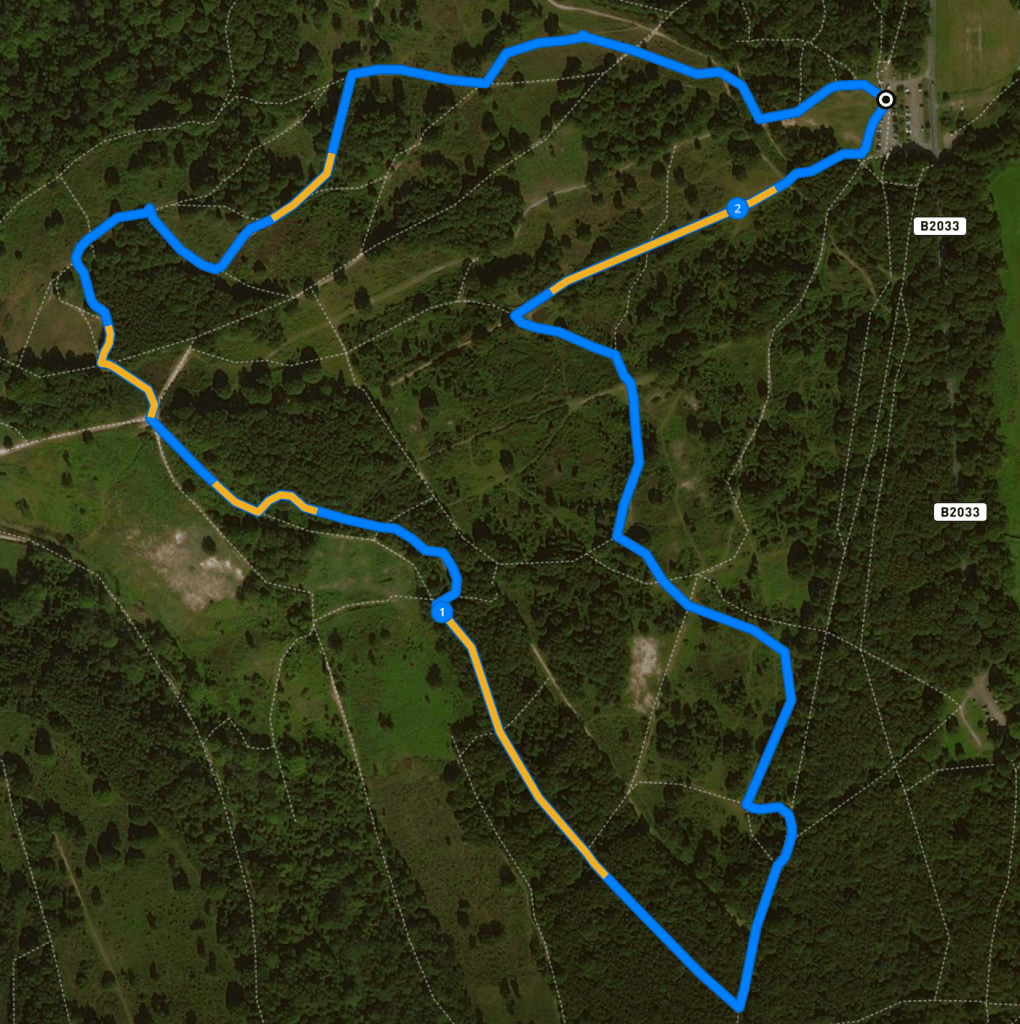
Self-guided walk
Here is a Footpath app route for Headley Heath from the larger of the two car parks. Also on AllTrails. This route is similar to the National Trust’s Lizard Trail and it makes reference to many of that route’s orange-topped markers, however it does cut out some of the slopier bits.
Length: approximately 2.1 miles/3.4km
Terrain: Mainly flat across heathland and woodland. A few slopes but none too bad.
Stiles/kissing gates? No stiles, no kissing gates
With the car park behind you, walk from the information boards (a three-sided structure with a hut-like roof) along the right-hand side of the grass, skirting woods that are to your right. When you reach the gate with an ‘area B’ sign on it, turn right and walk along the fence line until you come to another gate, also with an ‘area B’ sign on it and with one of its gateposts topped with orange (meaning its one of the NT Lizard Trail markers).
Go through the gate and cross straight over the path that runs left to right to take the path that goes ahead through gorse bushes. It’s straight over at the next cross paths, heading down to an orange-topped way marker where you take the path that forks off to the left. Follow the path round to the left at the next way marker post (which has a left-pointing arrow on it). You’ll soon reach another marker post (with a number two on it and a right-pointing arrow), turn right here and walk down to the bridle path. You’ll see a way marker further ahead over the bridle path – ignore this and instead turn left and head upslope on the bridle path. It’ll curve round to the right, dip down and then rise again.
As you walk ahead, keep your eyes peeled to your right for a metal cattle drinking trough, which is set back from the path in the brambles. Just a little further on, there’s a cross paths. Turn right and come off the stone/mud path you’re currently on and onto a grass path. Follow this down to the junction and turn left. The path will curve to the left, follow it round, ignoring a path that continues straight ahead. The path curves around a tree and goes down a dip, then up a slope.
Pass another bench as you go up the slope, then a marker post just before a T-junction. At the junction, turn left and walk a few paces to a red topped post then an orange topped post, followed by another red topped post on the left. Turn right at these and take the path through the gorse.

Continue straight, passing a blue topped bridleway post into a clearing. You’ll see ahead on the left a bench and another orange topped marker post with a six on it. This bench marks a view known as Ranmore Vista. Take the path that heads off diagonally left between the bench and the marker post. It runs along the contour of the hill with the valley sloping down to your right.
You’ll pass another bench on the left and then come to a fork and an orange marker. Turn left and head into the trees. Follow the path round to the right, passing a bench on the left and another orange marker post. There is a stick hut structure on the left. The path will bring you down to Aspen Pond.
Pass another orange post numbered seven. Ignore the fork off to the left and skirt around the edge of the pond, all the way round to the right until you reach a T junction and a marker post with a left hand arrow on it. Turn left. When this path curves to the right, ignore a small path that tracks off to the left and keep straight on where you’ll see an orange topped post ahead. Go over the cross paths and pass this post.
At the next junction, which is next to another orange marker post, ignore the arrow pointing left and go straight ahead instead. At the very end of this path, turn left at the blue marker and onto the bridle path. Continue straight until you arrive at Brimmer Pond, which will be on your left.

Take the little path that comes off to the left immediately after the pond and goes around the edge of the water, passing a small bench on the right. Just after the bench, turn right through the gorse onto the grass path. Stay on this fairly small path ignoring any others until it curves around to the left and passes Hopeful Pond on your right.

As you skirt the edge of Hopeful Pond (with the water on your right), you’ll reach marker nine, where you turn left. Continue straight ahead crossing the path at the wide clearing, passing an old dead tree trunk and heading towards an orange topped post. Fork right here and follow its arrow.
Walk between four large trees and, at the next fork just after them, bear to the right. Pass a bench and fork left at two more large trees, passing another orange marker with a left arrow. Ignore the arrow and keep straight here. Go across the clearing to the narrow path that heads back into the gorse. (As you cross the clearing, if you look to your right you’ll see a bench under a tree.) Almost immediately, you’ll come to orange marker 10. Fork left, and follow the path ahead to Bellamoss Pond.
With Bellamoss Pond on your right, walk down to the main path running left to right and you’ll see another pond on the opposite side of this path – this is Brown Pond. Look over to the left and there is orange marker 11. Ignore this and turn right, following the main path up the left-hand side of Bellamoss Pond. This main path becomes sandier as it rises uphill. Follow it all the way to its end, go through the gate out of Headley Heath and onto the grass in front of the car park.

Leave a comment