Page contents
About
Gallery
Instagram reel showing here
Parking
Poo bins?
Self-guided walk
About
Ashtead Common, owned by the City of London Corporation, is regarded as a prime example of relic wood pasture, valued for its historic landscape and important habitat. Its 495 acres are a mosaic of woodland, grassland, scrub and various wetland habitats including ponds, streams, ditches and springs.
There are 2,303 ancient (veteran) pollard oak trees here, many of which are over 500 years old. Three of them have names: the Wishing Tree, King Oak and Picnic Tree – two of which are visited on the walk described on this page. The work of the Corporation as custodian of these venerable giants is first class, and a huge number have been tagged, surveyed and mapped. Around 50 per cent of them are still alive, and most undergo a programme of haloing and crown reduction. Dead ones are retained as standing dead wood or remnant stumps because they are home to many invertebrates, fungi and other wildlife.
Why are there quite so many ancient oaks here though? The reason would appear to be what attracted the Romans to this area, which has heavy clay soil that is ideal for producing bricks and tiles but makes for very poor agricultural land so the woodlands remained virtually untouched. The Romans proper loved it here, and the route of the former Roman Road from London to Chichester passes through the common (the very same that we cross on Rena’s Limpsfield Chart walk).
As well as the laws of the land that apply everywhere, Ashtead Common has its own set of byelaws, some of which are just wonderful and I have no idea how you would be caught breaking them or what would happen if you were. My favourites are:
A person shall not in the Common:
– brawl, fight, or create any disorder
– use profane, indecent, obscene or offensive language
– enter or remain in the Common while intoxicated
– except in an emergency land a helicopter or other aircraft in the Common or enter the Common therefrom
So, no swearing, bickering, being drunk or landing your private planes here, please.
Ashtead Common is adjacent to Epsom Common – and this site has a walk for there too.
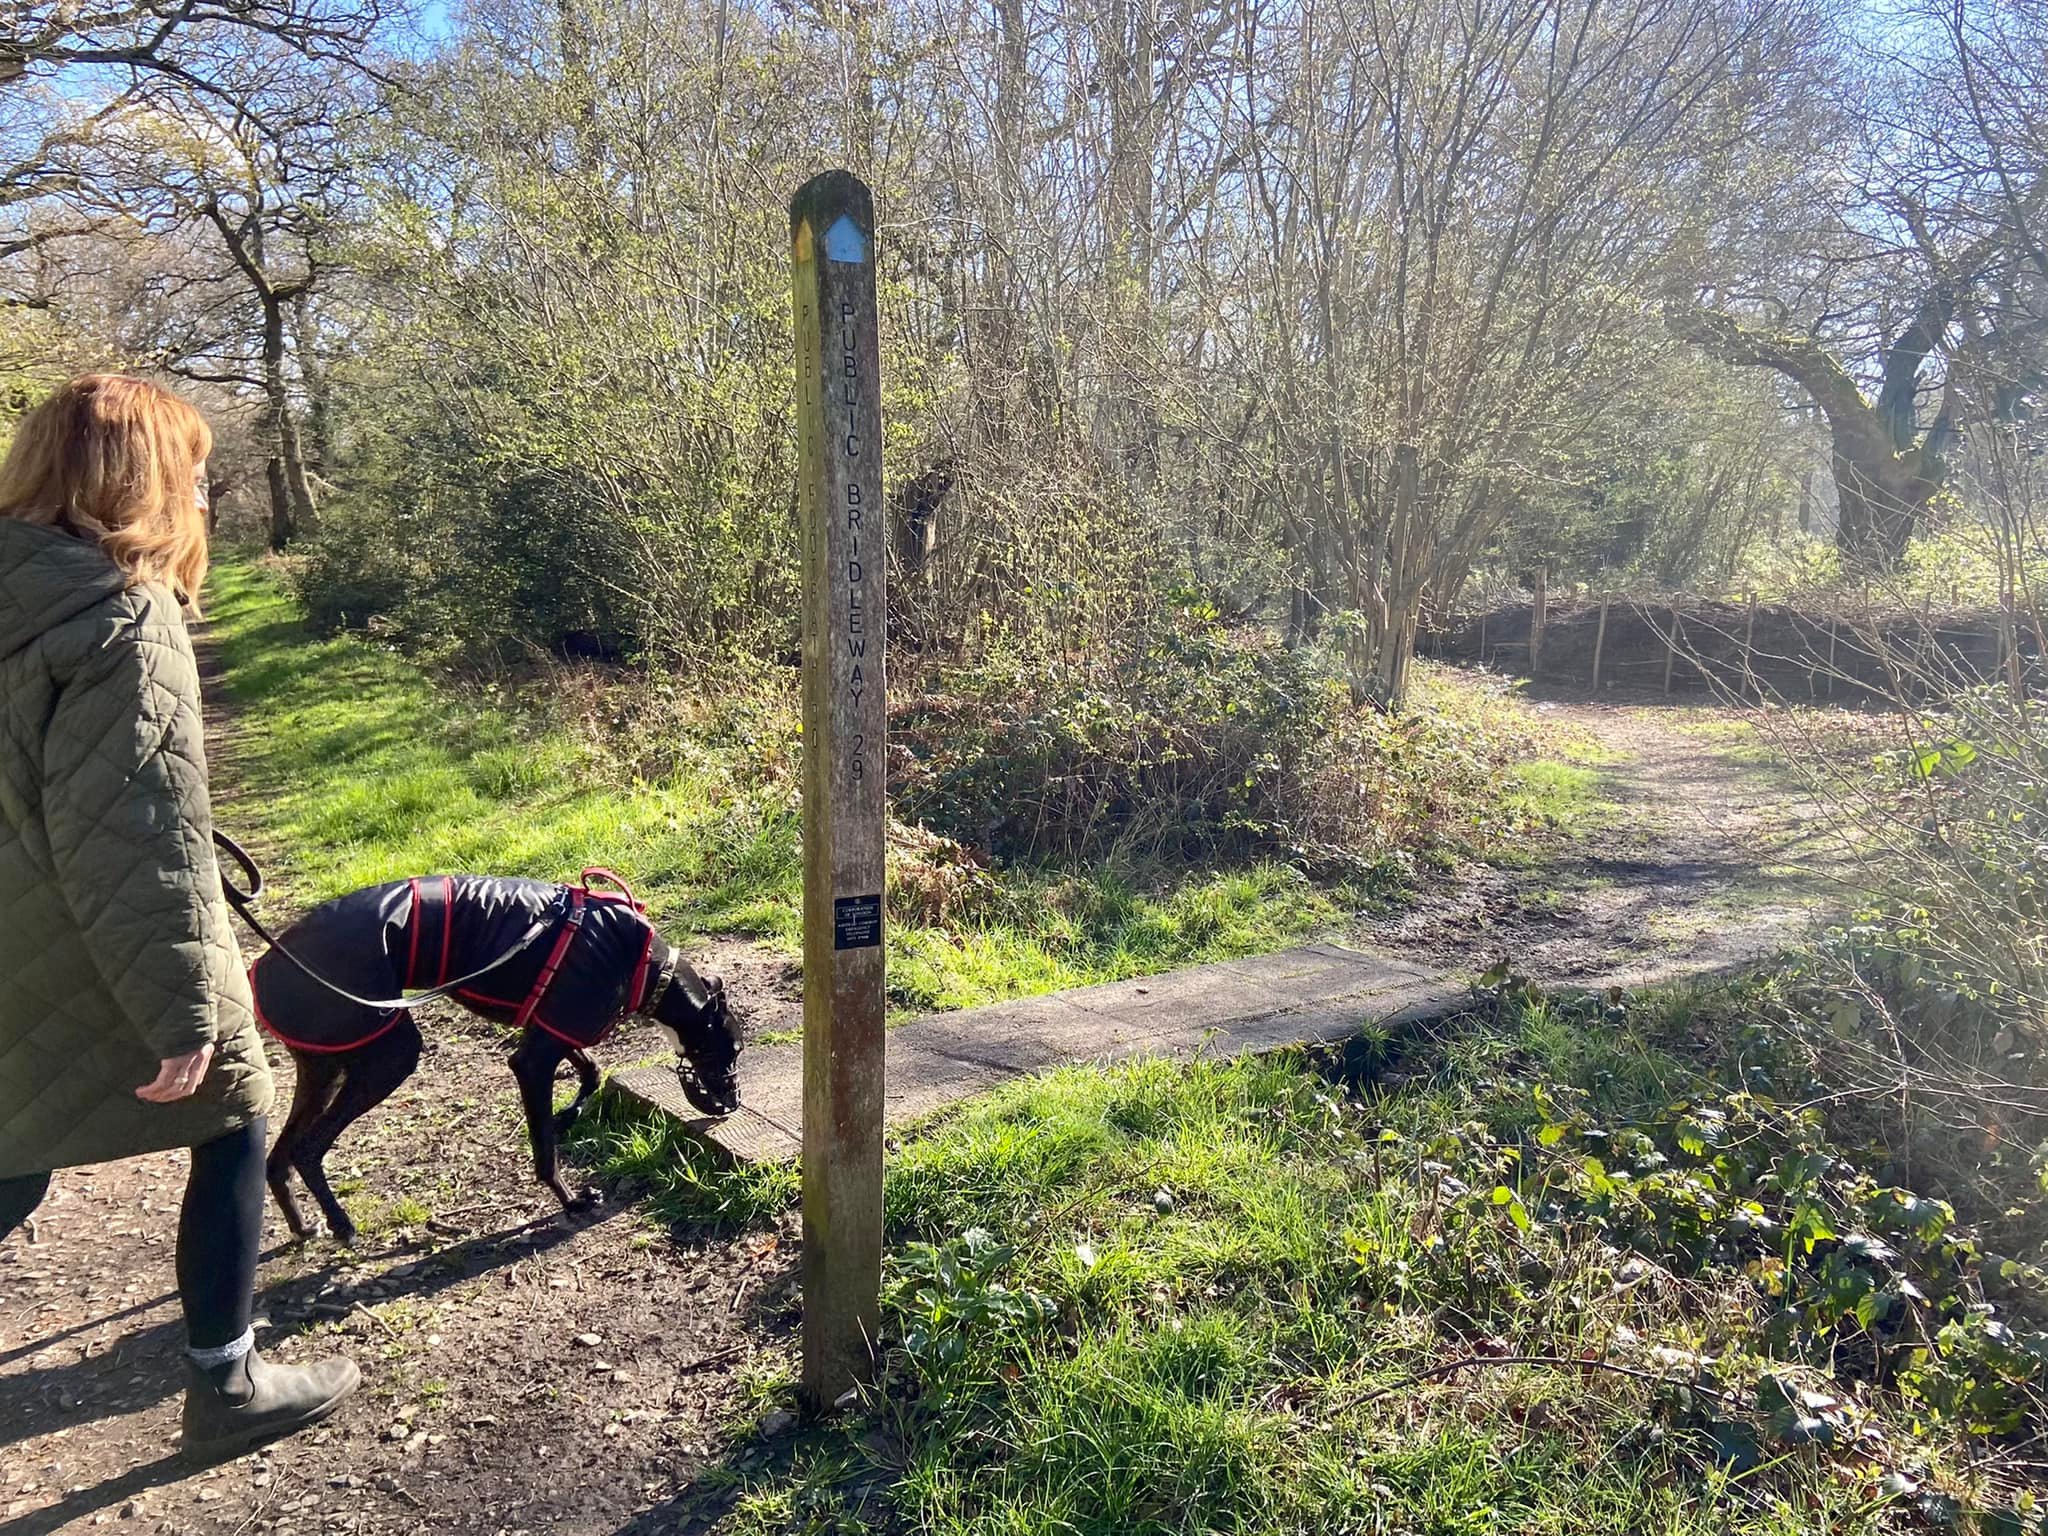
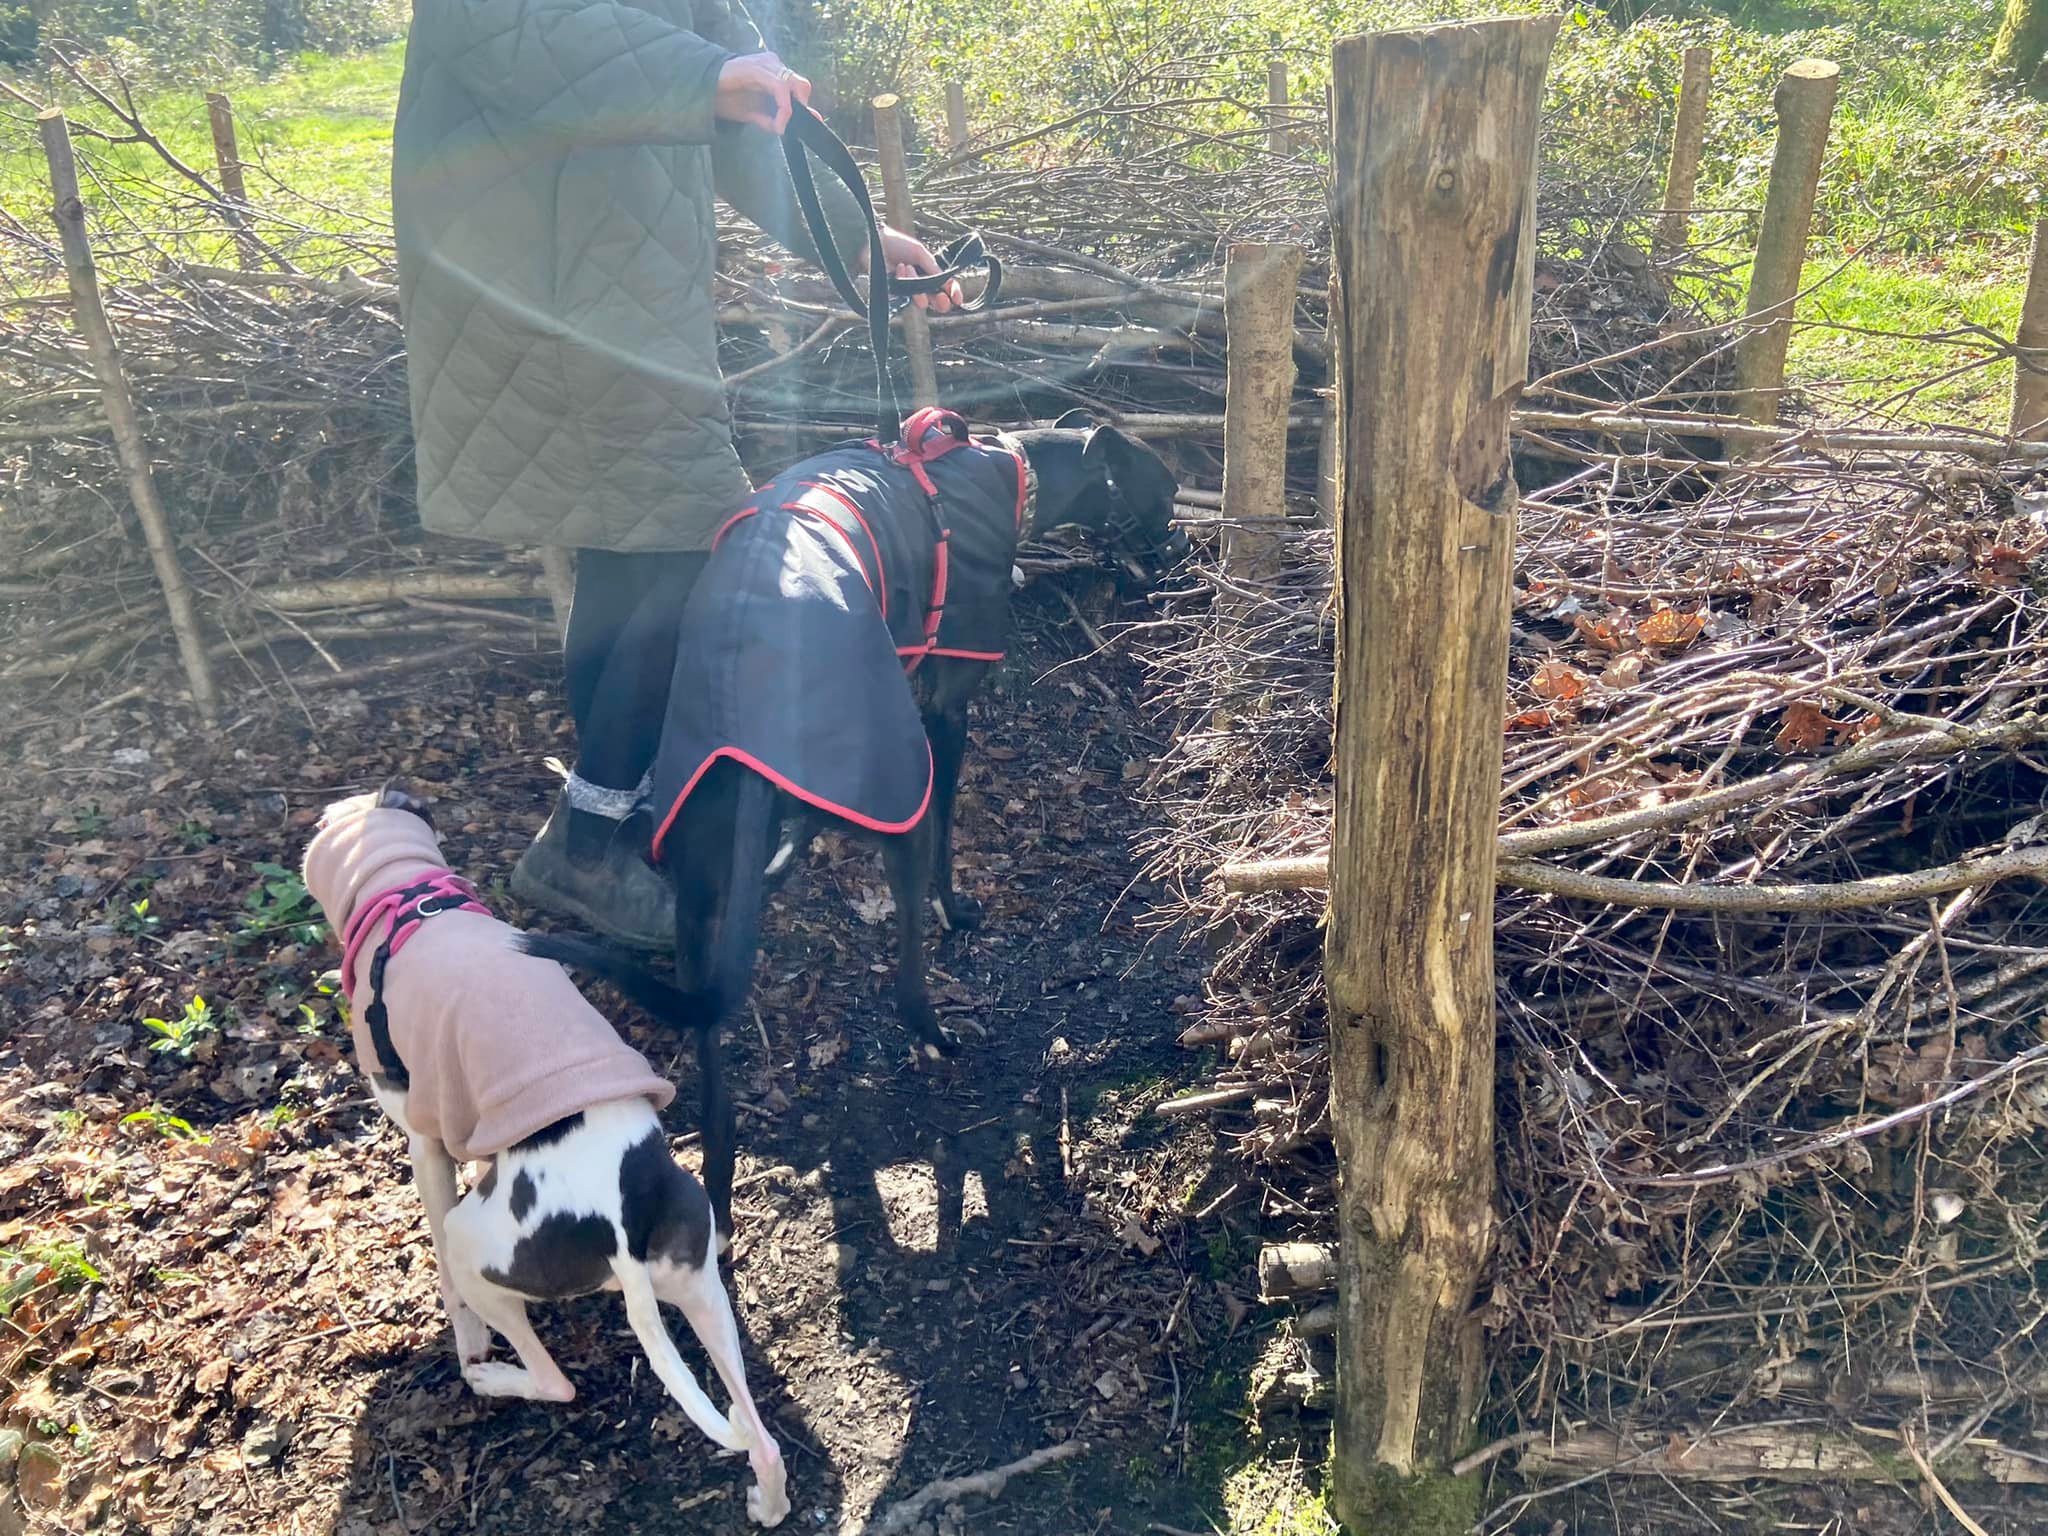
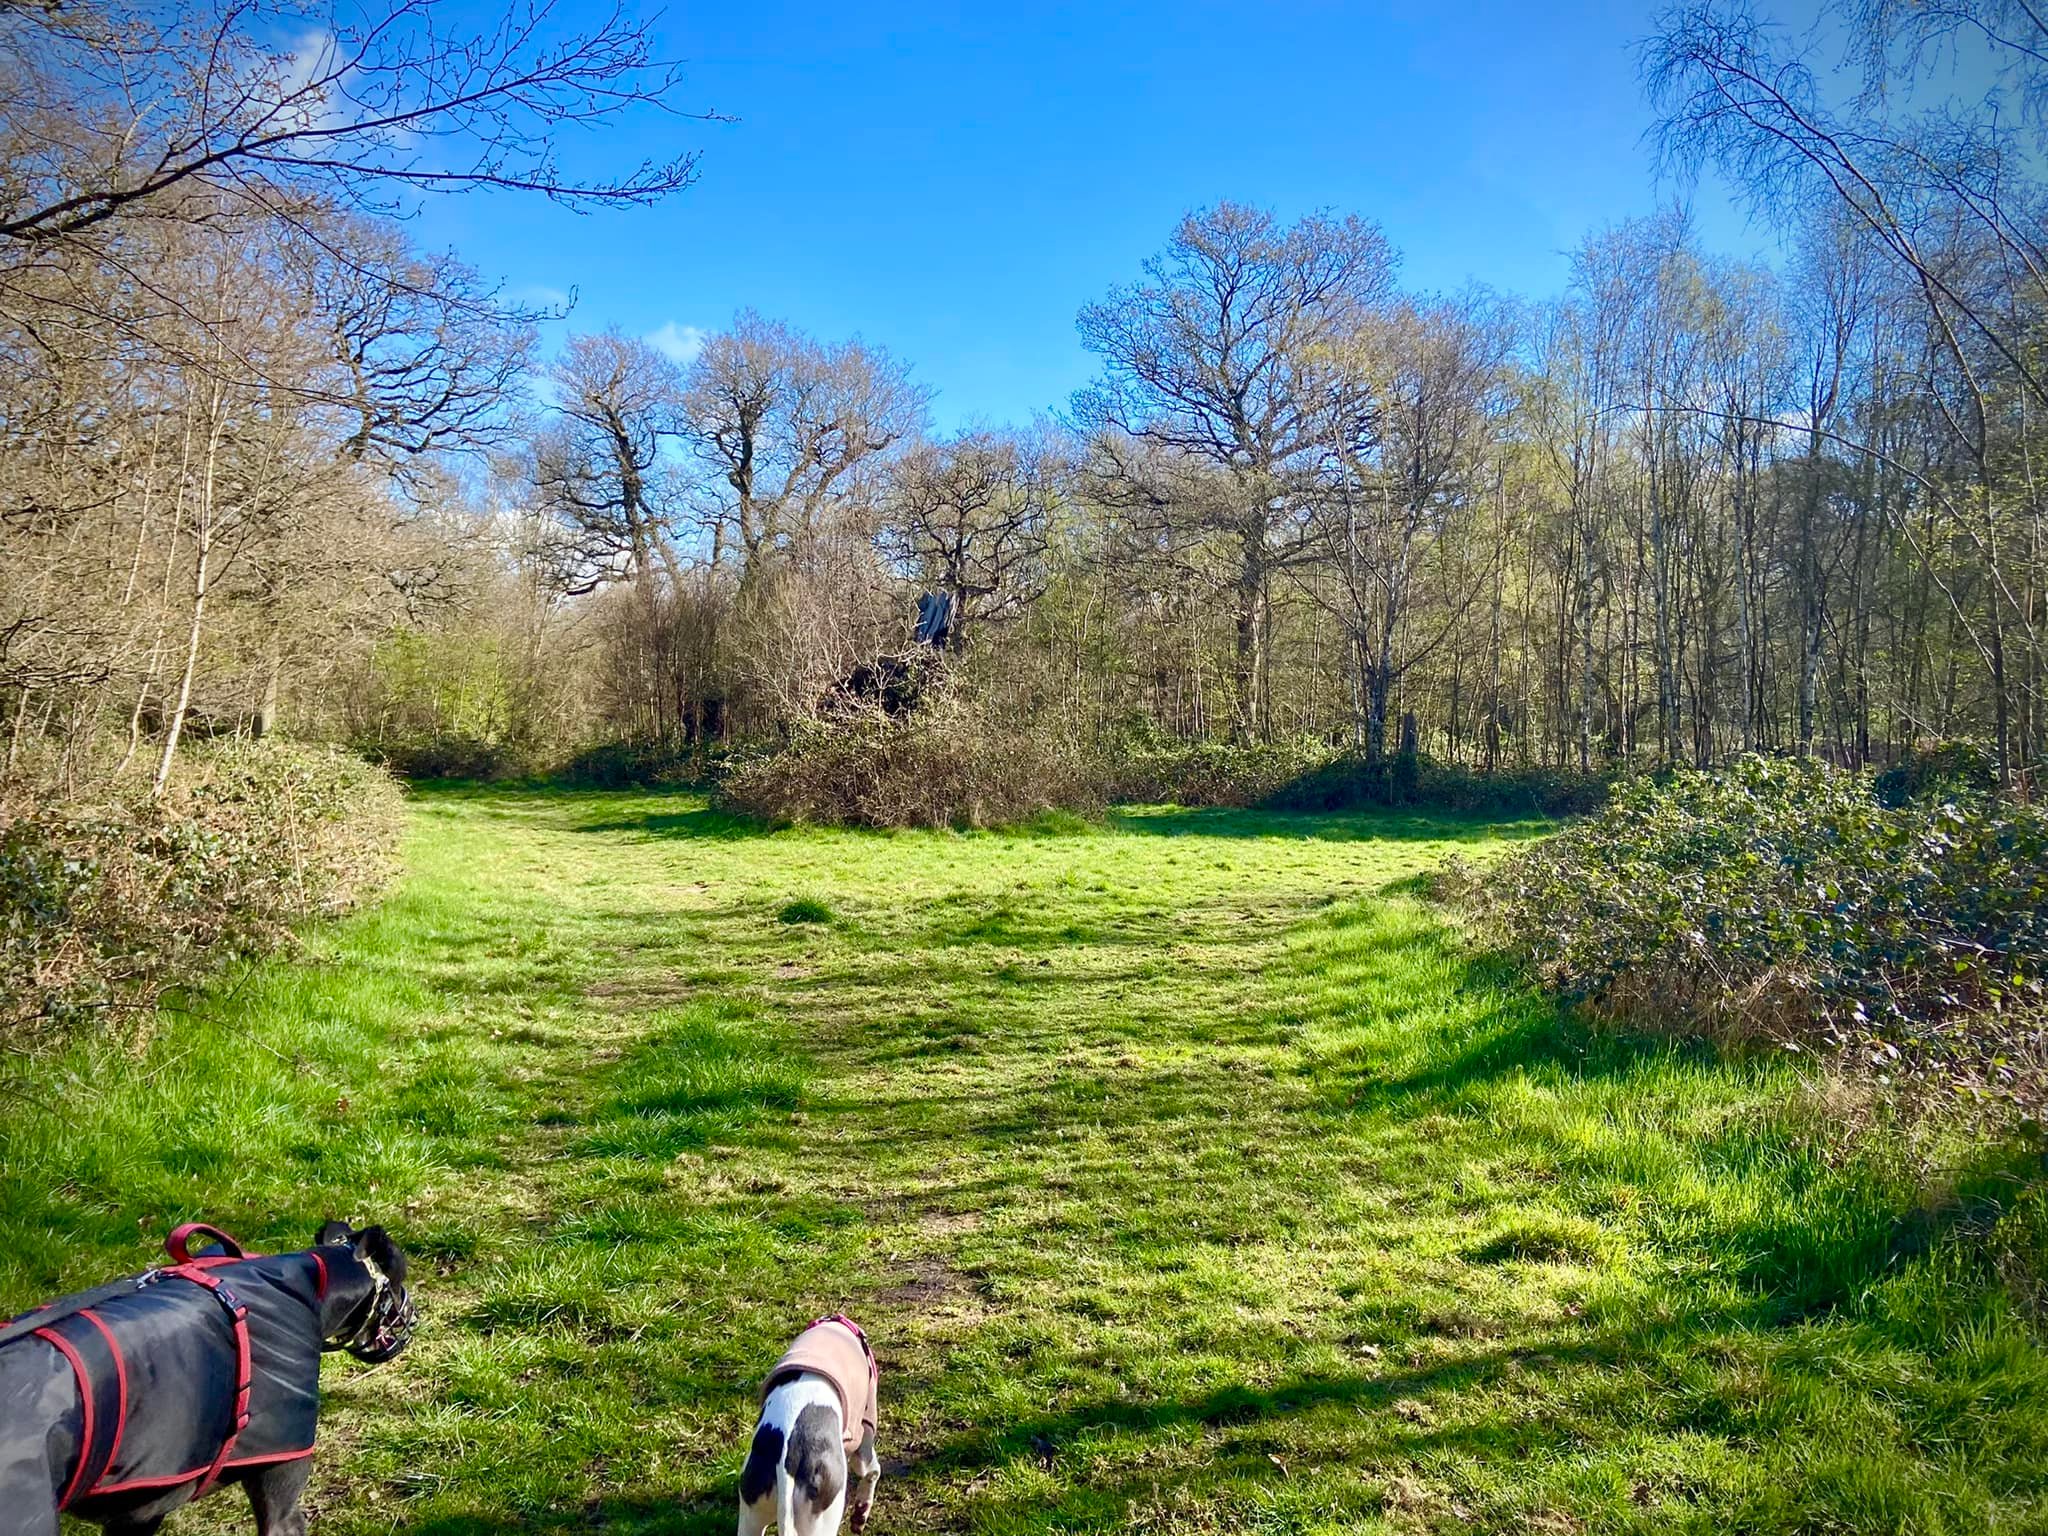
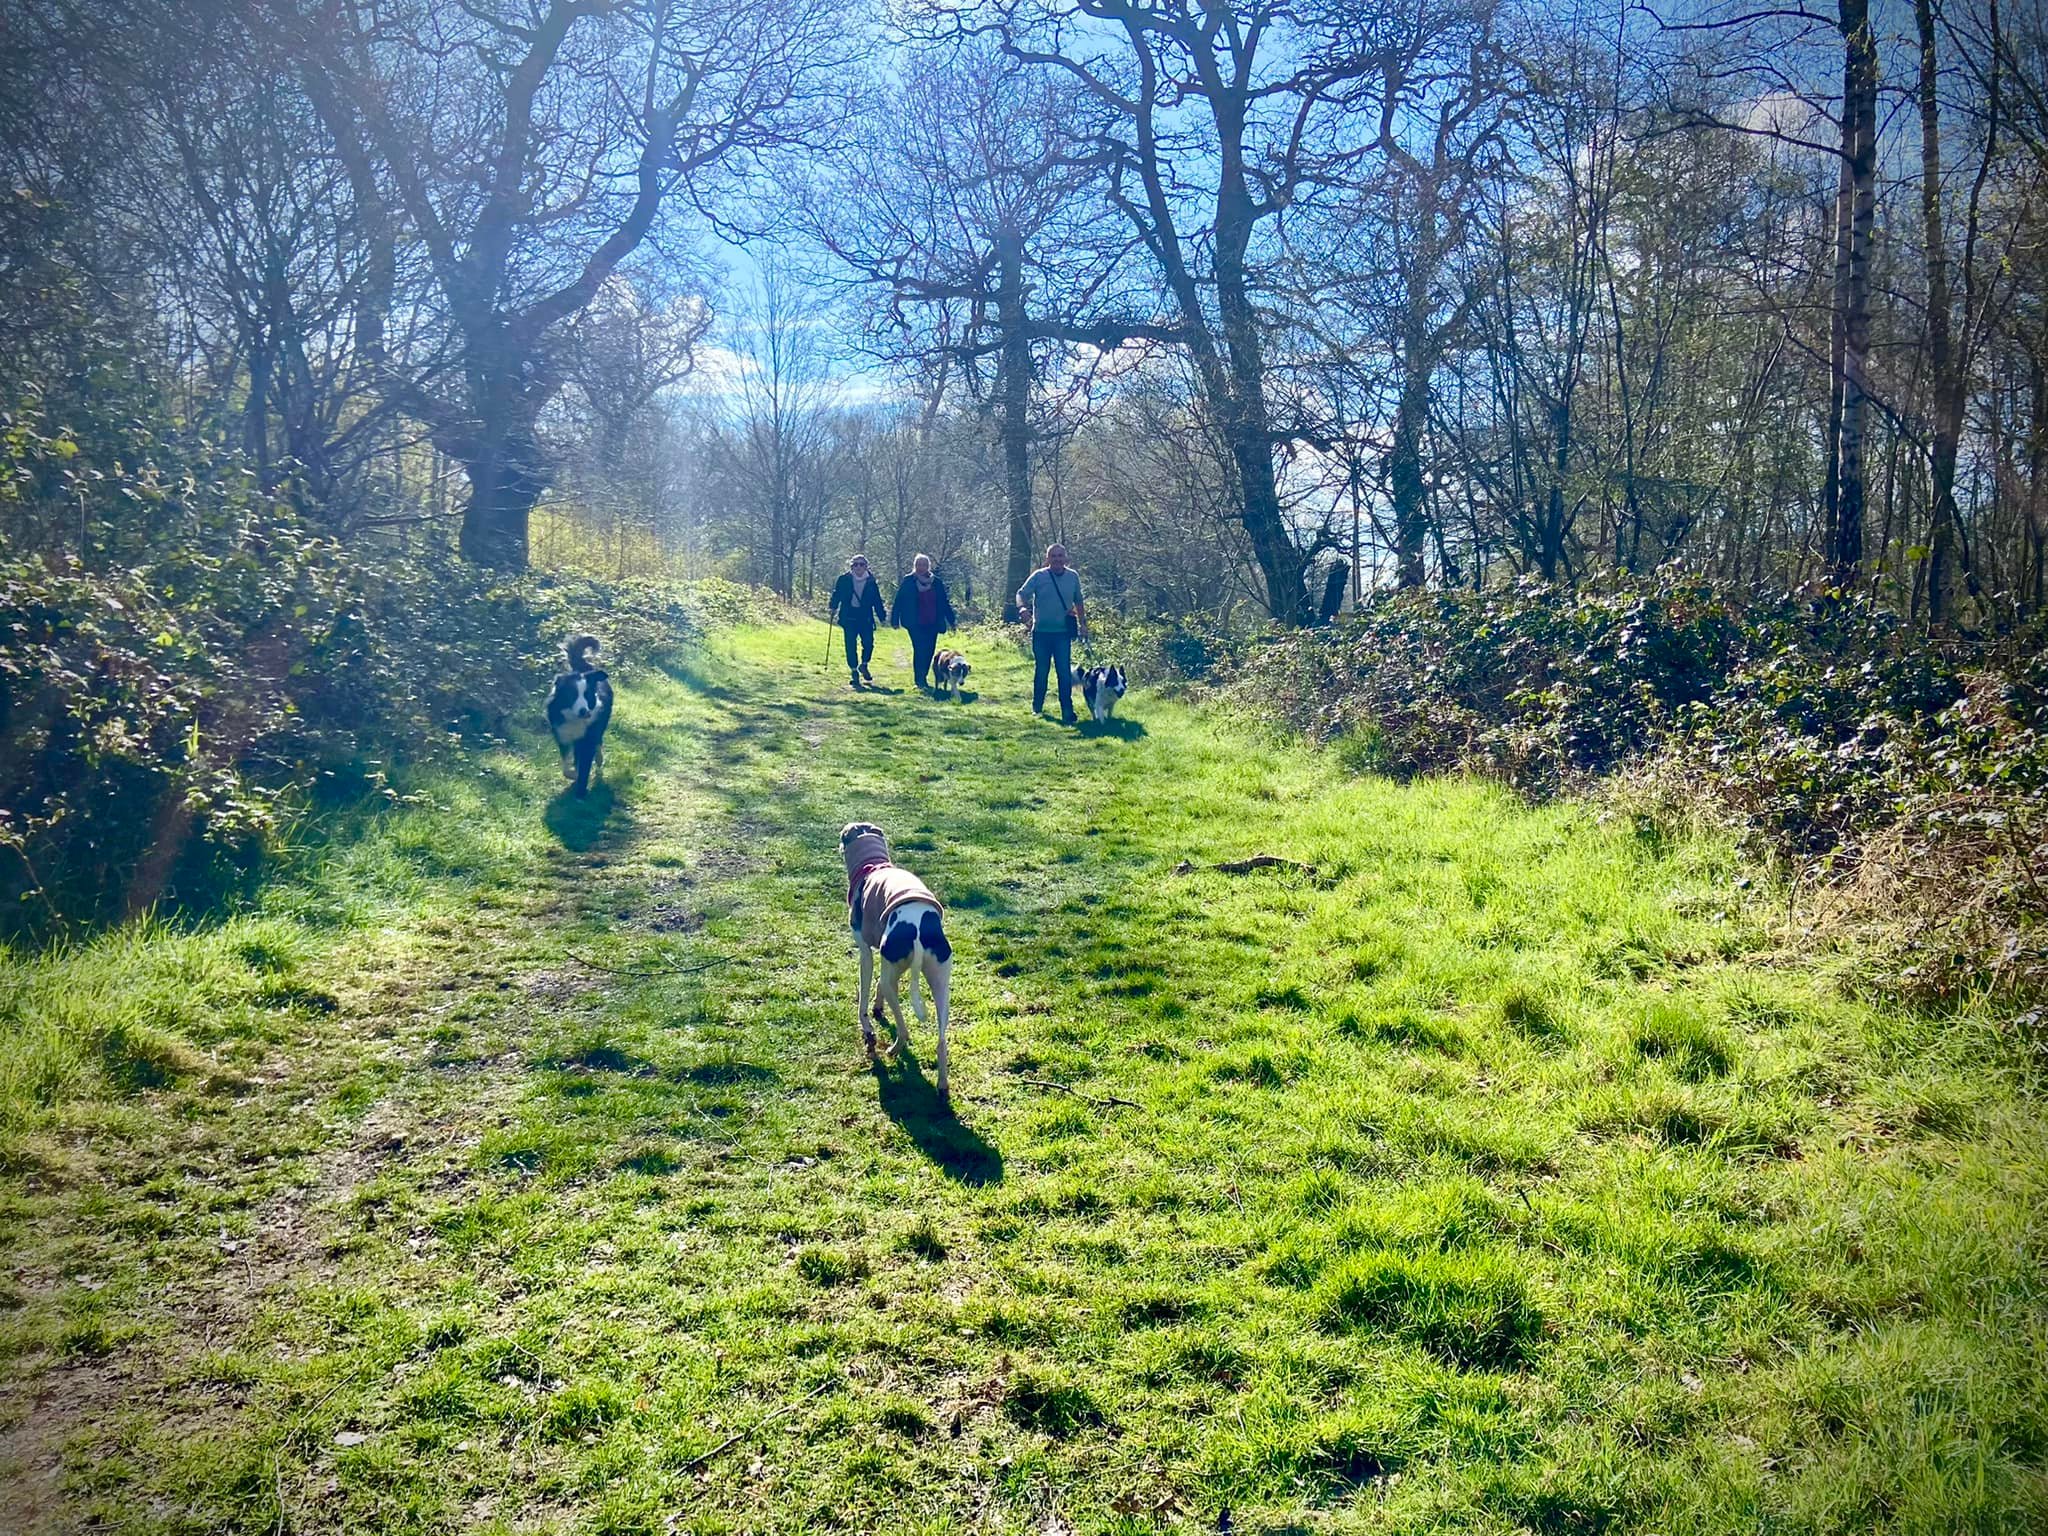
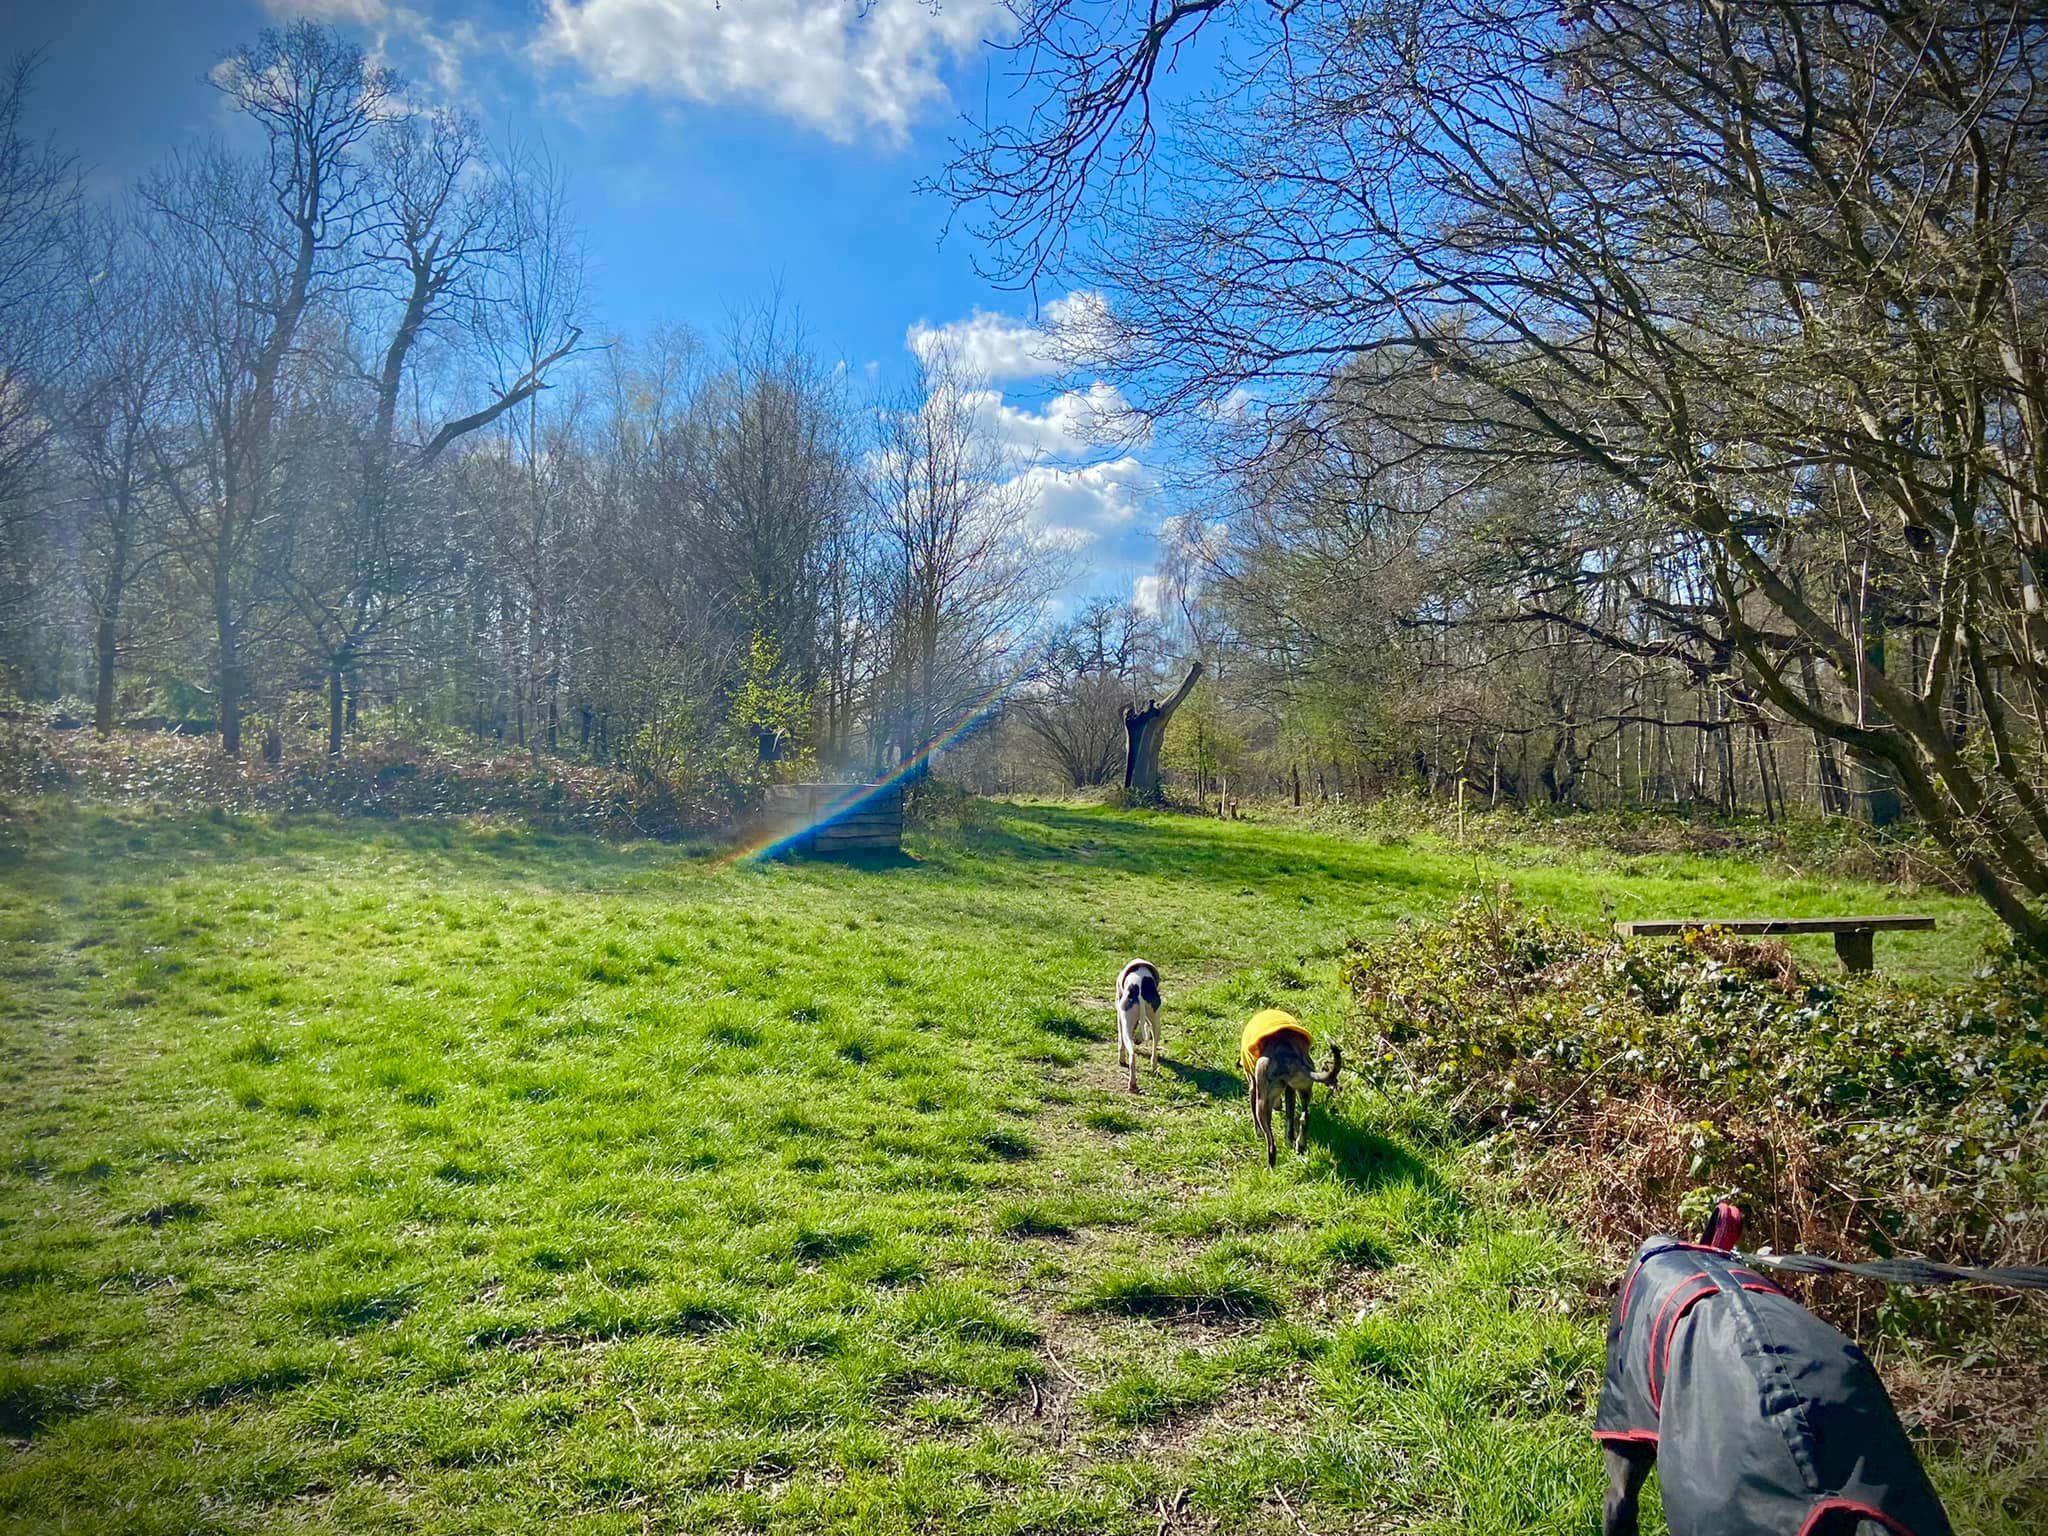
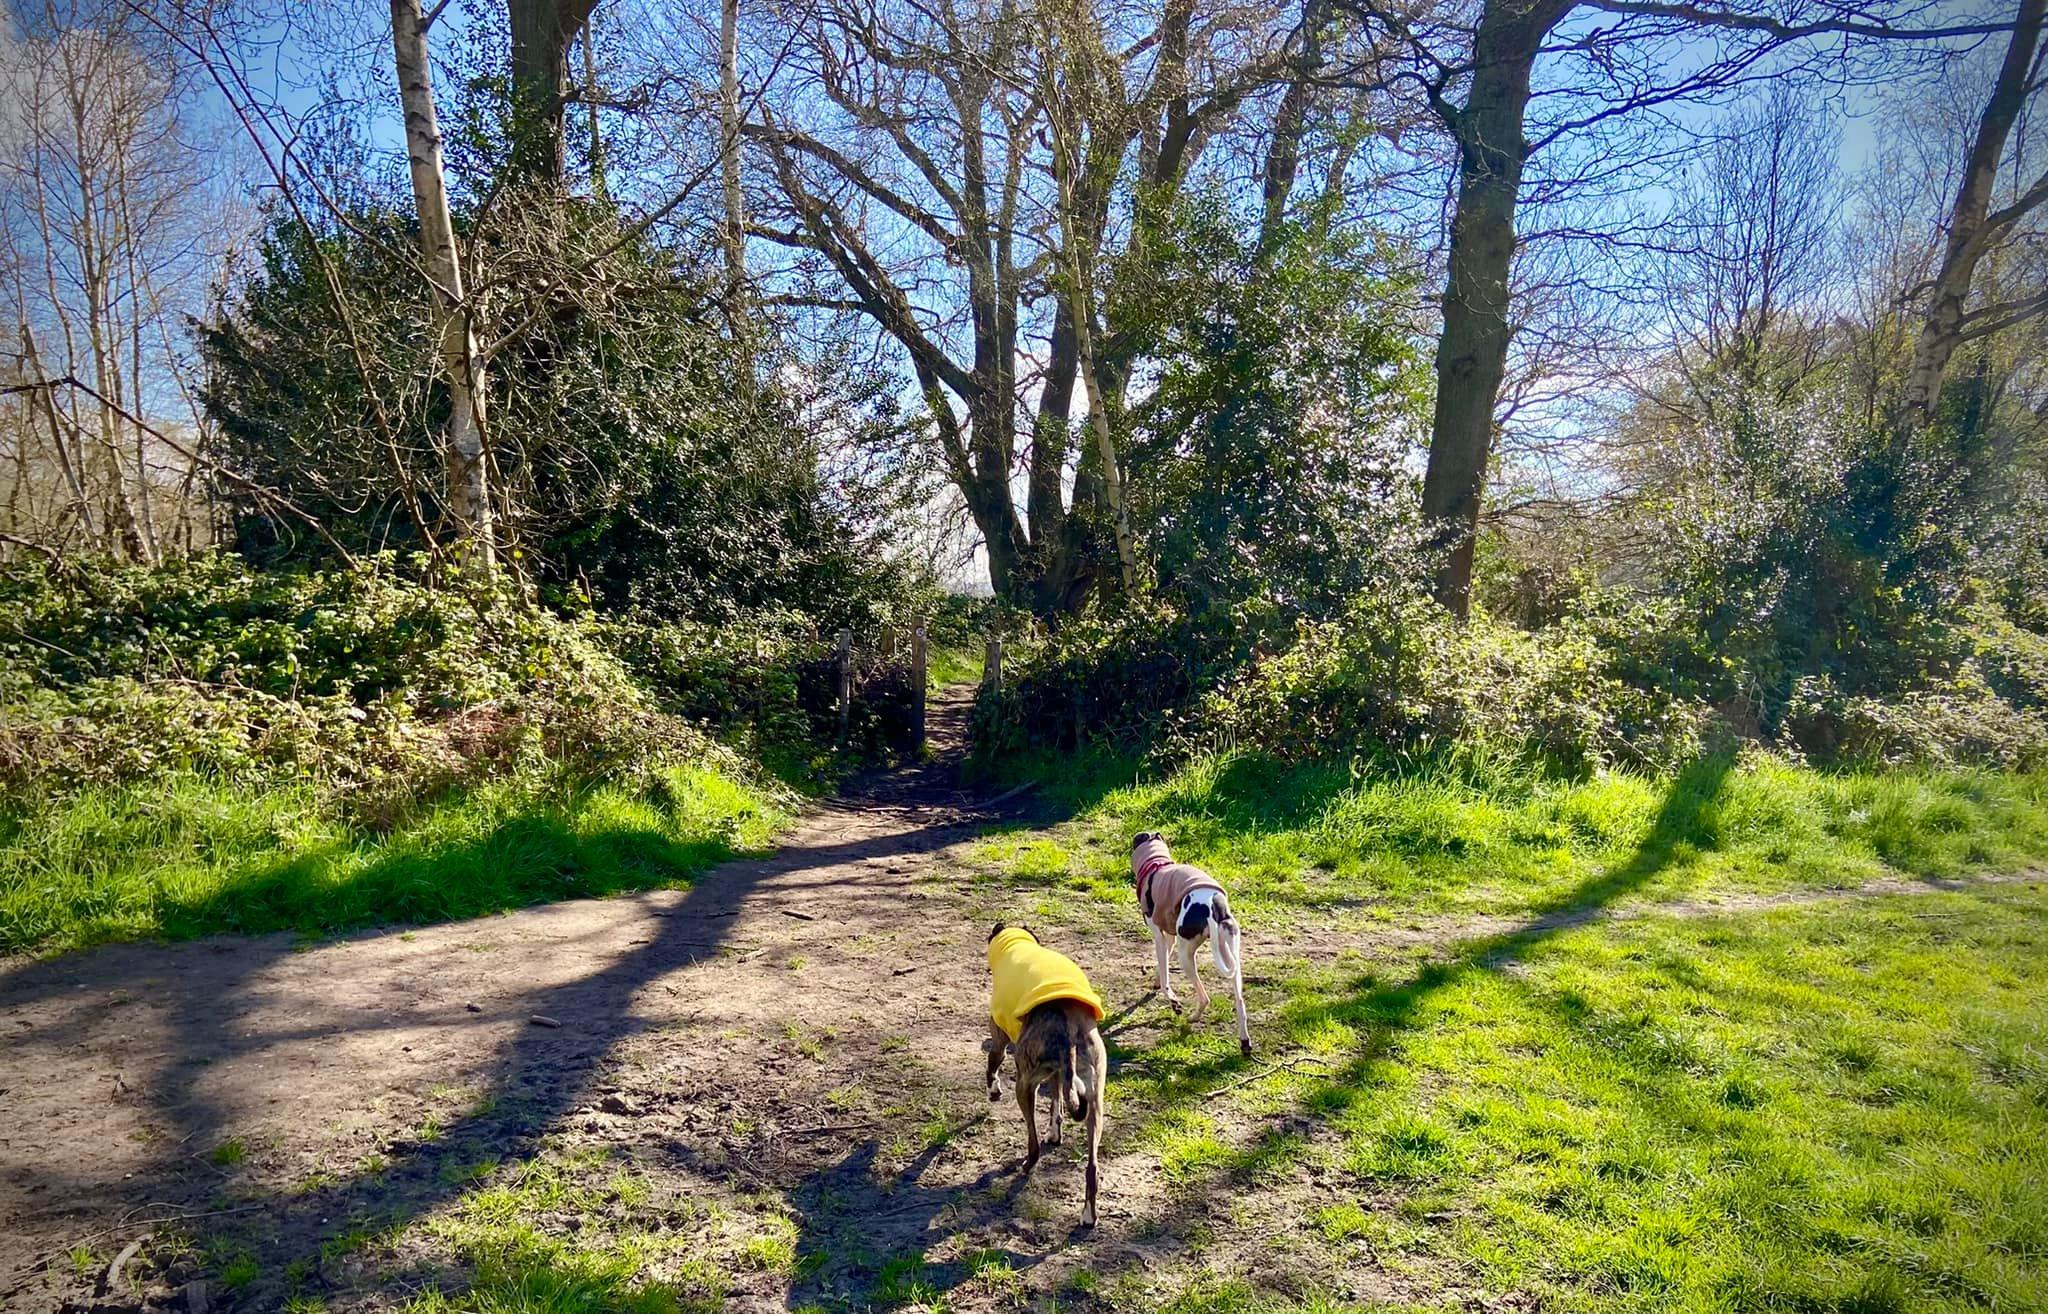
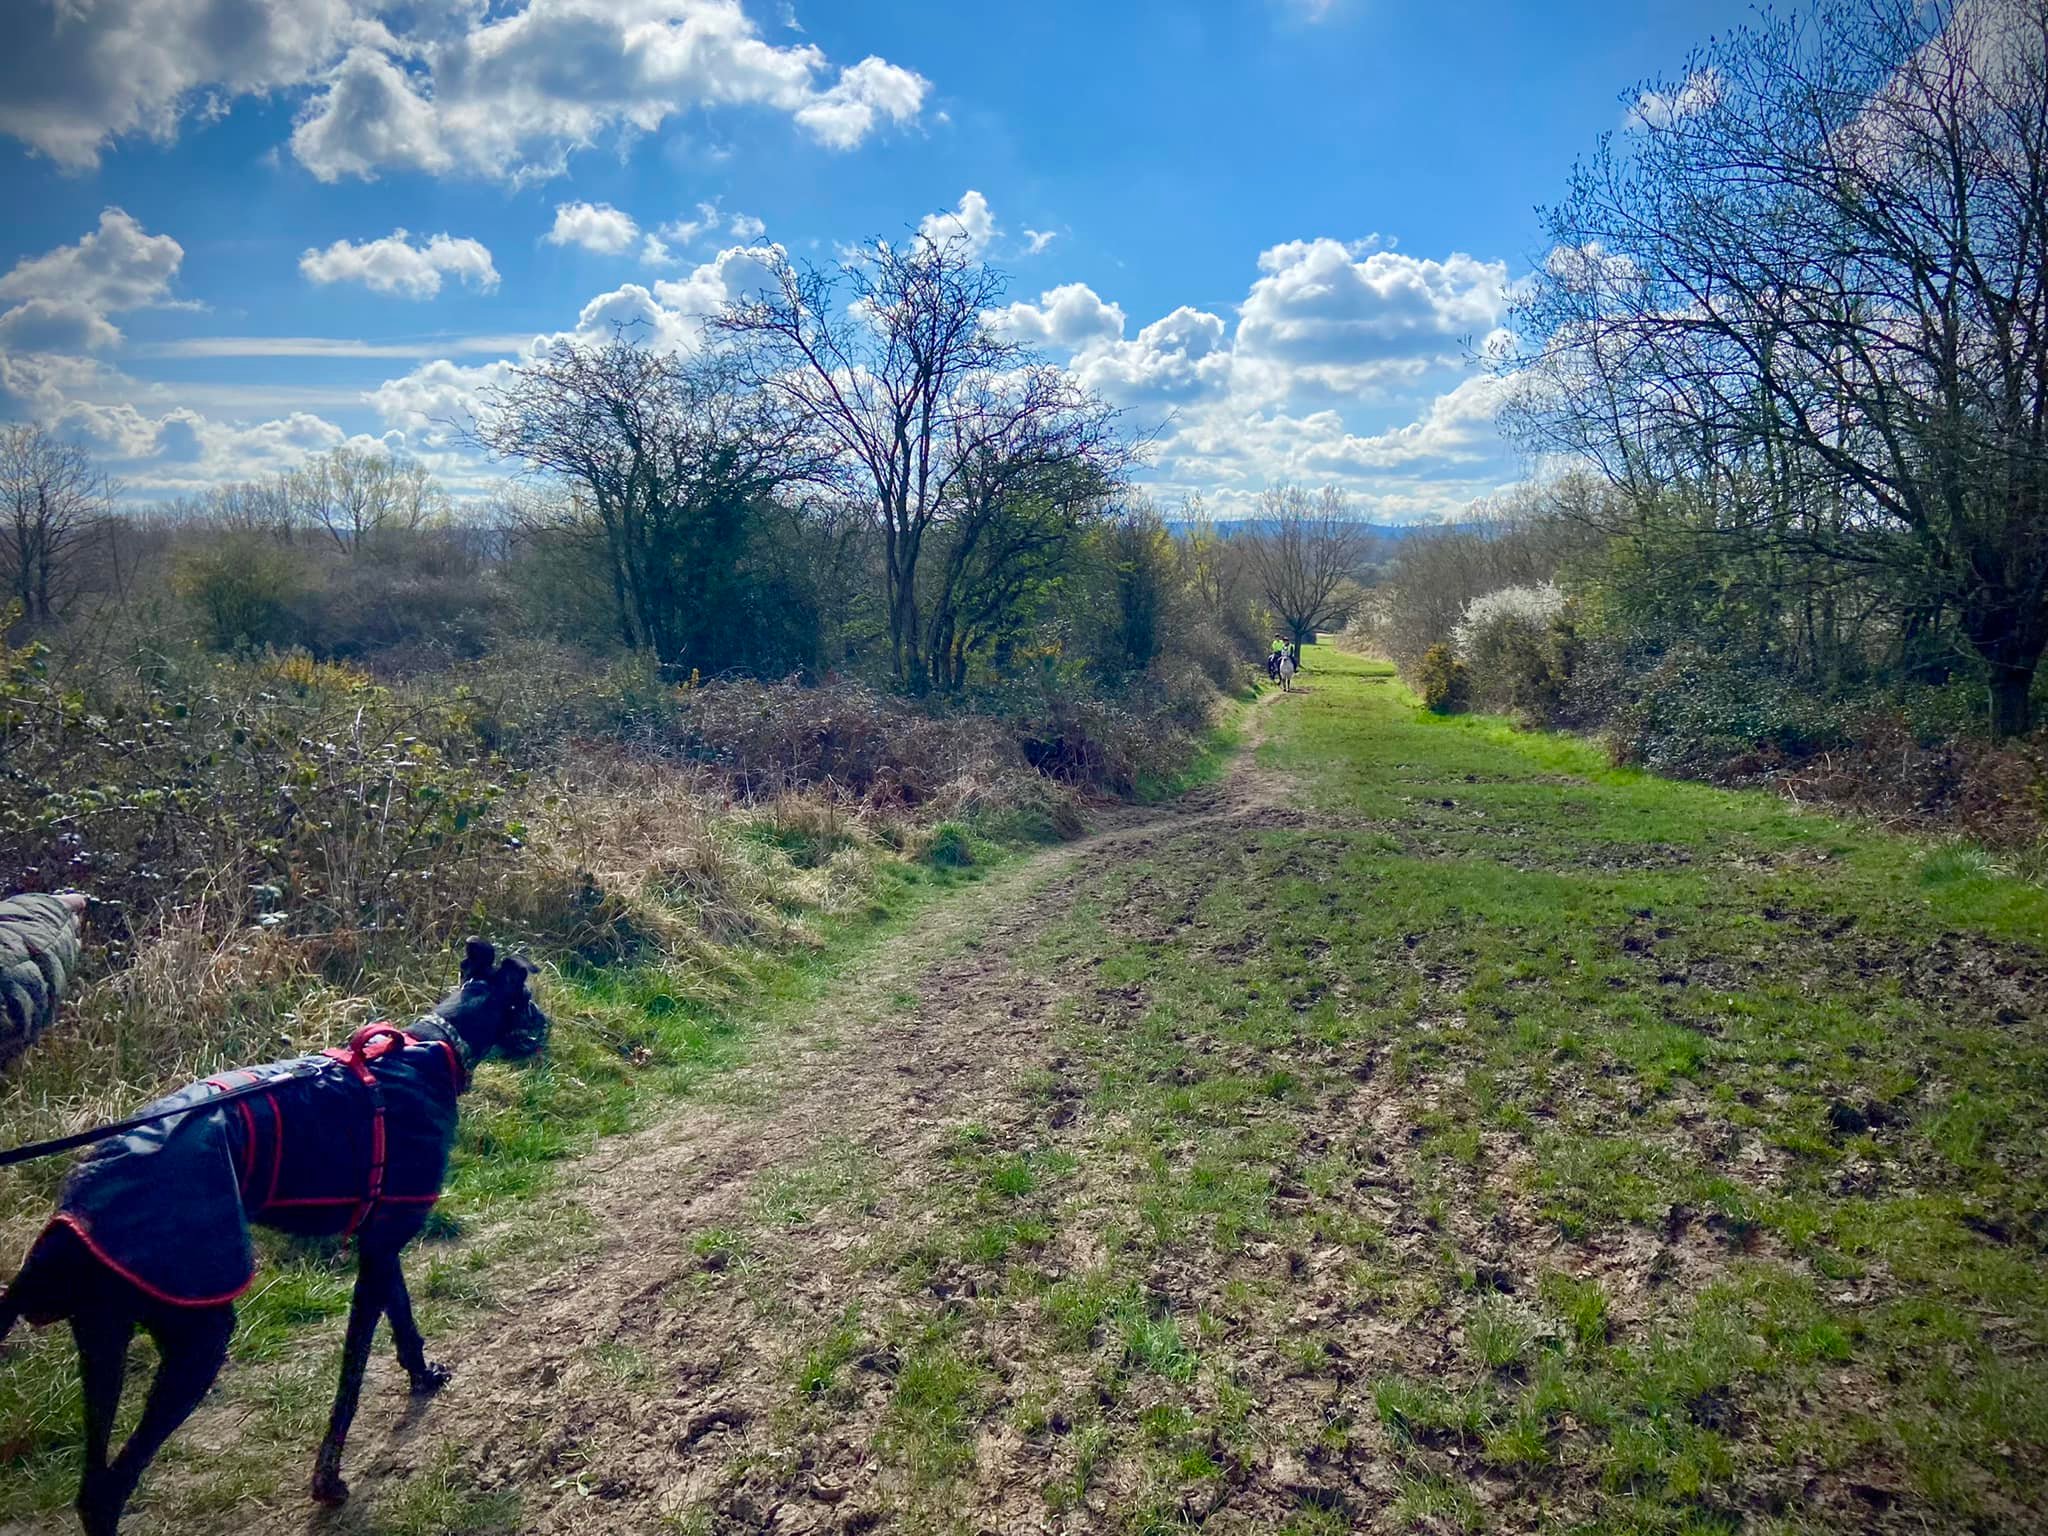
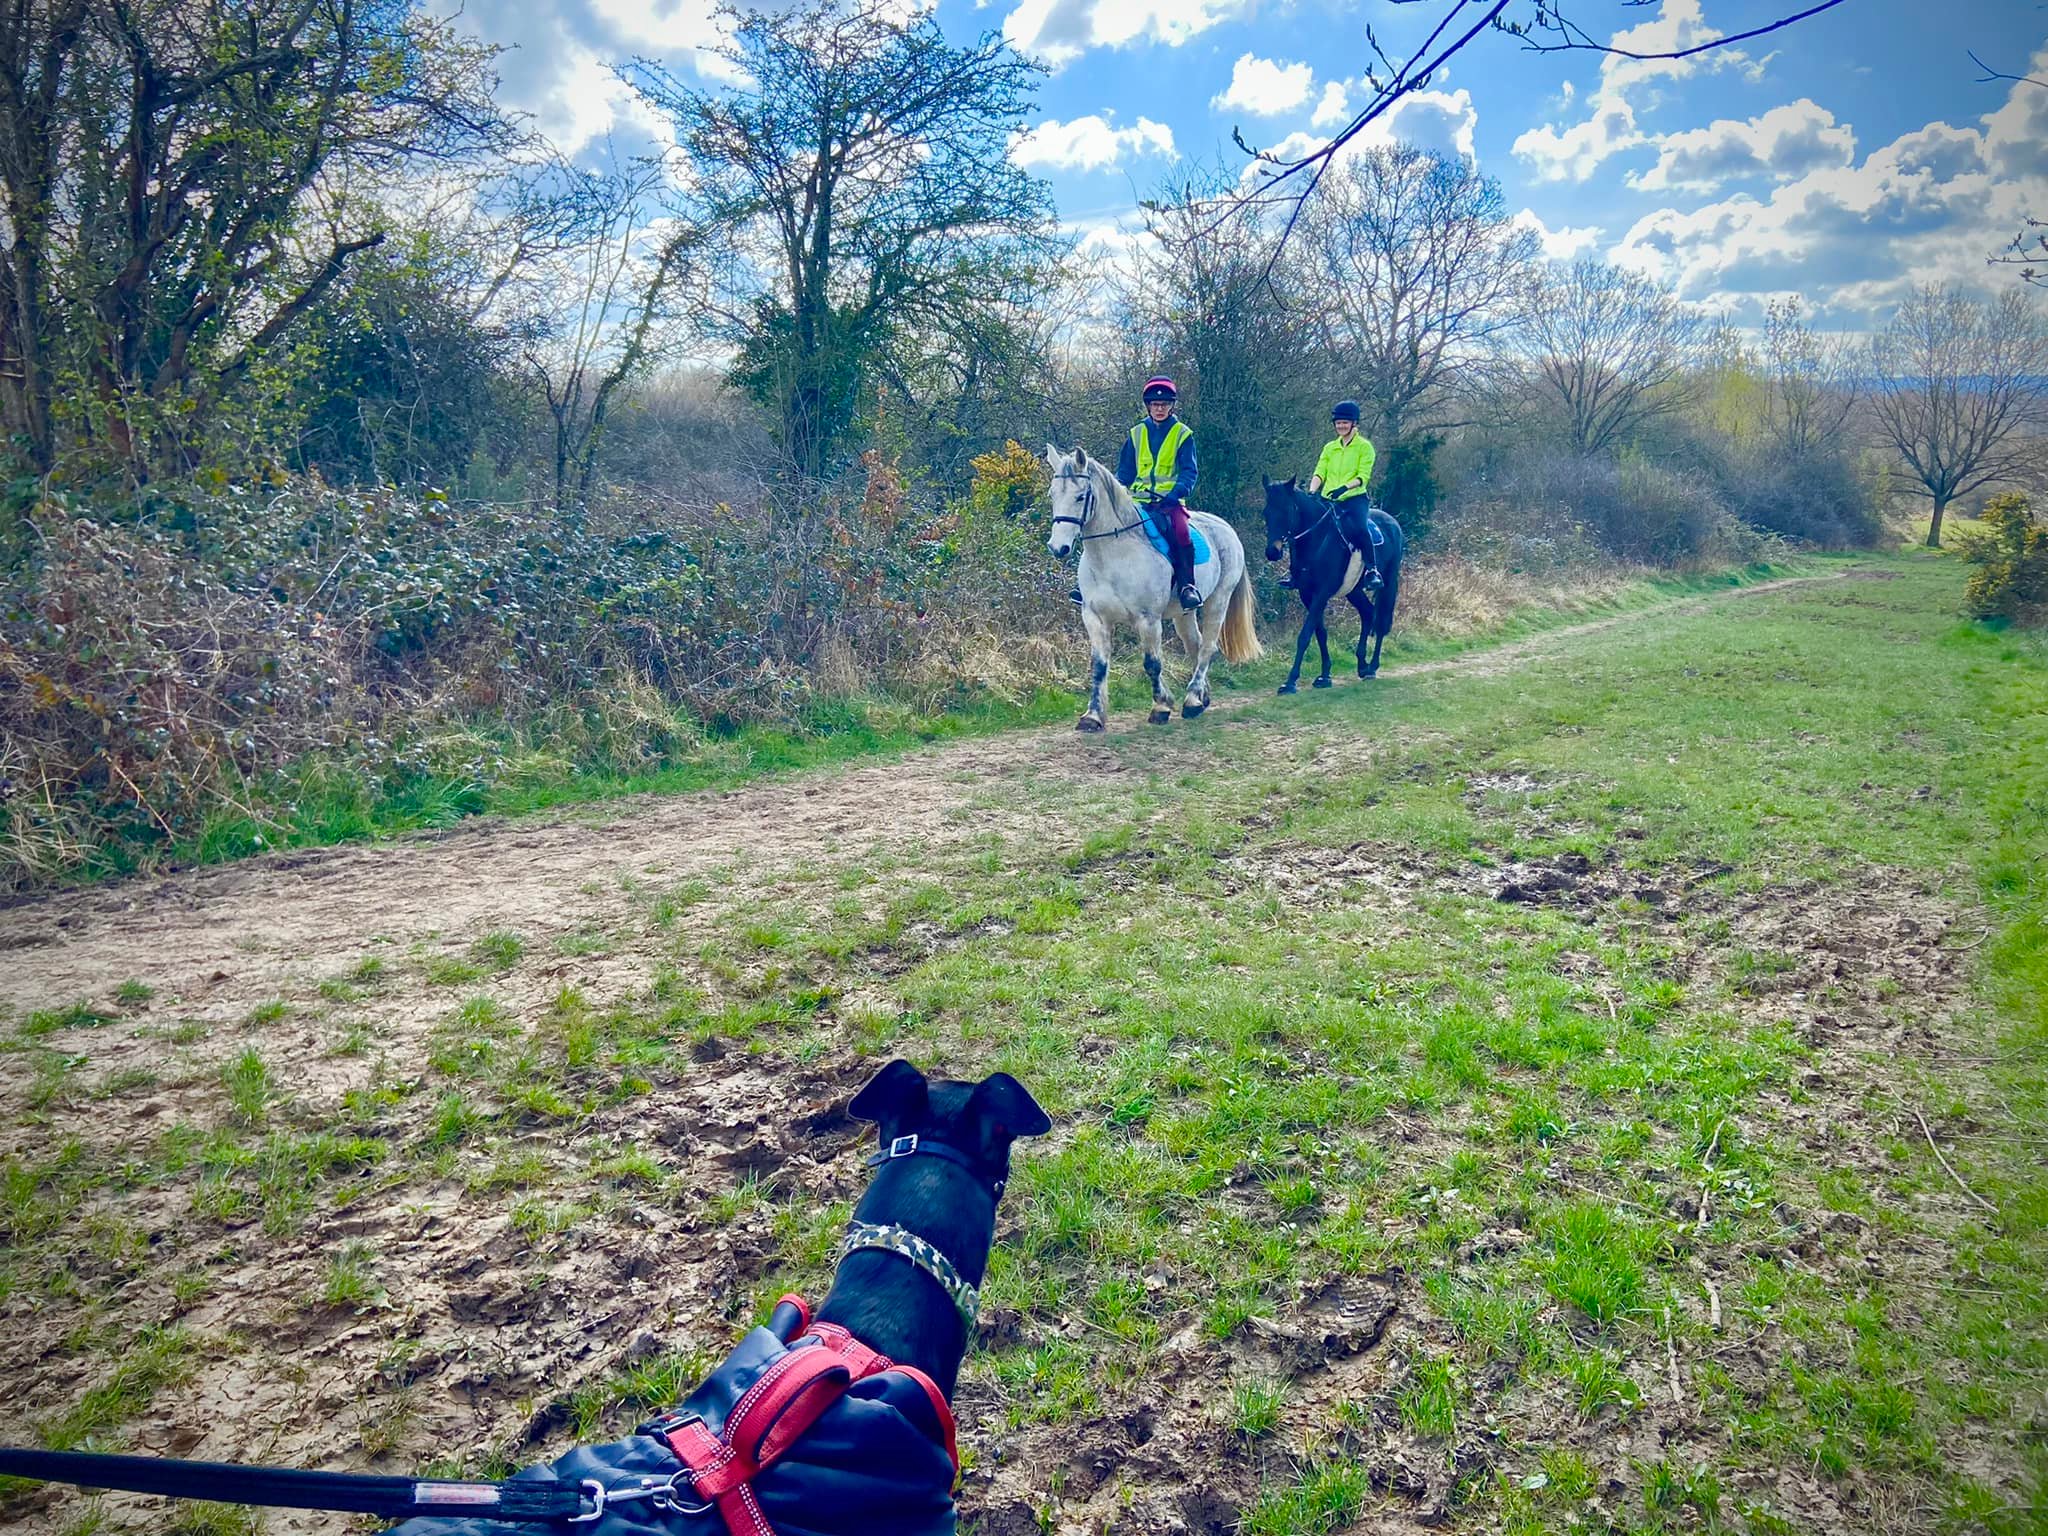
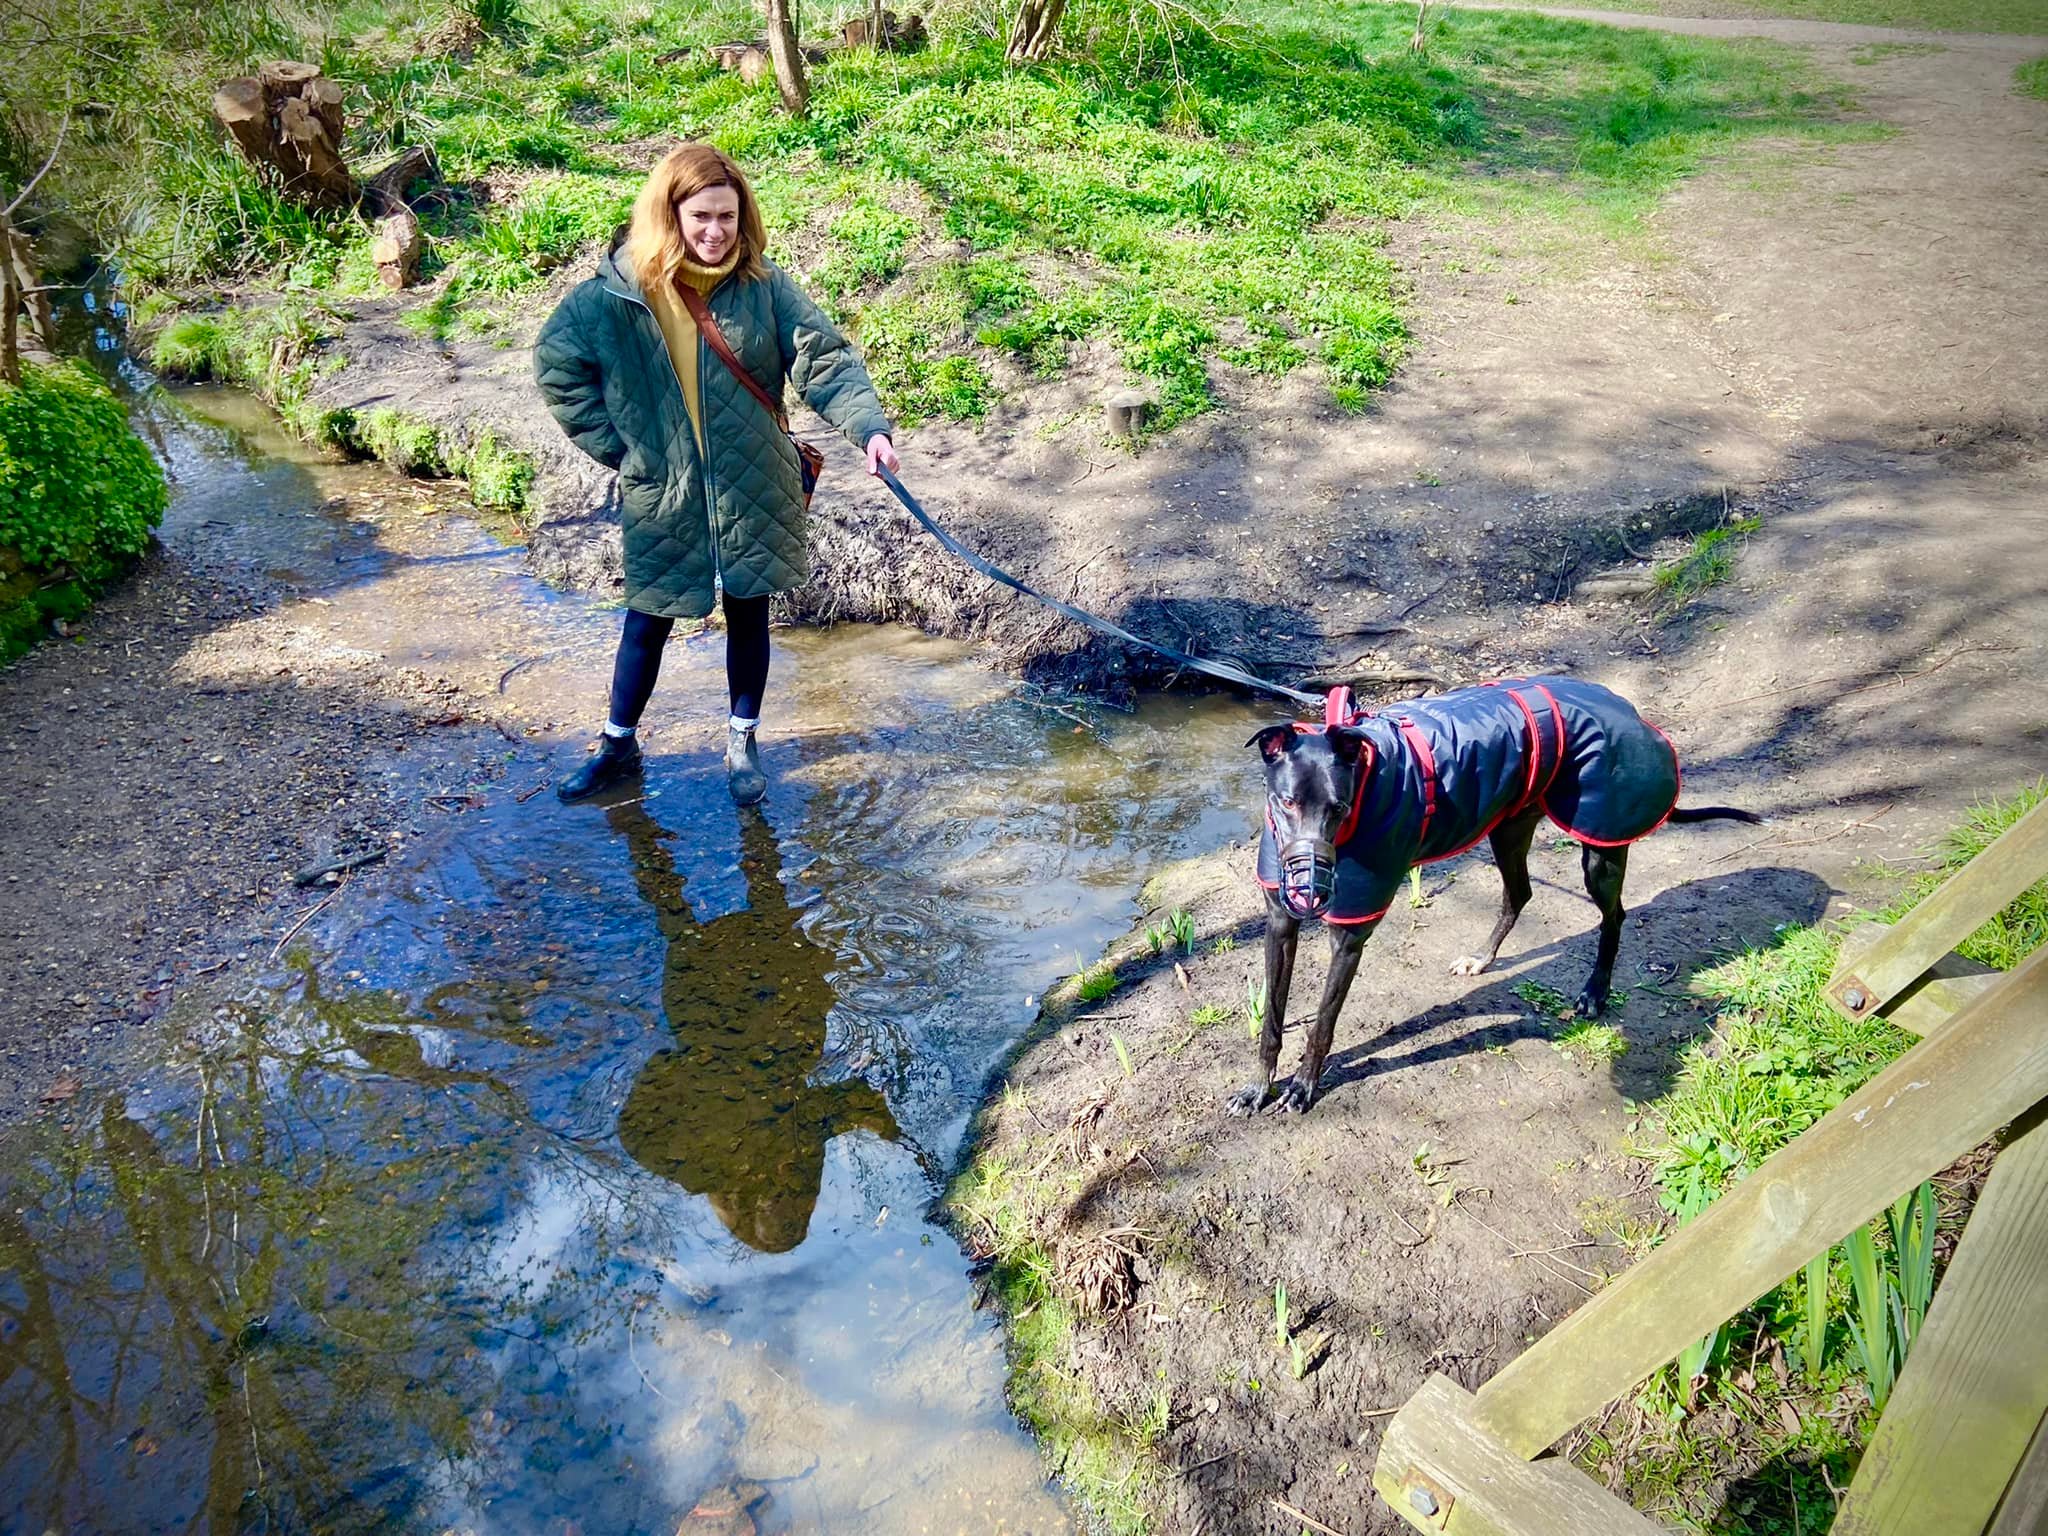
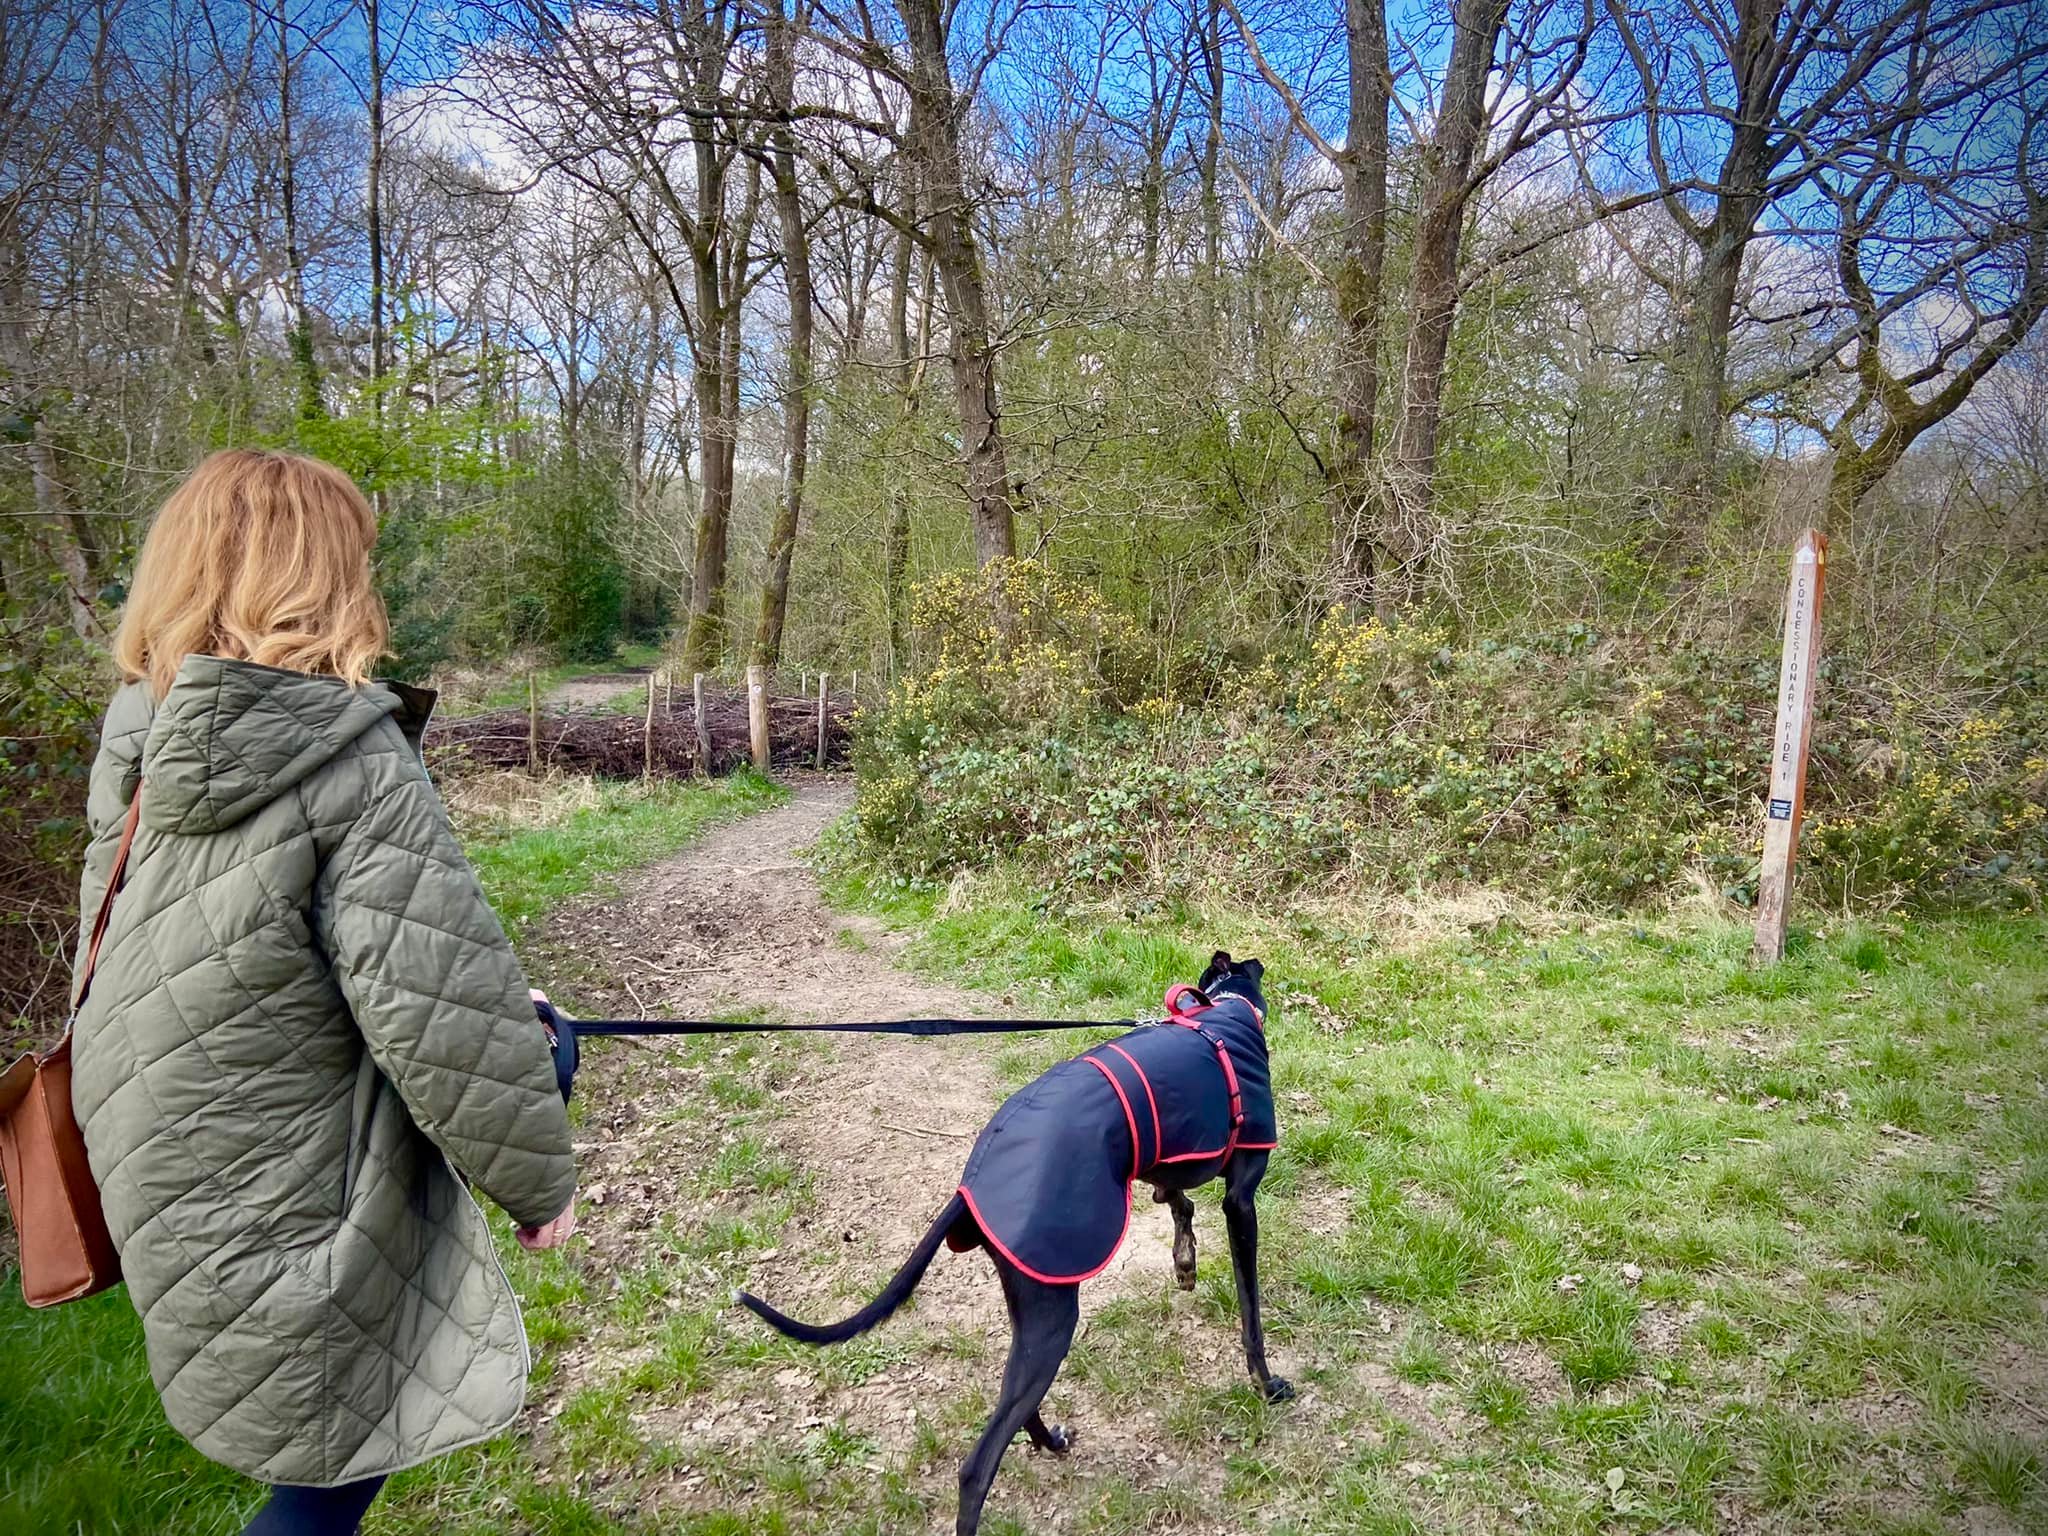
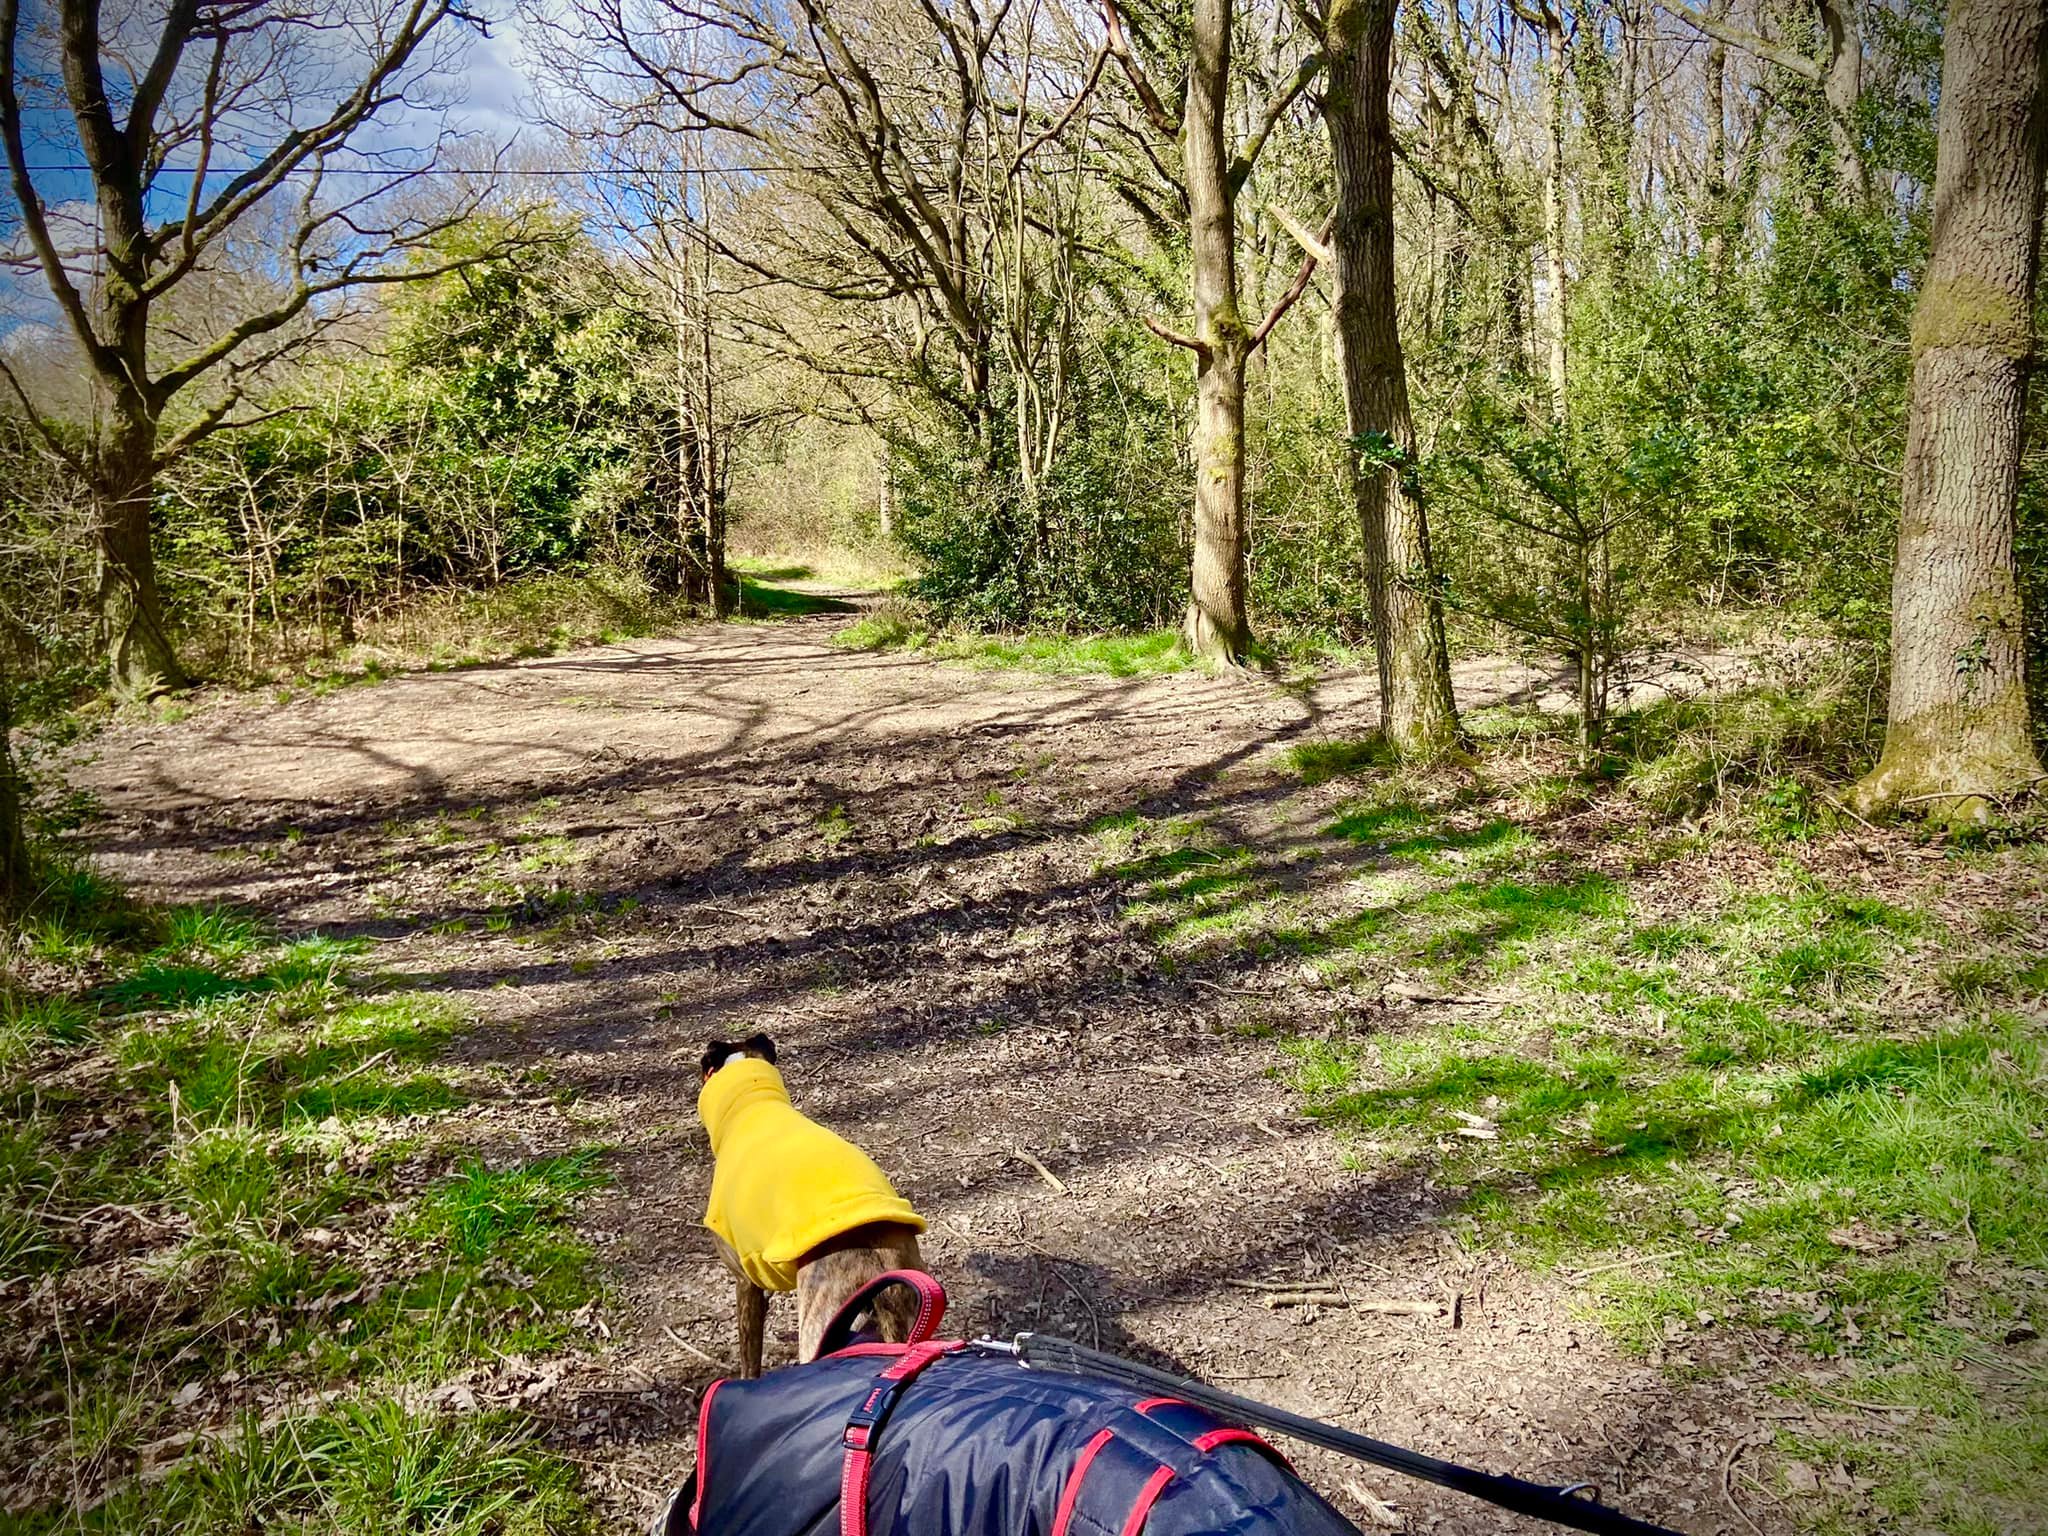
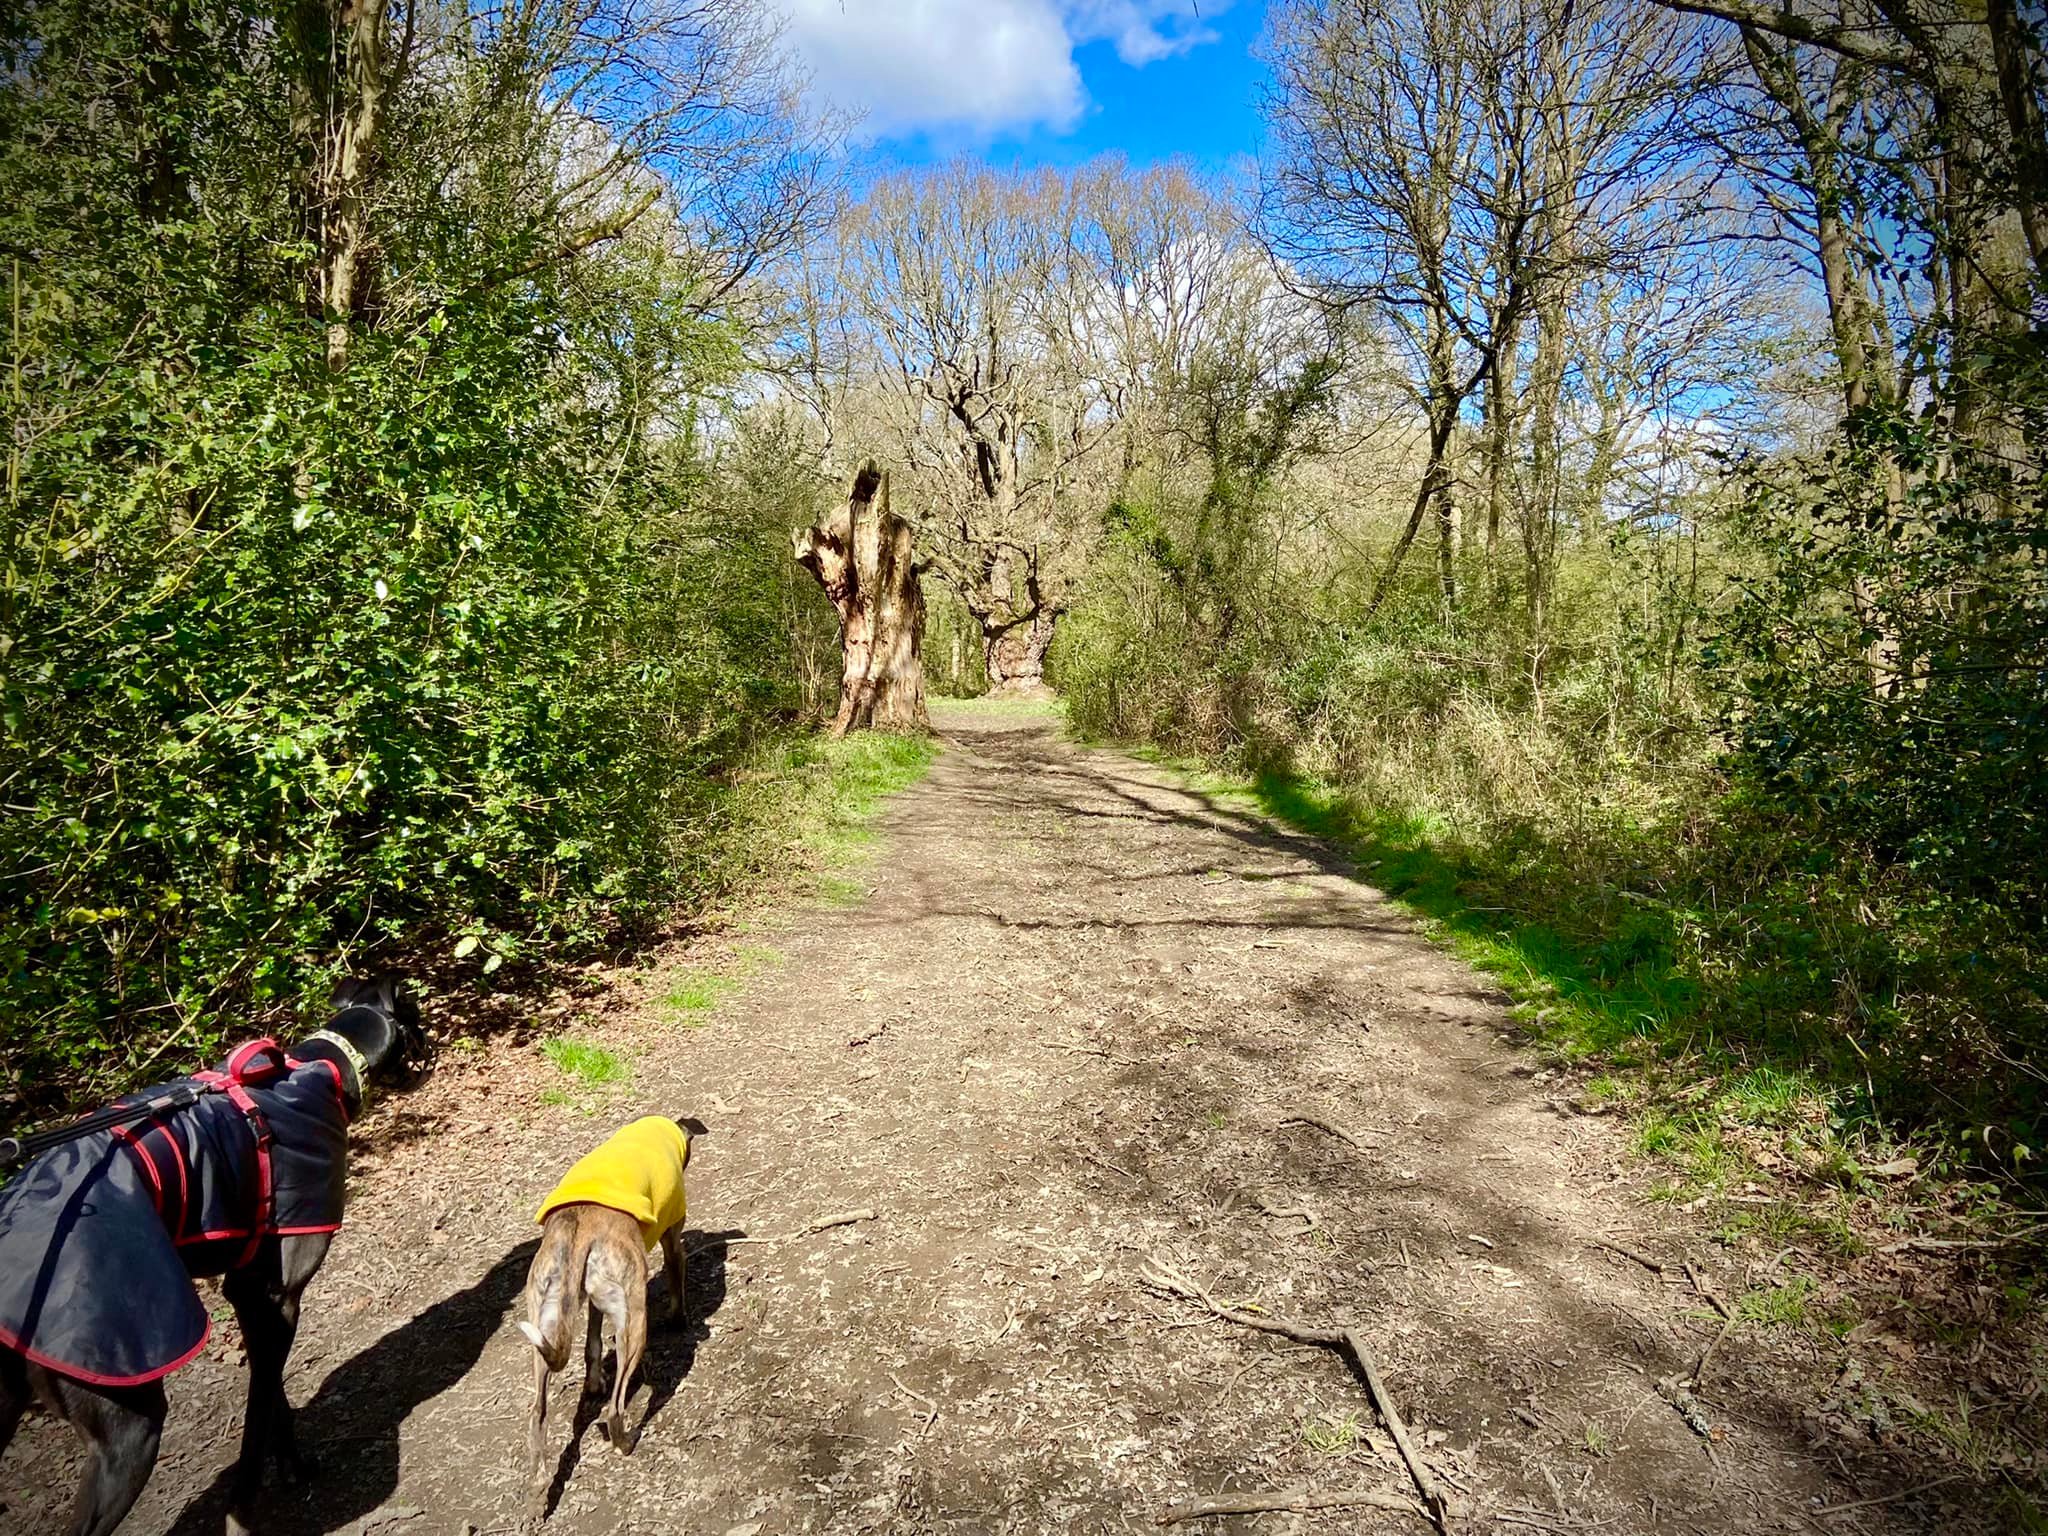
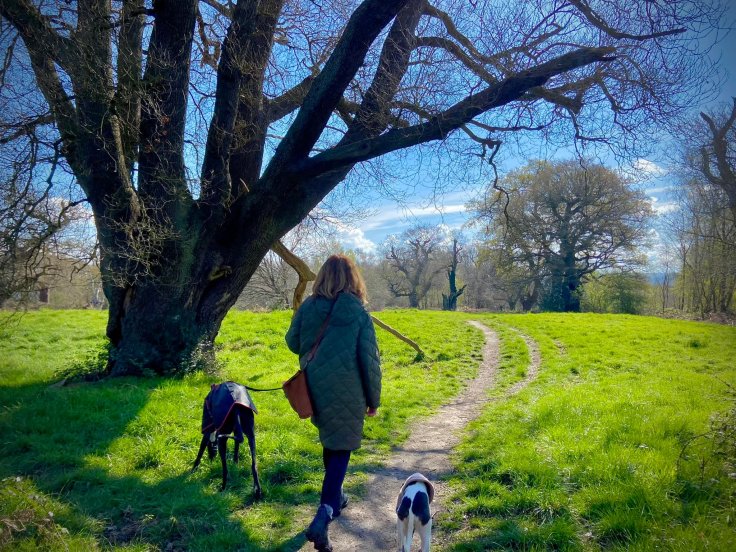
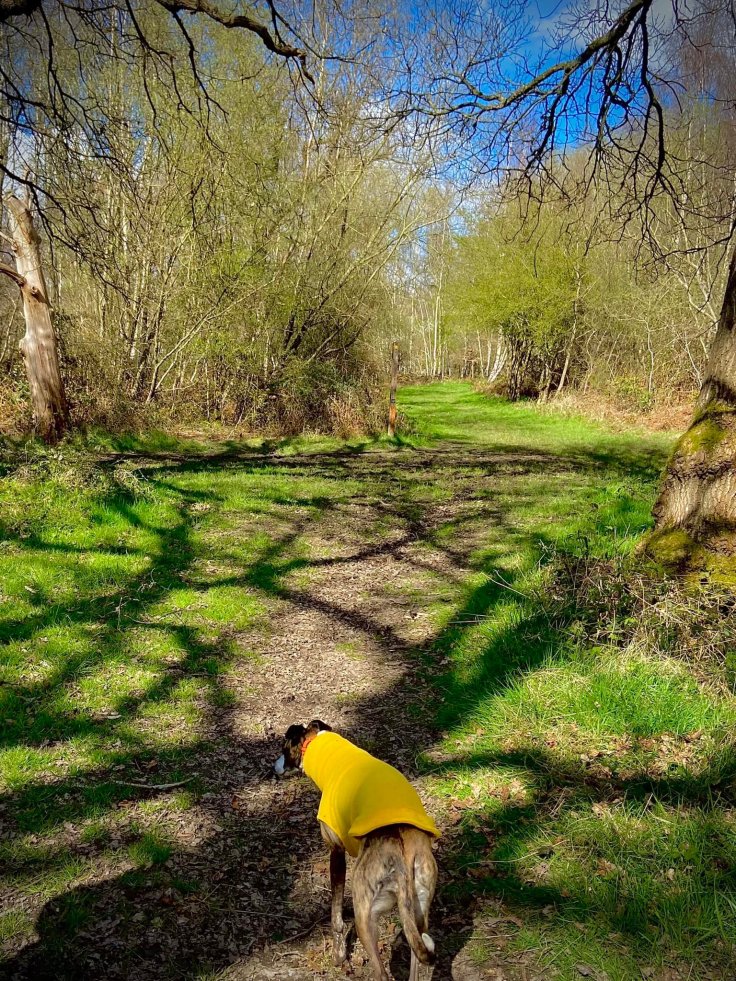
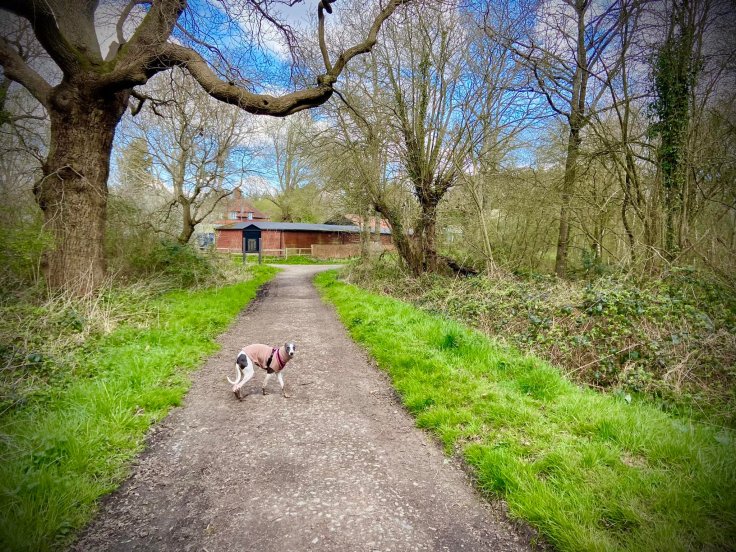
Gallery: What’s it like here?


Instagram reel showing here
Parking
Park in the car park of The Star pub in Malden Rushett. It opens at noon every day and is happy for walkers to use its car park in the mornings when it is closed (and after it has opened if you’re going to be a customer). It is dog-friendly in the bar and garden.
Poo bins?
None, please don’t use the bins at the pub. Take waste home with you.
Self-guided walk
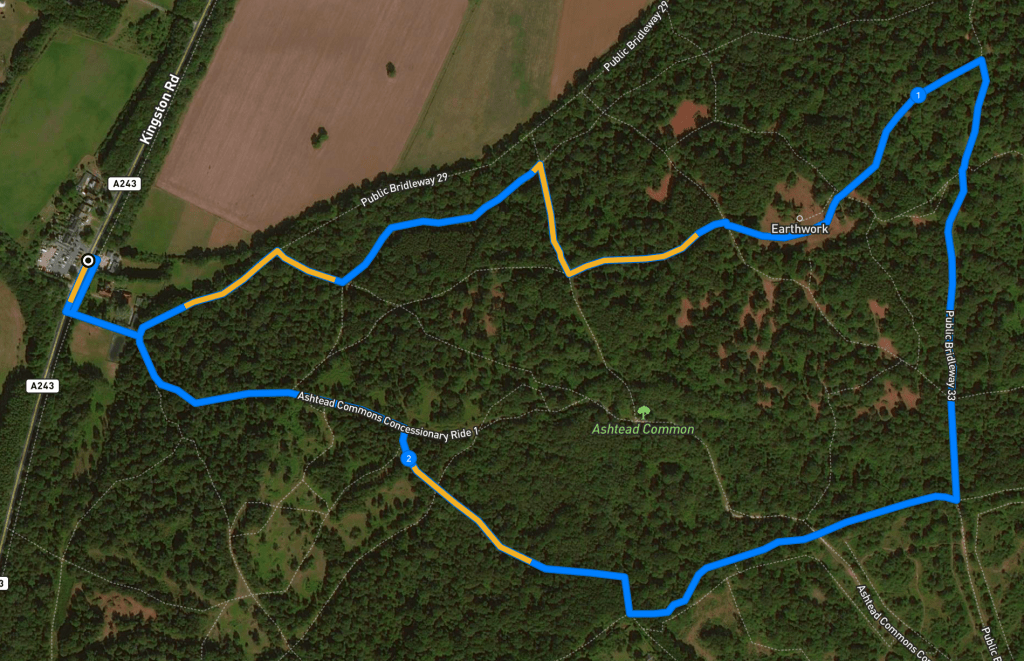
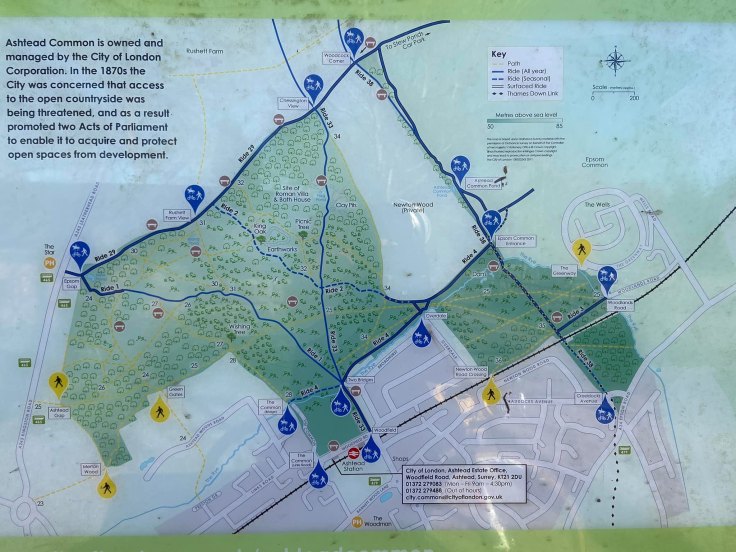
Here is a Footpath app route (also on AllTrails) from The Star pub on the A243 Kingston Road just outside Malden Rushett. This is a dog-friendly pub in its bar and garden so do think about dropping in for some food – it opens at noon every day and is happy for walkers to use its car park in the mornings when it is closed (and after it has opened if you’re going to be a customer).
This walk takes you over the A243 to Ashtead Common and then on a mix of main rides and smaller paths. It goes via King Oak, the site of the Ashtead Roman Villa and the Wishing Tree, before looping back to the start and taking you back across the main road to the pub.
Length: approximately 2.4 miles/3.9 km
Terrain: This walk is mainly on grassy paths on clay soil, which can be very muddy (and sticky) from autumn through to late spring – so avoid during those months or wear suitable footwear (sturdy boots that won’t get pulled off your feet in the mud!). You will cross the A243 twice – out and back – it is a busy, fast road so take care.
Stiles/kissing gates? No stiles, no kissing gates
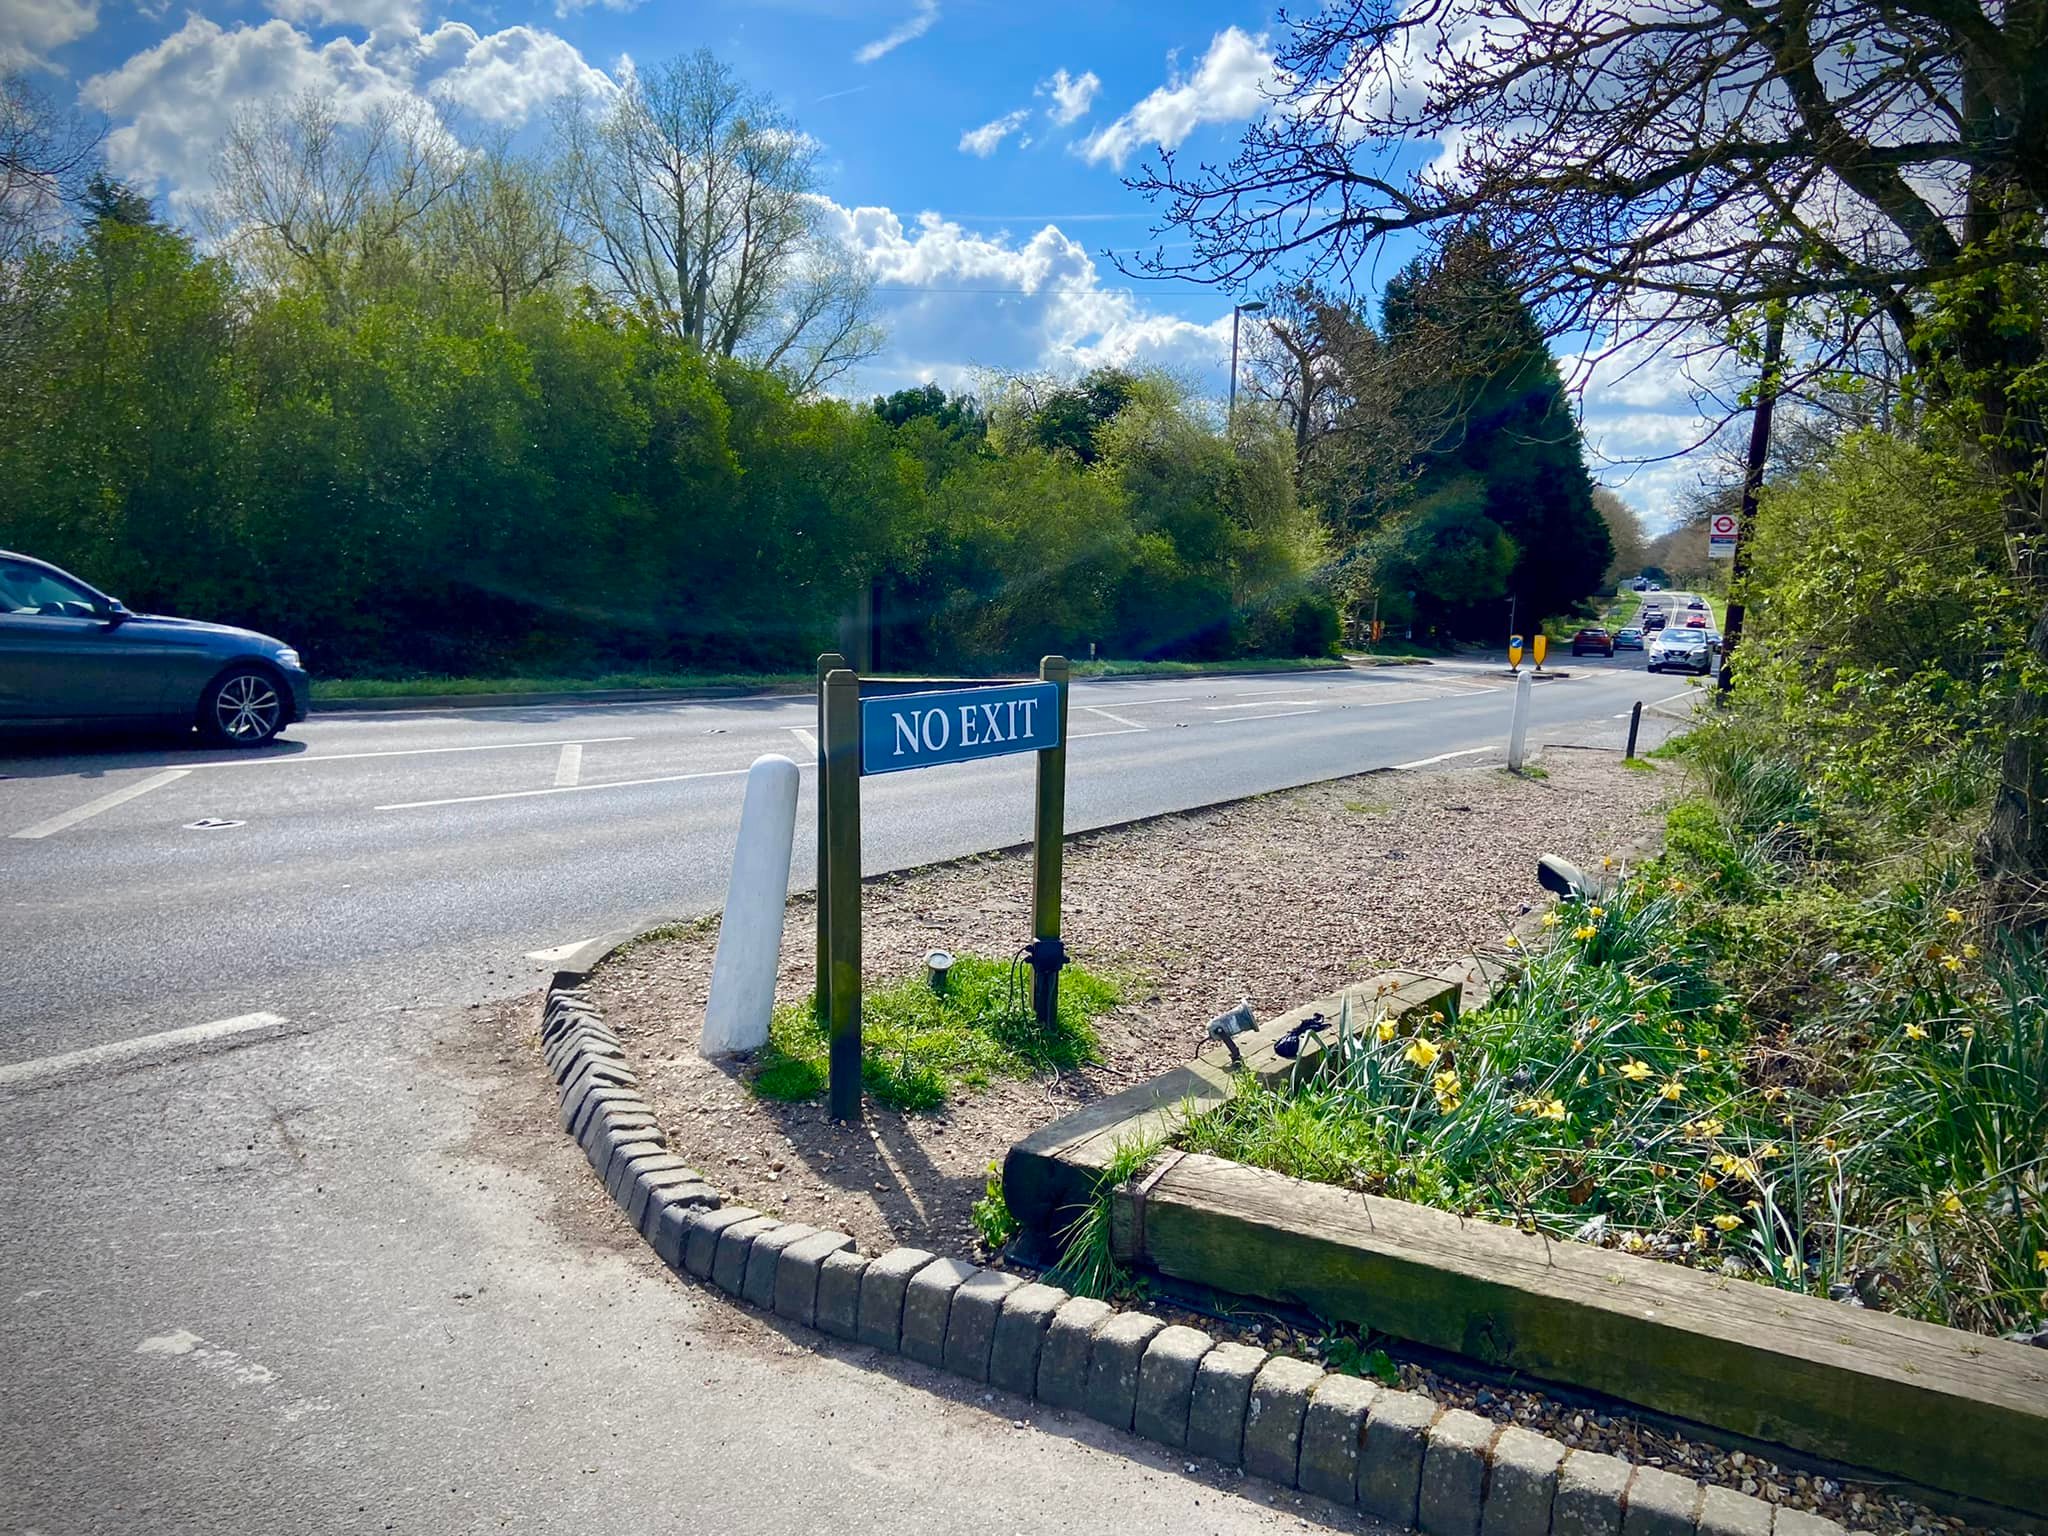
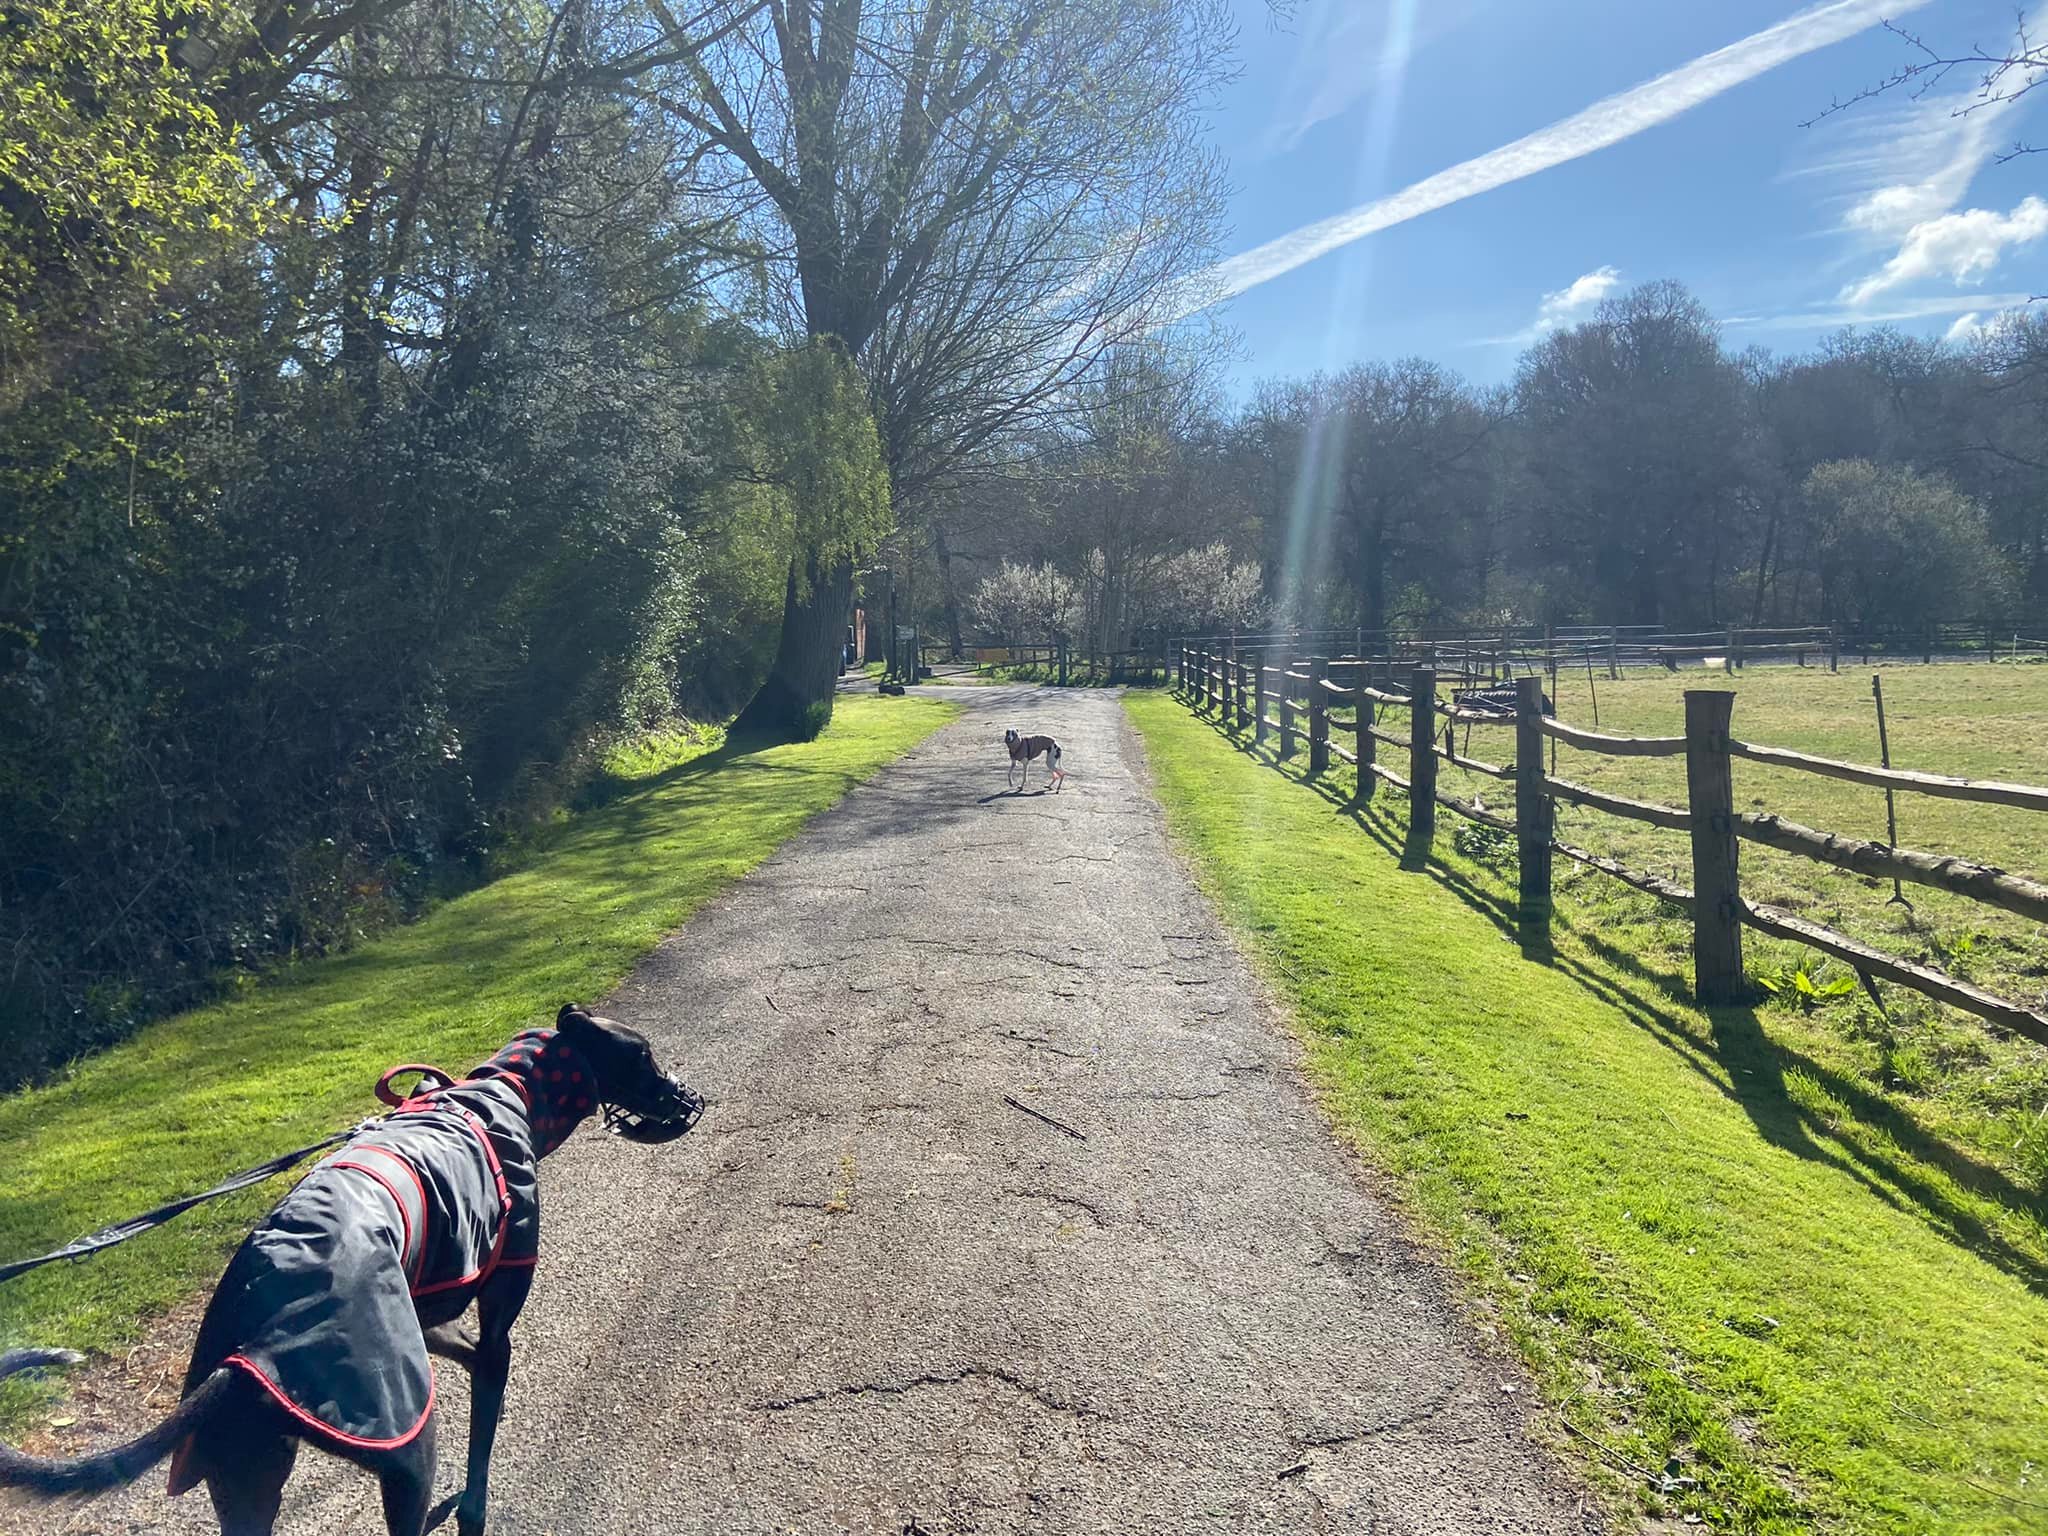
Exit through the pub car park entrance, turning right to walk across the stones towards the bus stop and then crossing the little lane to the right that goes up to Princes Coverts. Use the traffic island to cross the main A243 road. Keep going along the pavement on the other side of the road a short way and turn left at the finger post pointing down the tarmac drive – this is known as ‘Epsom Gap’. Pass the paddocks on your right and walk to the side of the vehicle barrier next to the stables on the left.
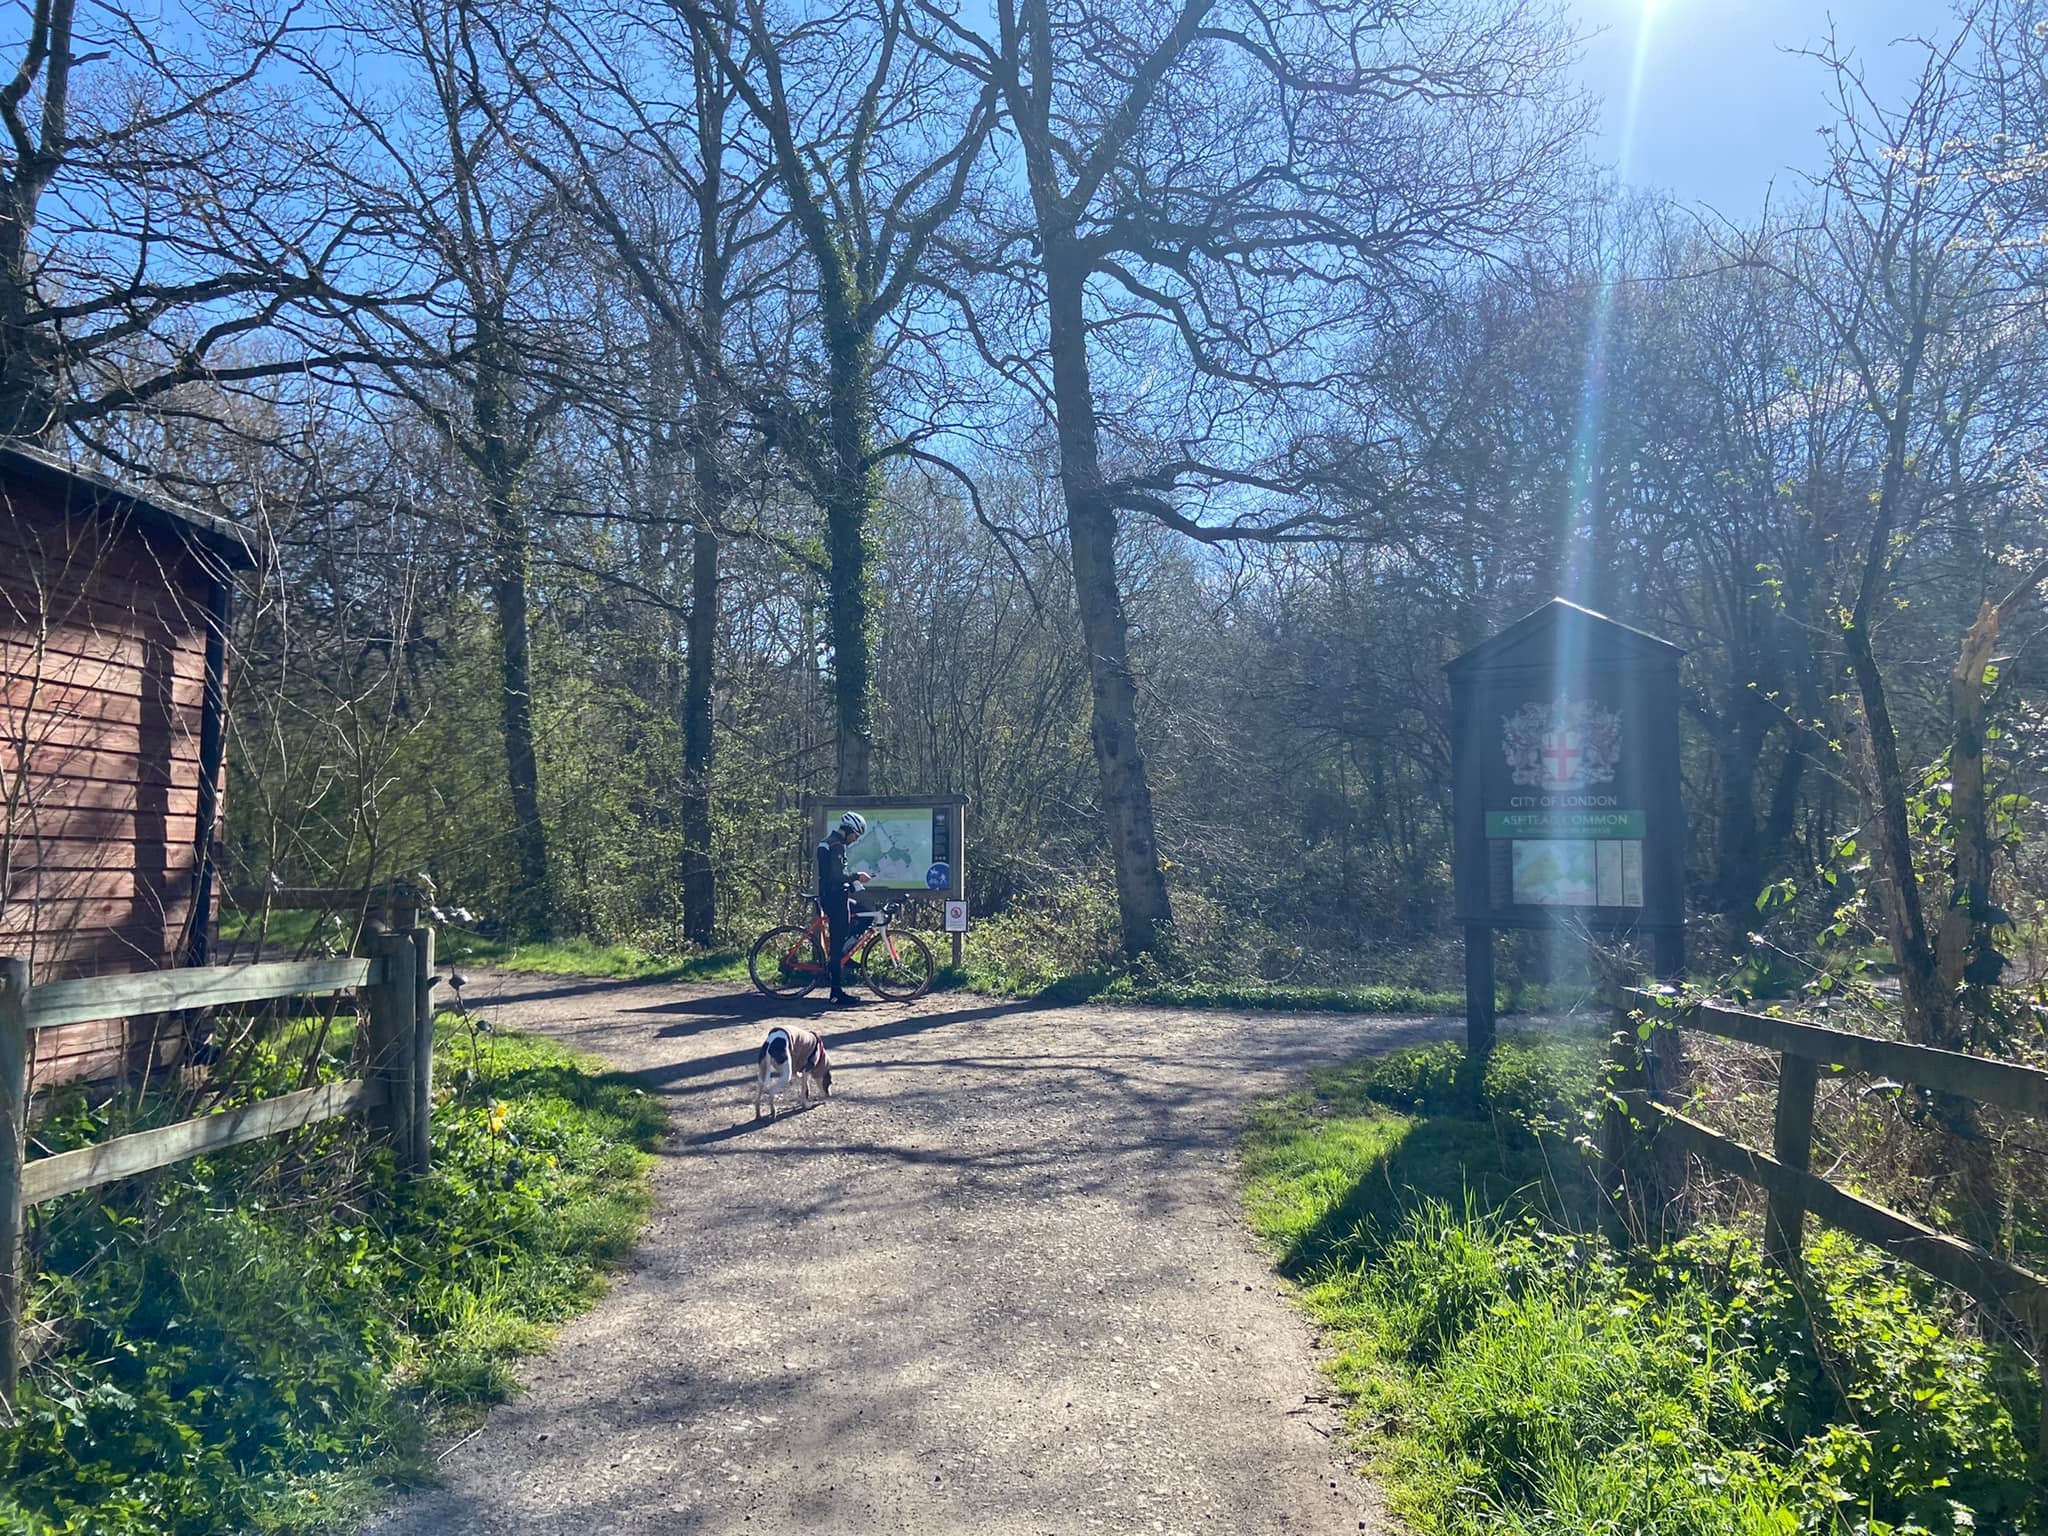
At the junction of paths with the map in front of you, turn left onto Bridleway 29. When you come to a tall bridleway post on your right by a plank bridge, cross this to come off the main path and wind through the stick slalom.
At the first cross paths, turn left just before the dead tree. Walk down here until you get to the three way junction with another dead tree in the middle of it surrounded by a bramble bush – turn right here.

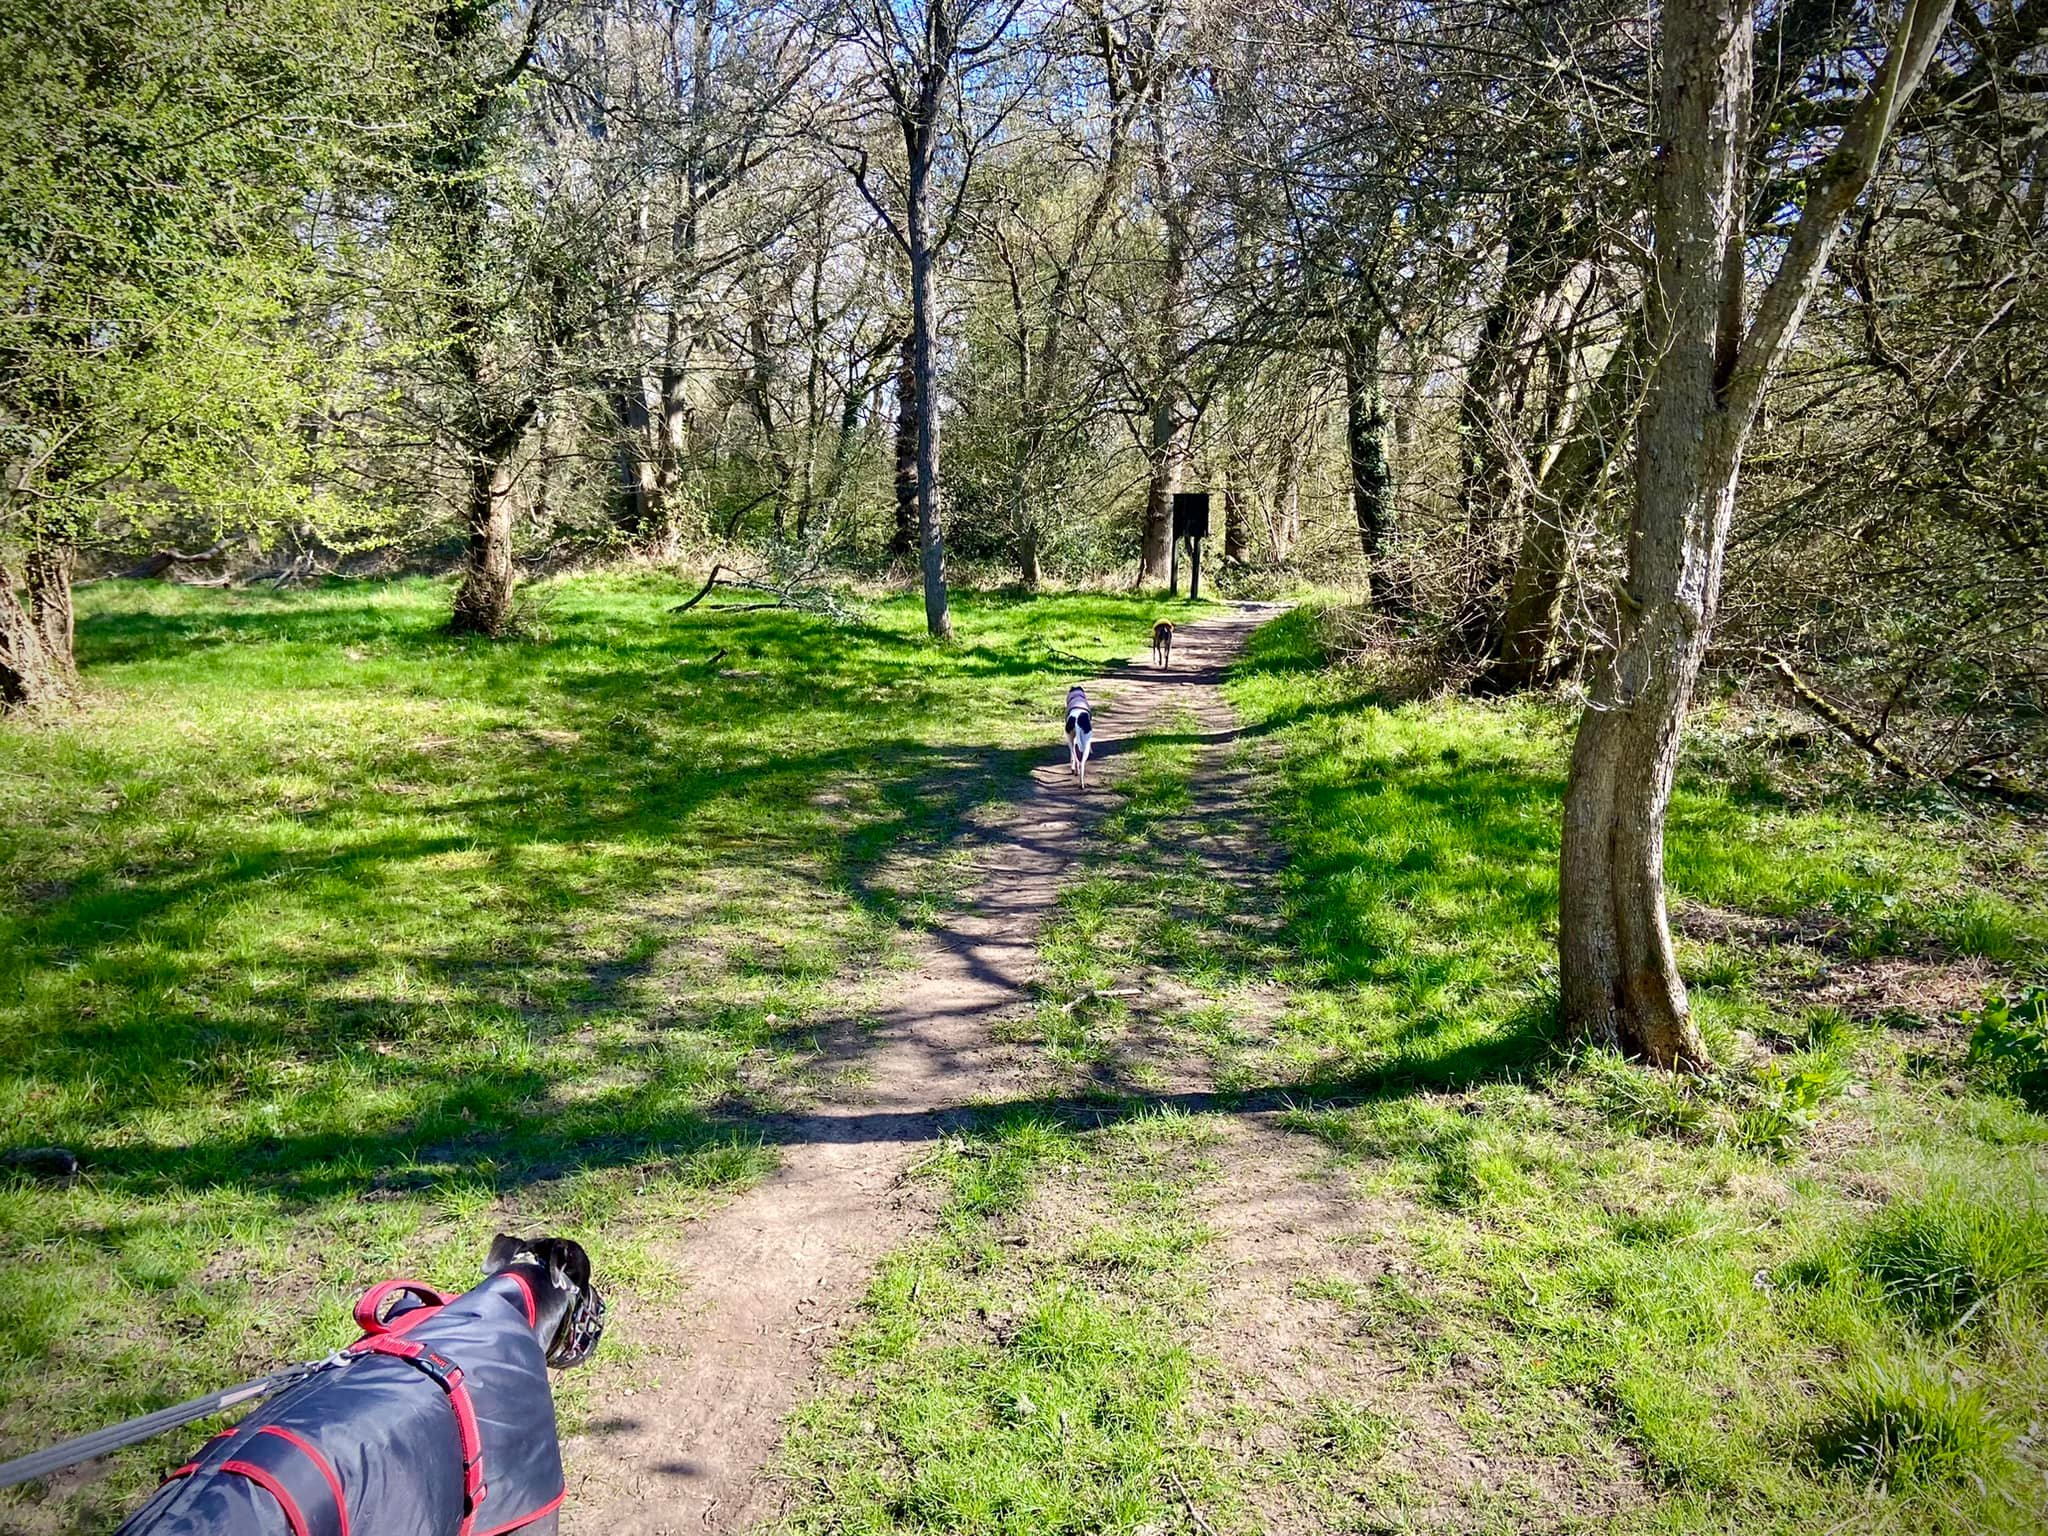
At the next junction of paths, where there’s a bench and little section of fence to the right and yet another dead tree (hmm, well, it is an ancient woodland) up ahead in the distance, turn left in front of the wooden box.

Pass to the left of the barrier you come to, then go straight over the cross paths and through the narrow gap in the stick barriers ahead.
The open area into which you emerge is marked on Ordnance Survey maps as a triangular-shaped “tumulus”, which just means it’s an ancient earthworks. Like so many of these things, you wouldn’t know it if someone didn’t tell you – the untrained eye, you see. So, this is me telling you. Nobody seems to know what it was for, but it has been suggested that it was possibly a medieval stock enclosure.
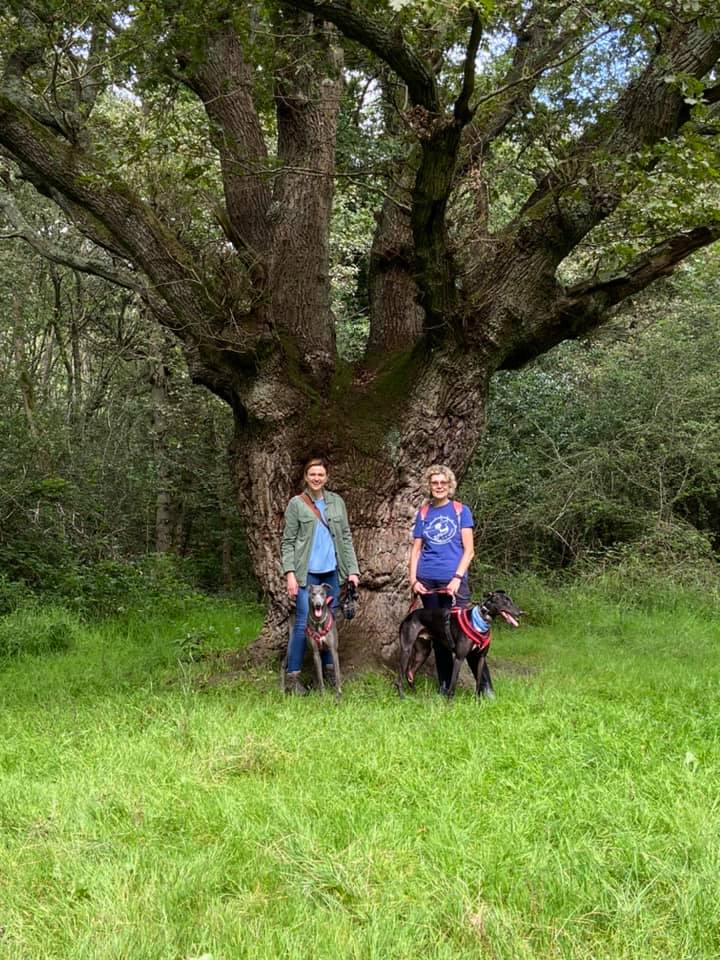
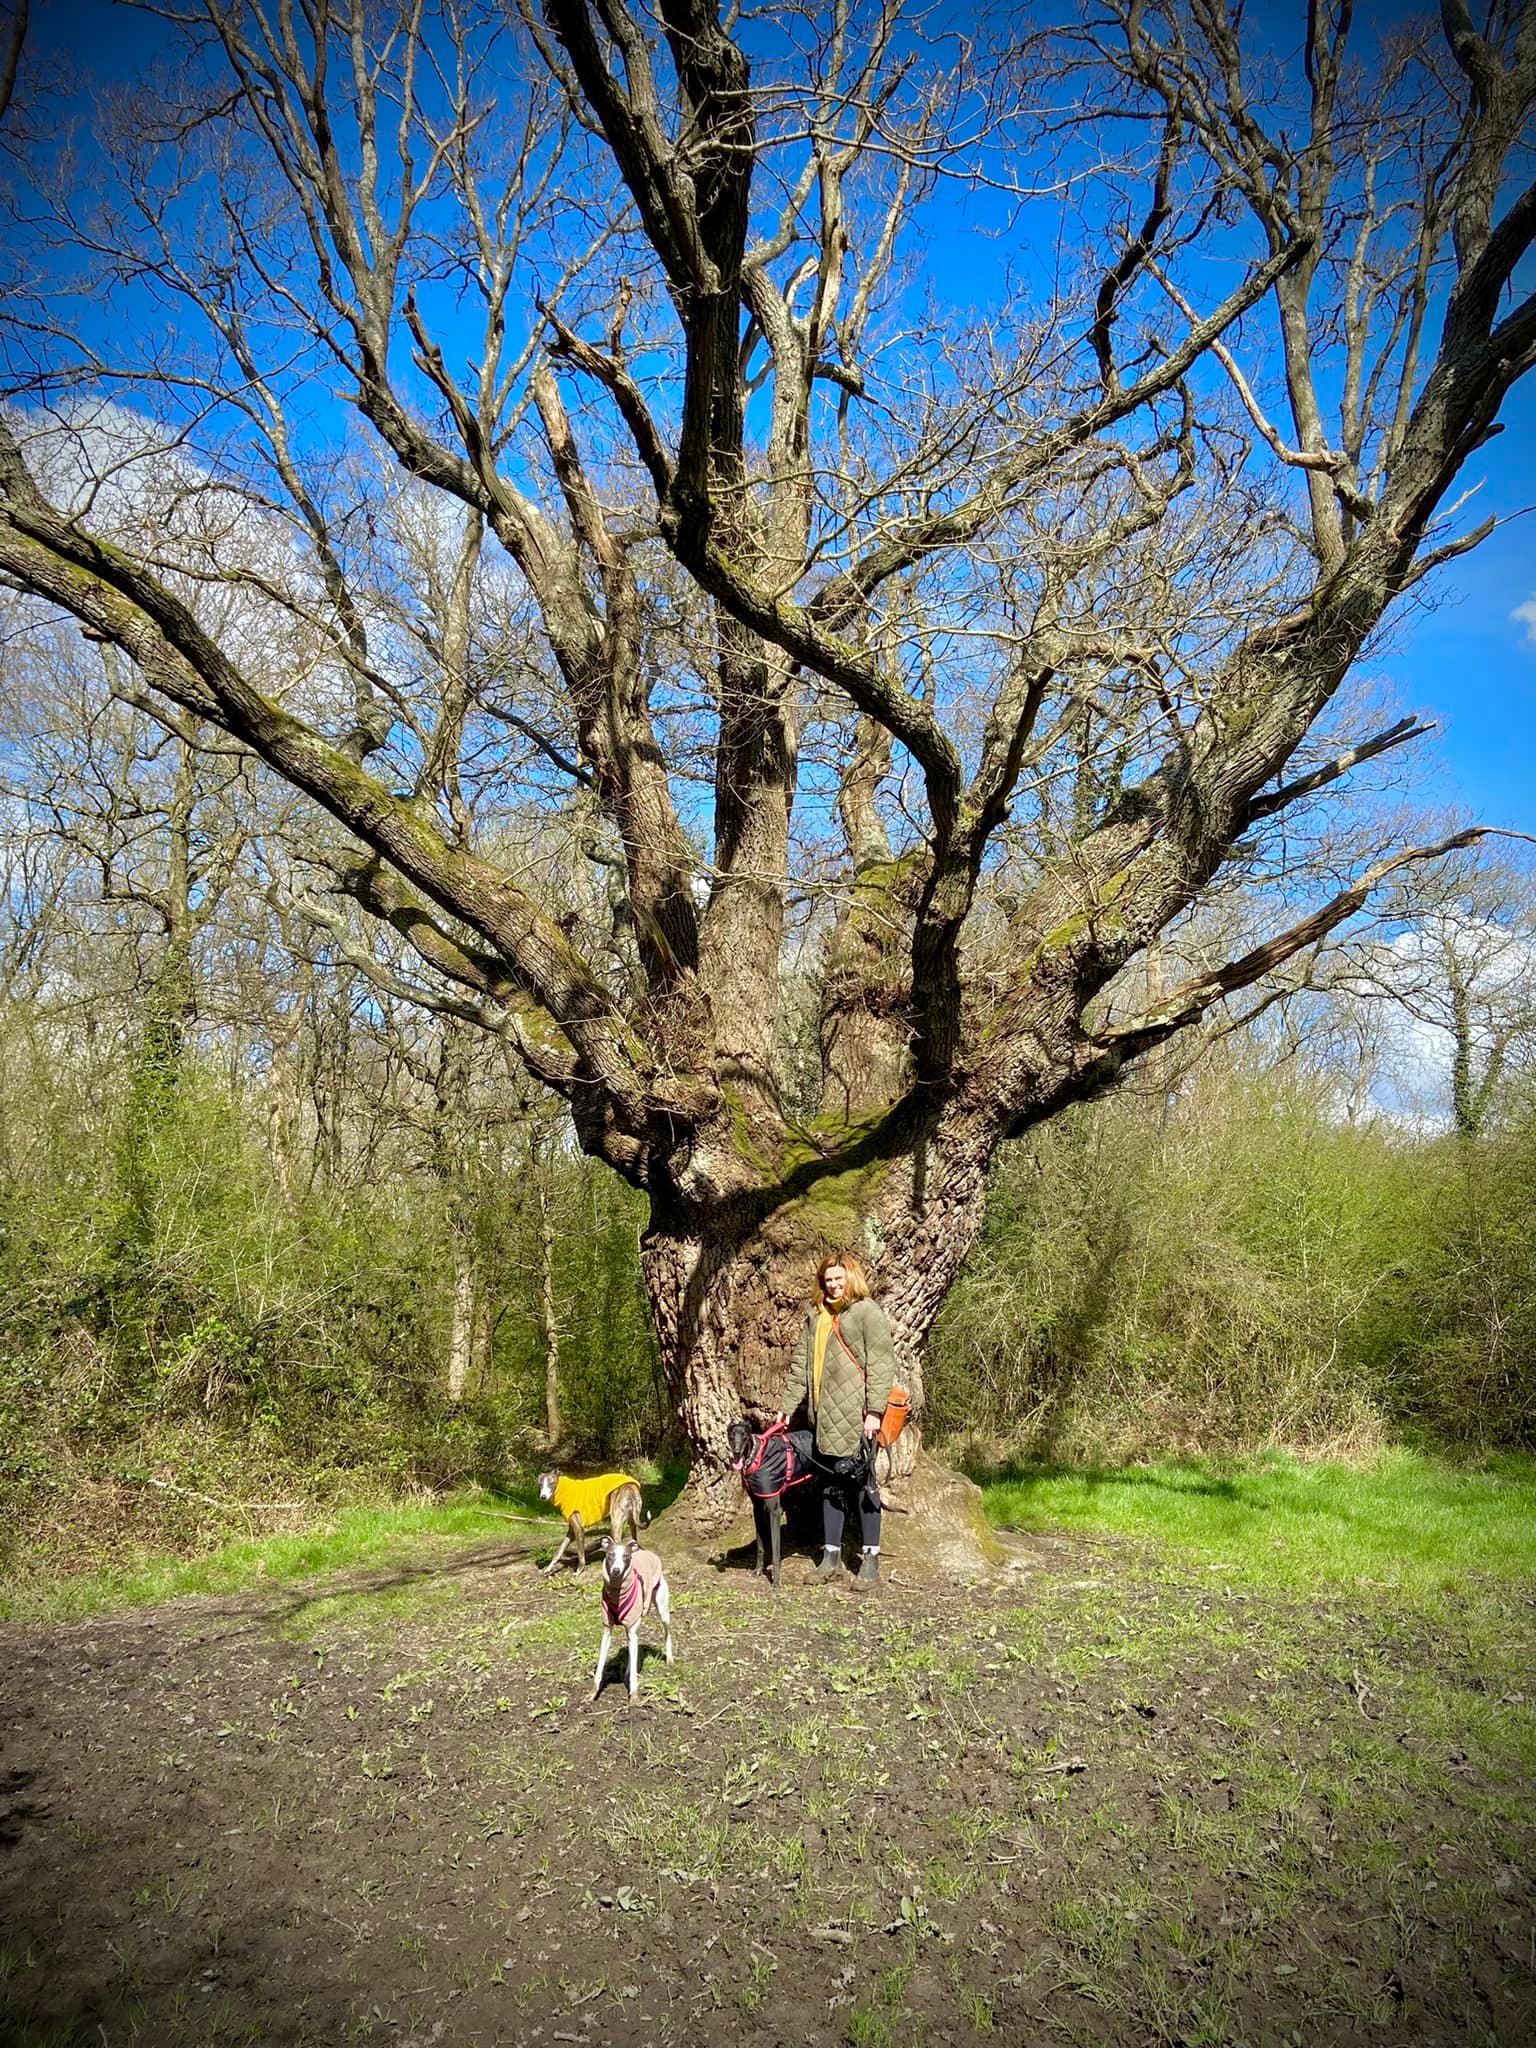
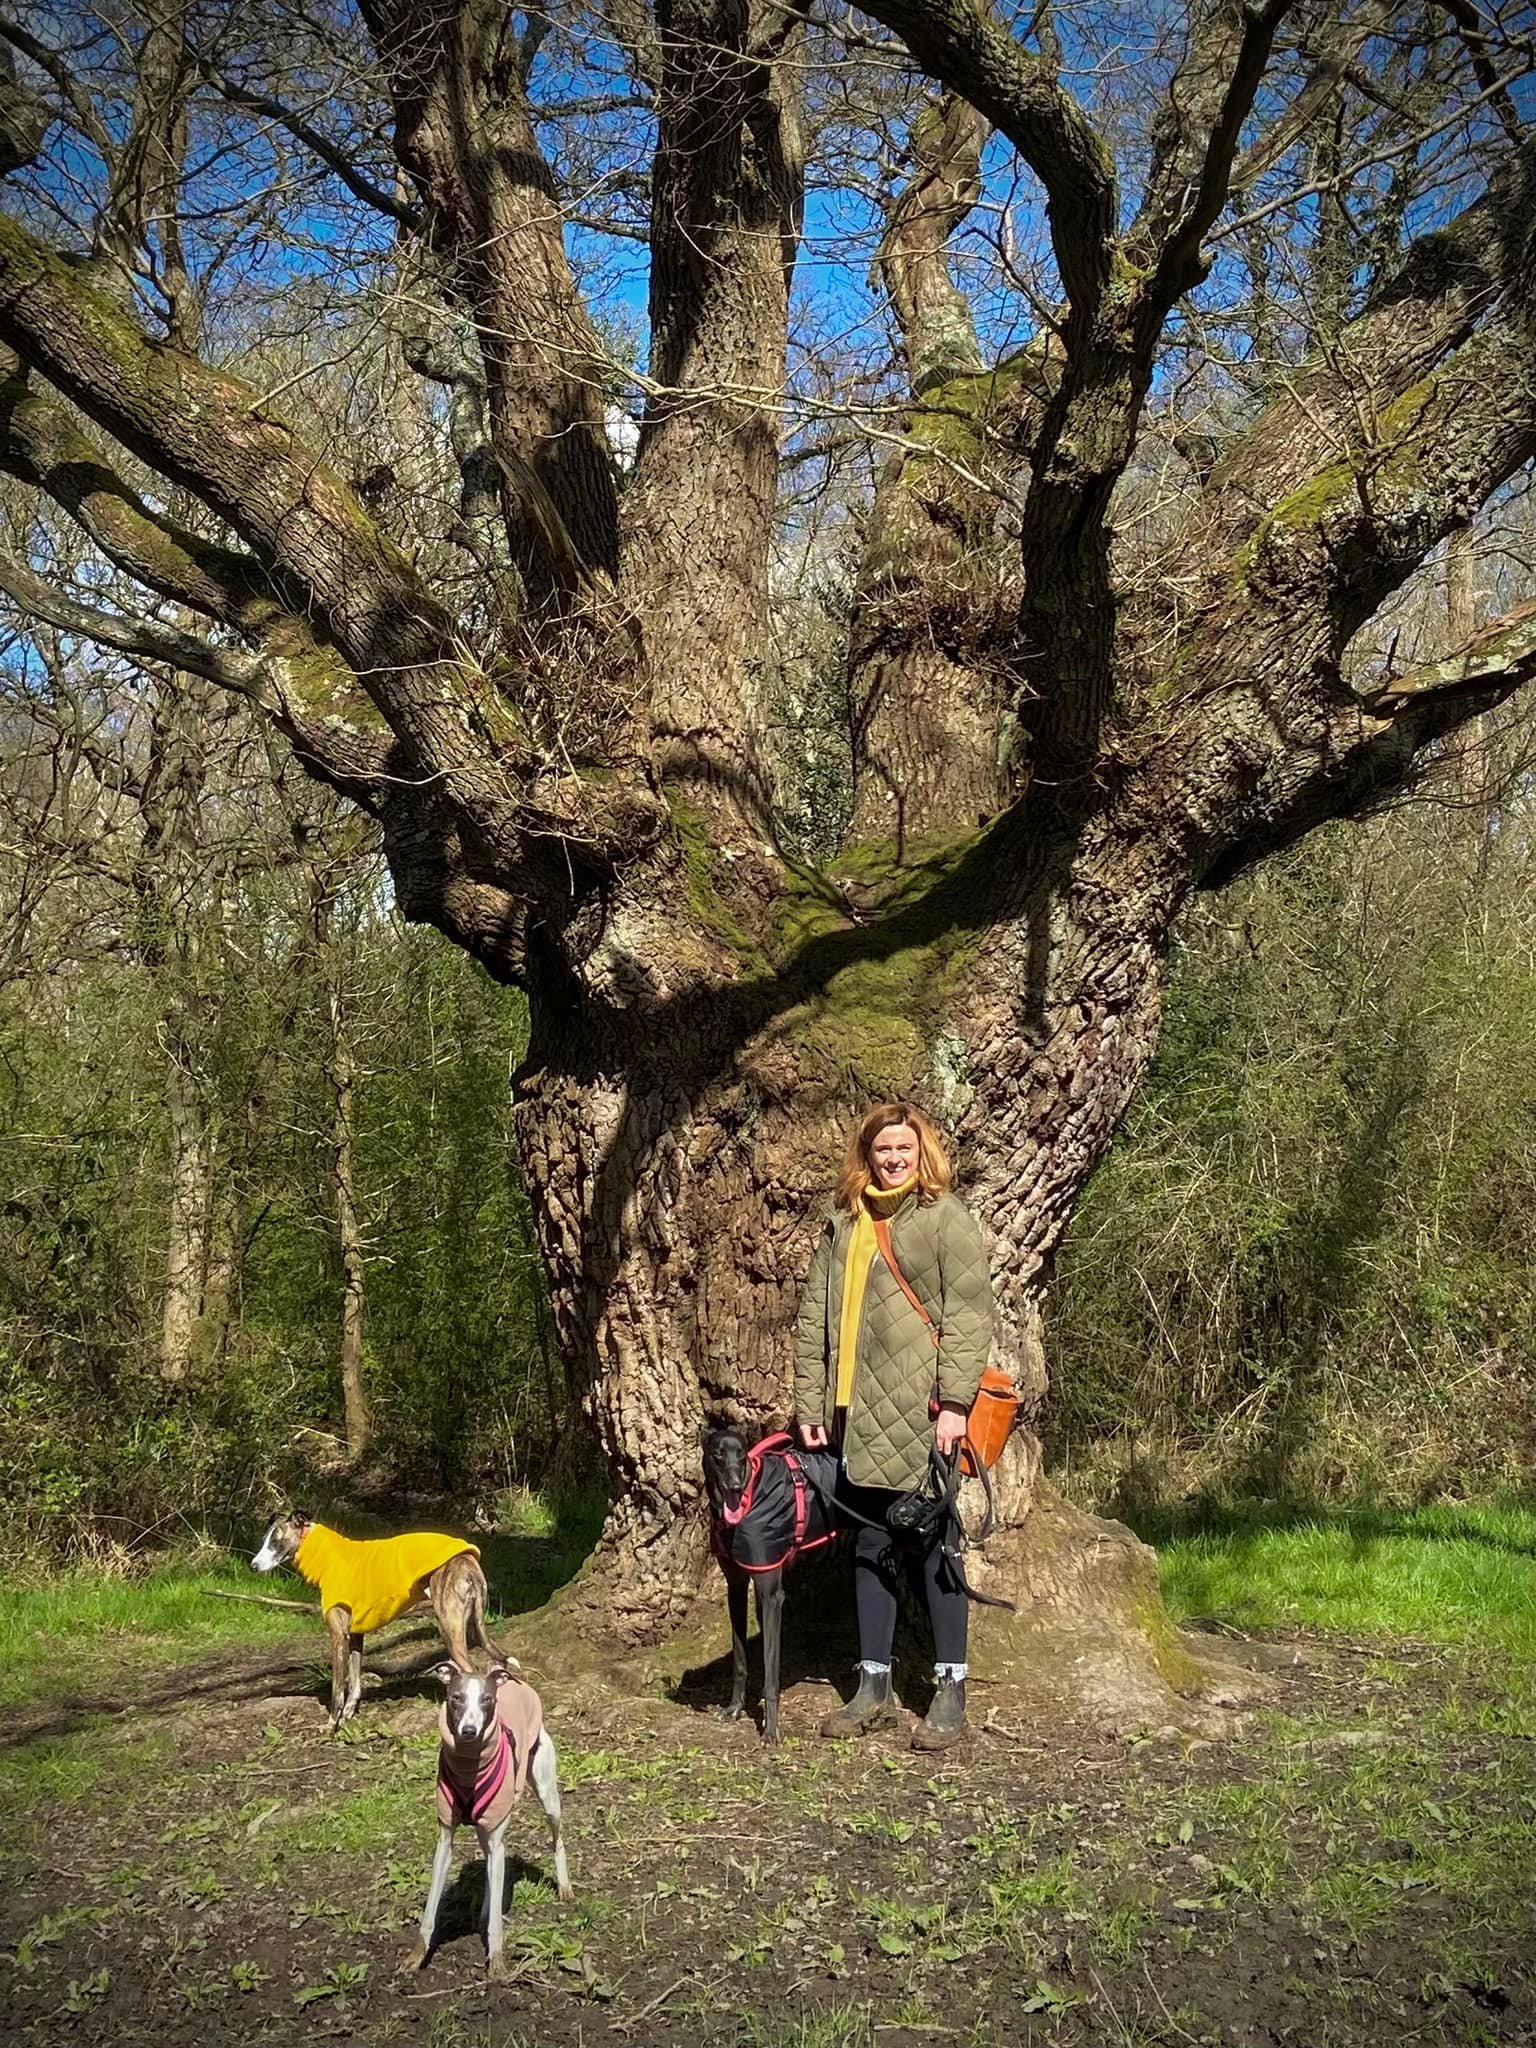
The big oak tree on the left as you enter this open area is called King Oak and is one of the common’s famous ancient trees. Thought to contain over 20 tonnes of timber, it got its name from its location on the highest point of the common. This is a well-known and much-loved tree. It was featured in The Guardian in 2020 on a page where readers share their travel tips, specifically favourite trees. If you can’t be bothered to click out, this is what Åsa Melander, who highlighted it, had to say about it:
“Eight thick trunks grow out of the original one, creating a cauldron in the middle. Centuries ago, commoners had rights to cut trees for wood. Learning that oak shoots are the best dessert that can be offered deer, trunks were cut high enough that new shoots would be out of bounds. This created the foundation for this magnificent tree. Viewing it gives you a link to history: many veteran oaks on the Common have grown there since Magna Carta was signed, some miles north-west. It’s impossible not to admire it.”
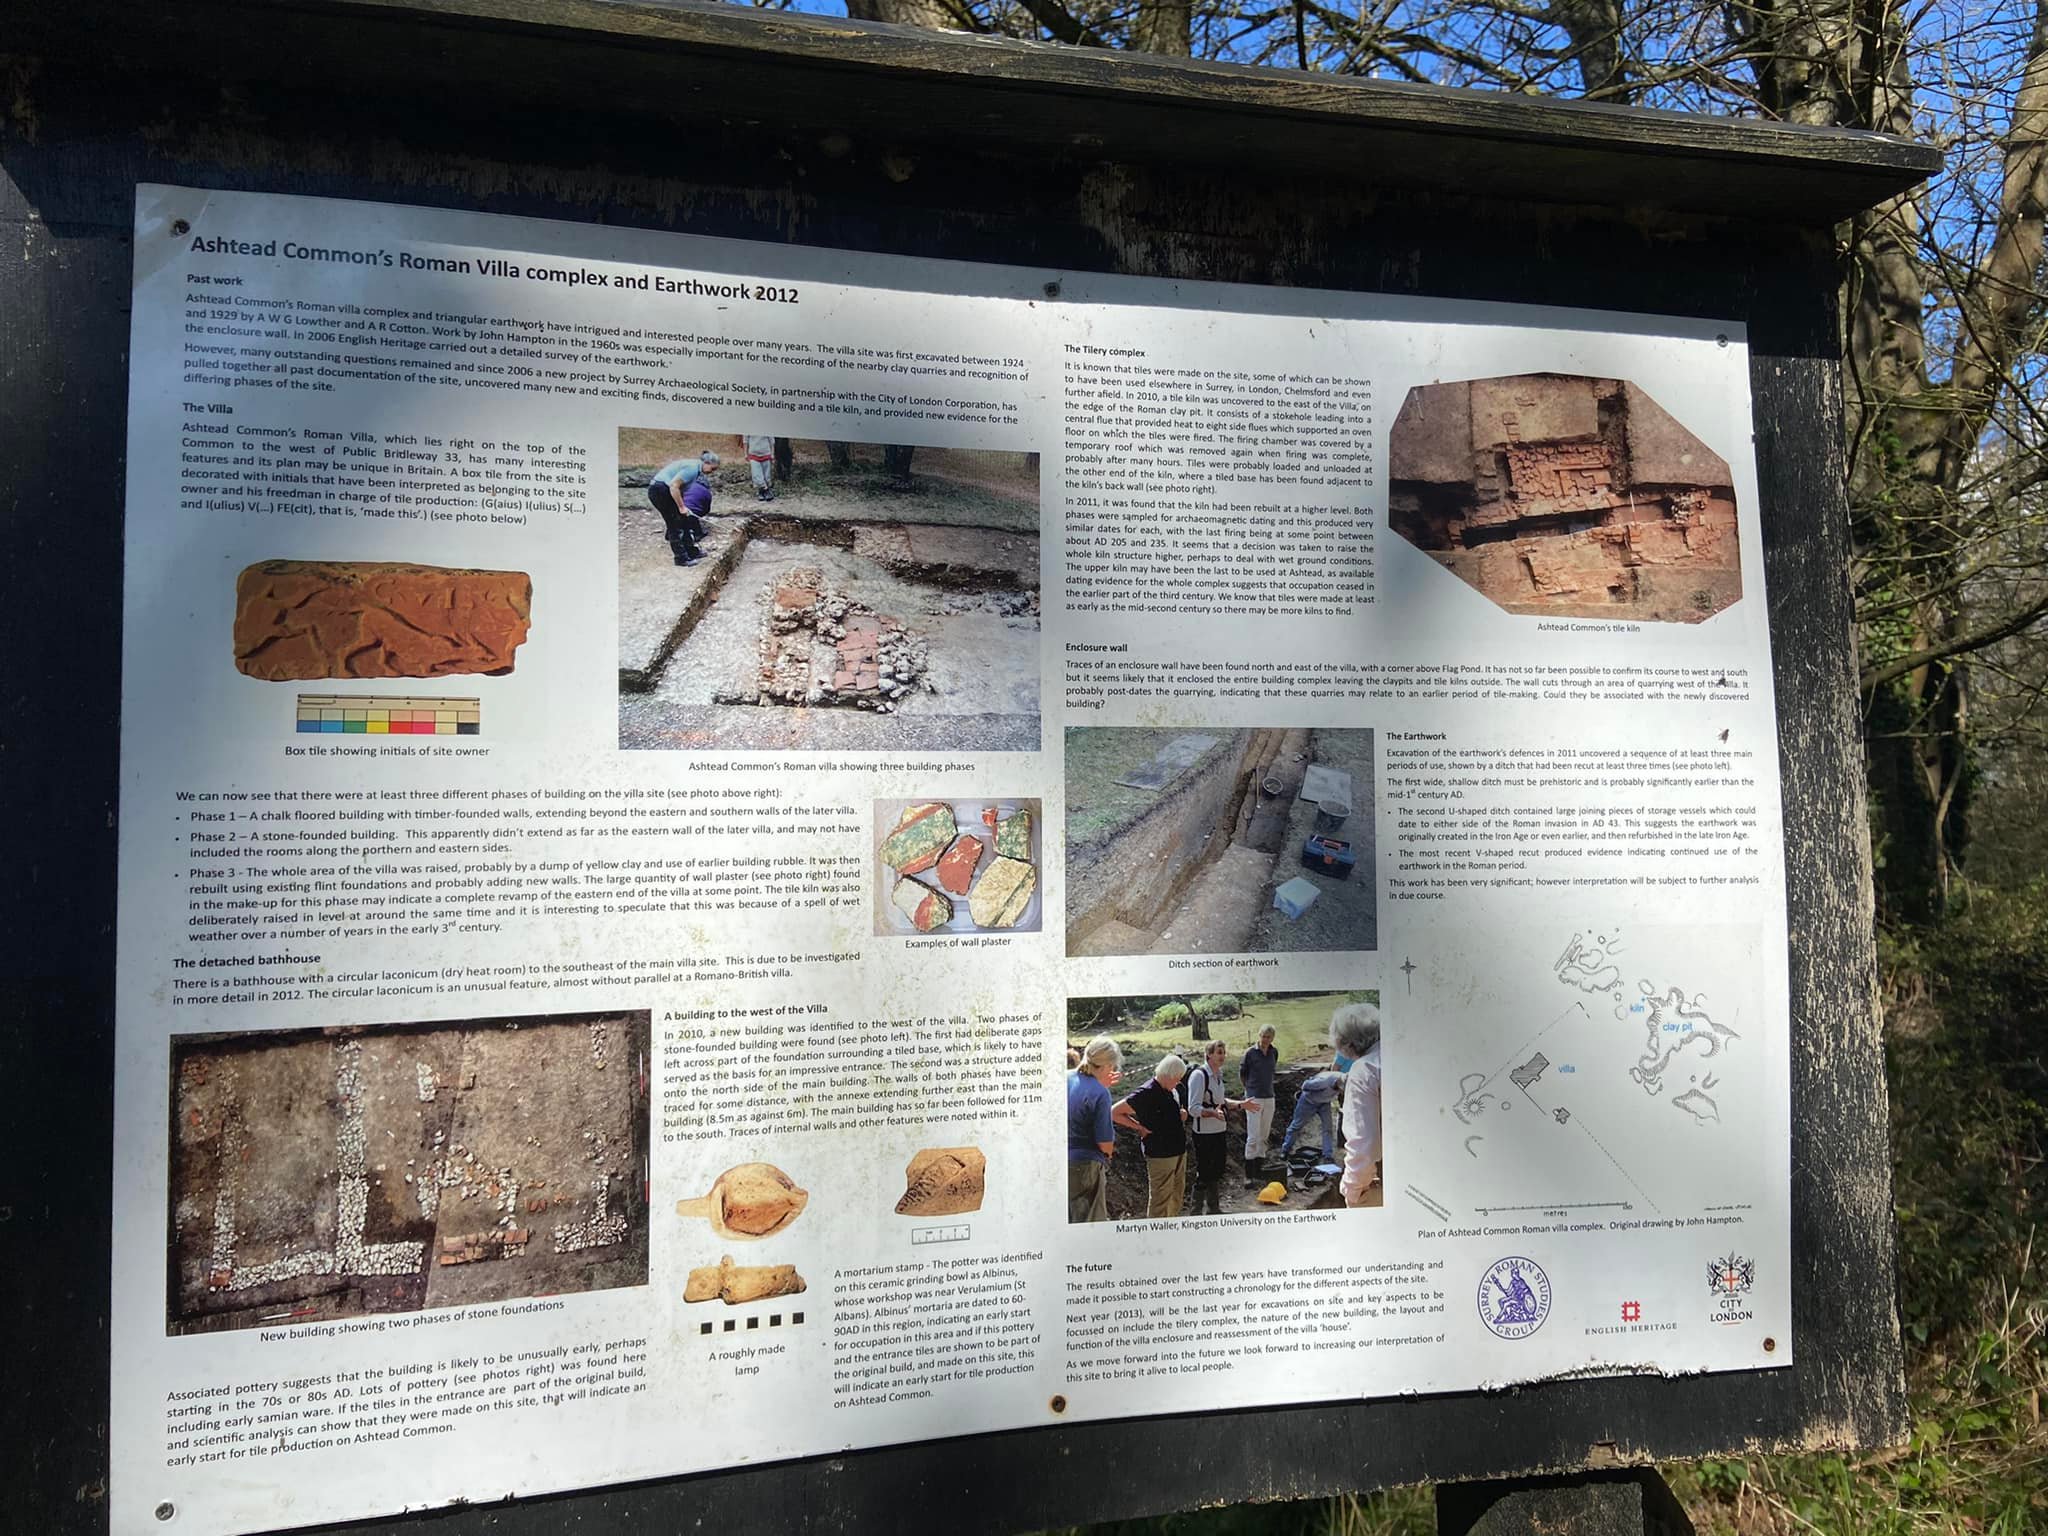
Anyway, continue through the open area following the clear path and go down a little dip and back up then through a gap in brambles. Emerging from this gap, continue straight ahead bearing slightly to the left and ignoring the path off to the right. Follow this path down past an information board on the left about Ashtead Roman Villa, the area covered by brambles behind it supposedly the site of it – although you can’t tell for looking. Archaeological digs in the 1920s, the 1960s, and the 2000s revealed tiles and bricks that indicate that buildings existed here from around AD 70 ish until AD200 ish. The excavations also unveiled bracelets, bone pins and glass beads. The information board about the villa has a wealth of detail.
Fun fact – somewhere on that last little bit, you crossed where the old Roman Road from London to Chichester used to run, although apparently, just like the villa, there’s no actual sign of it.

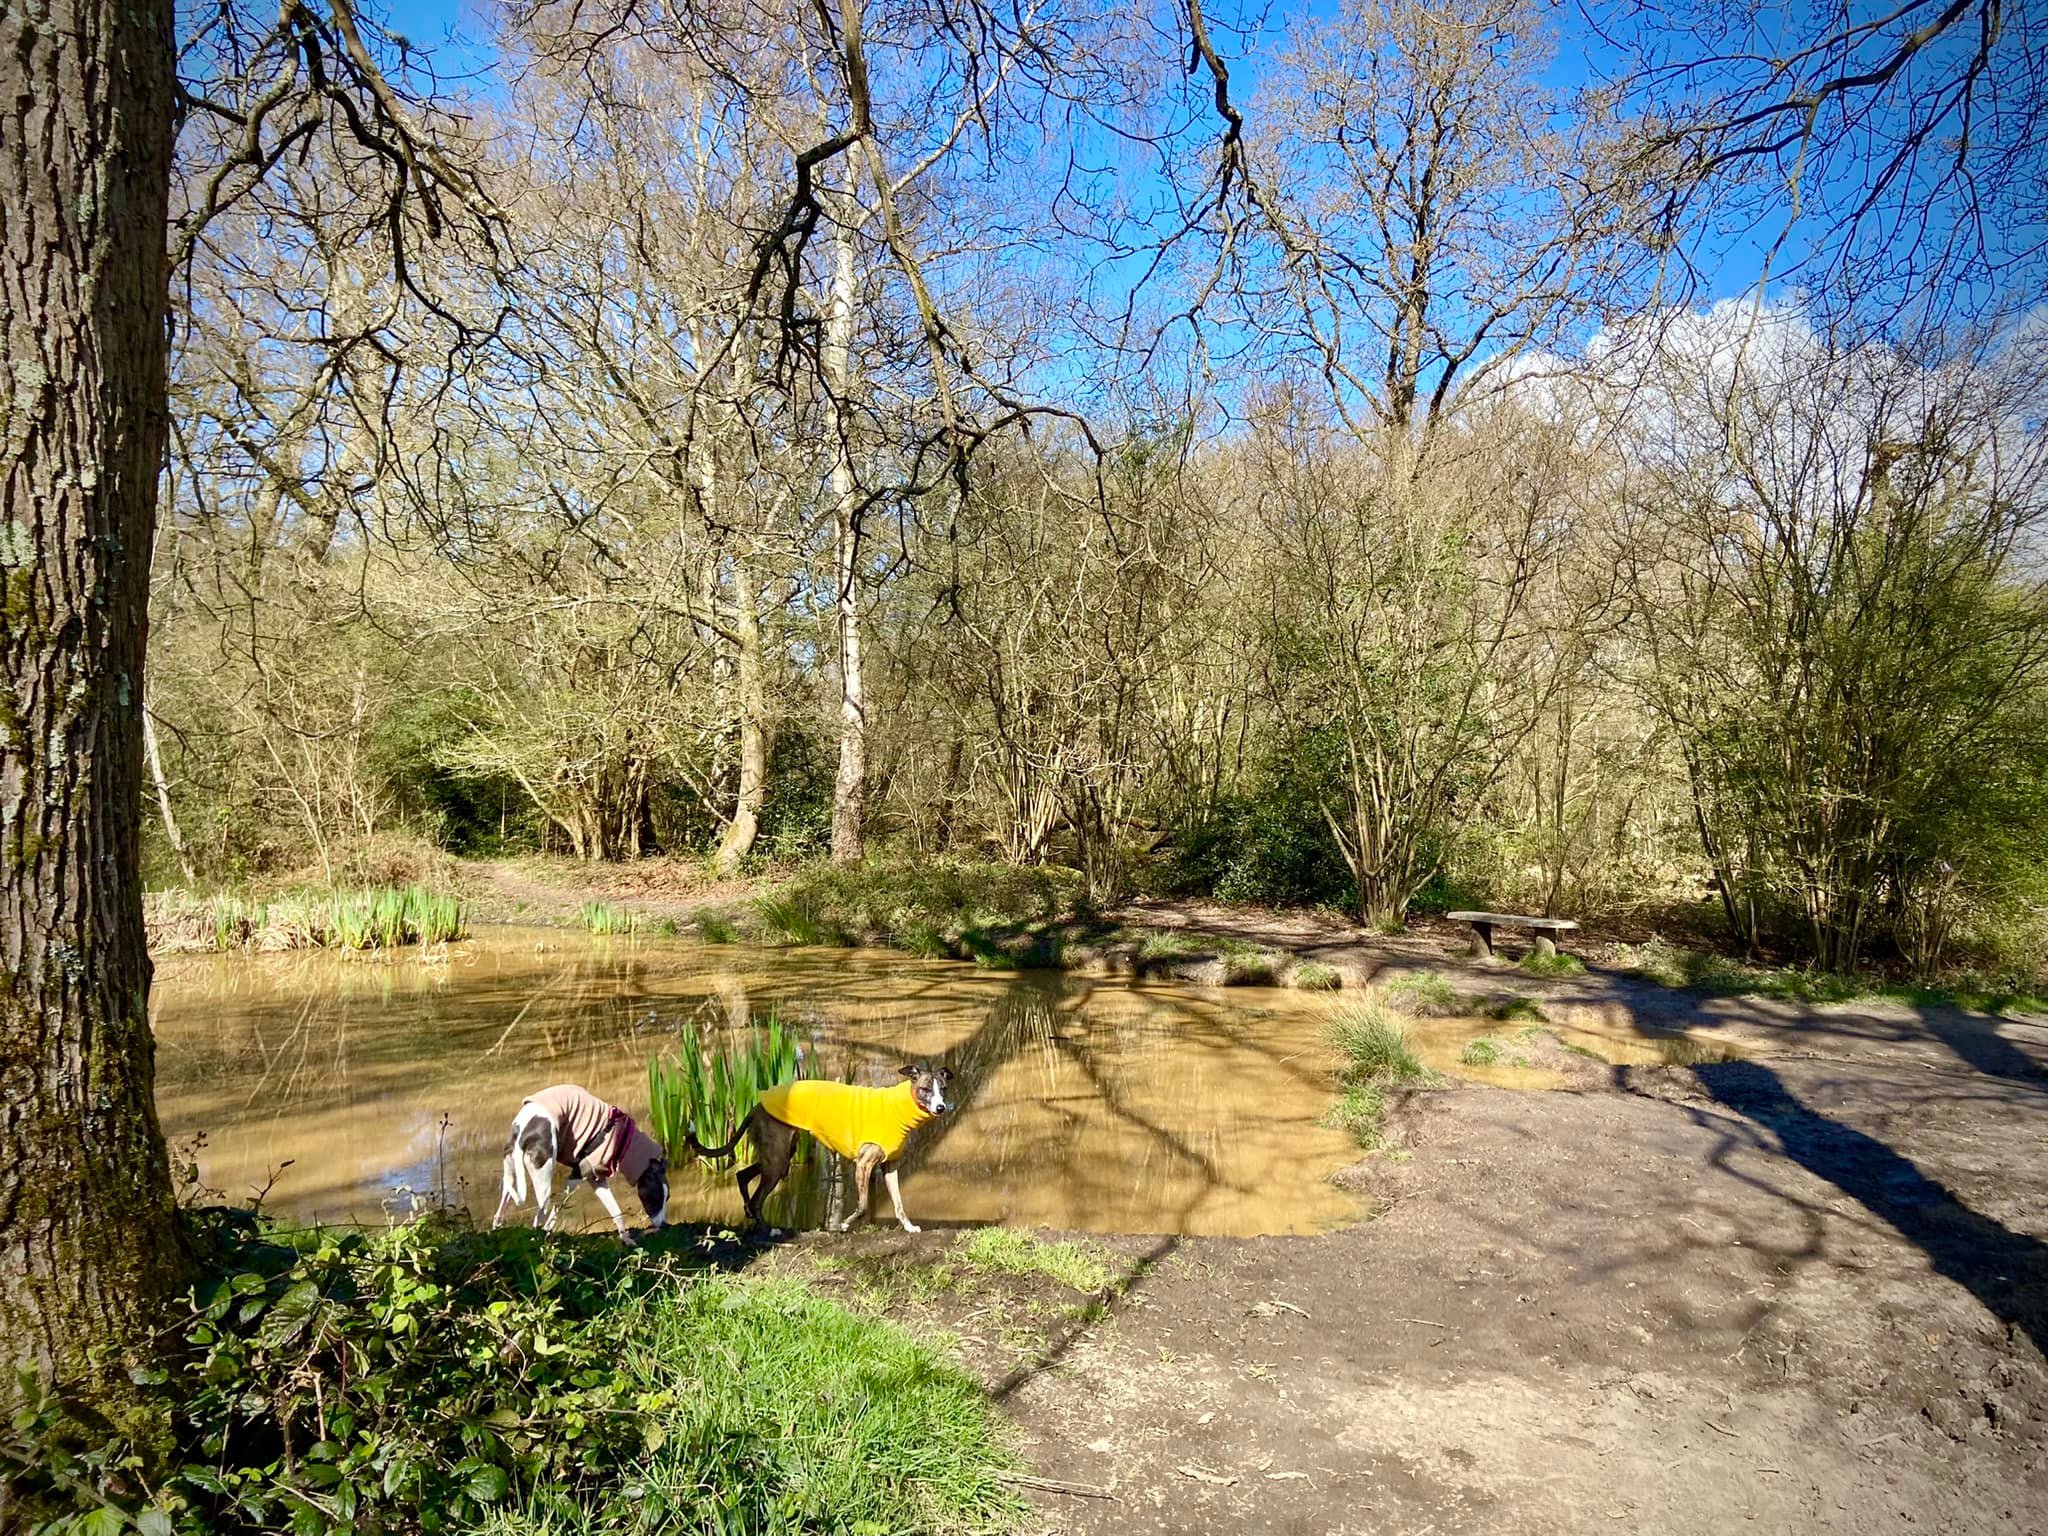
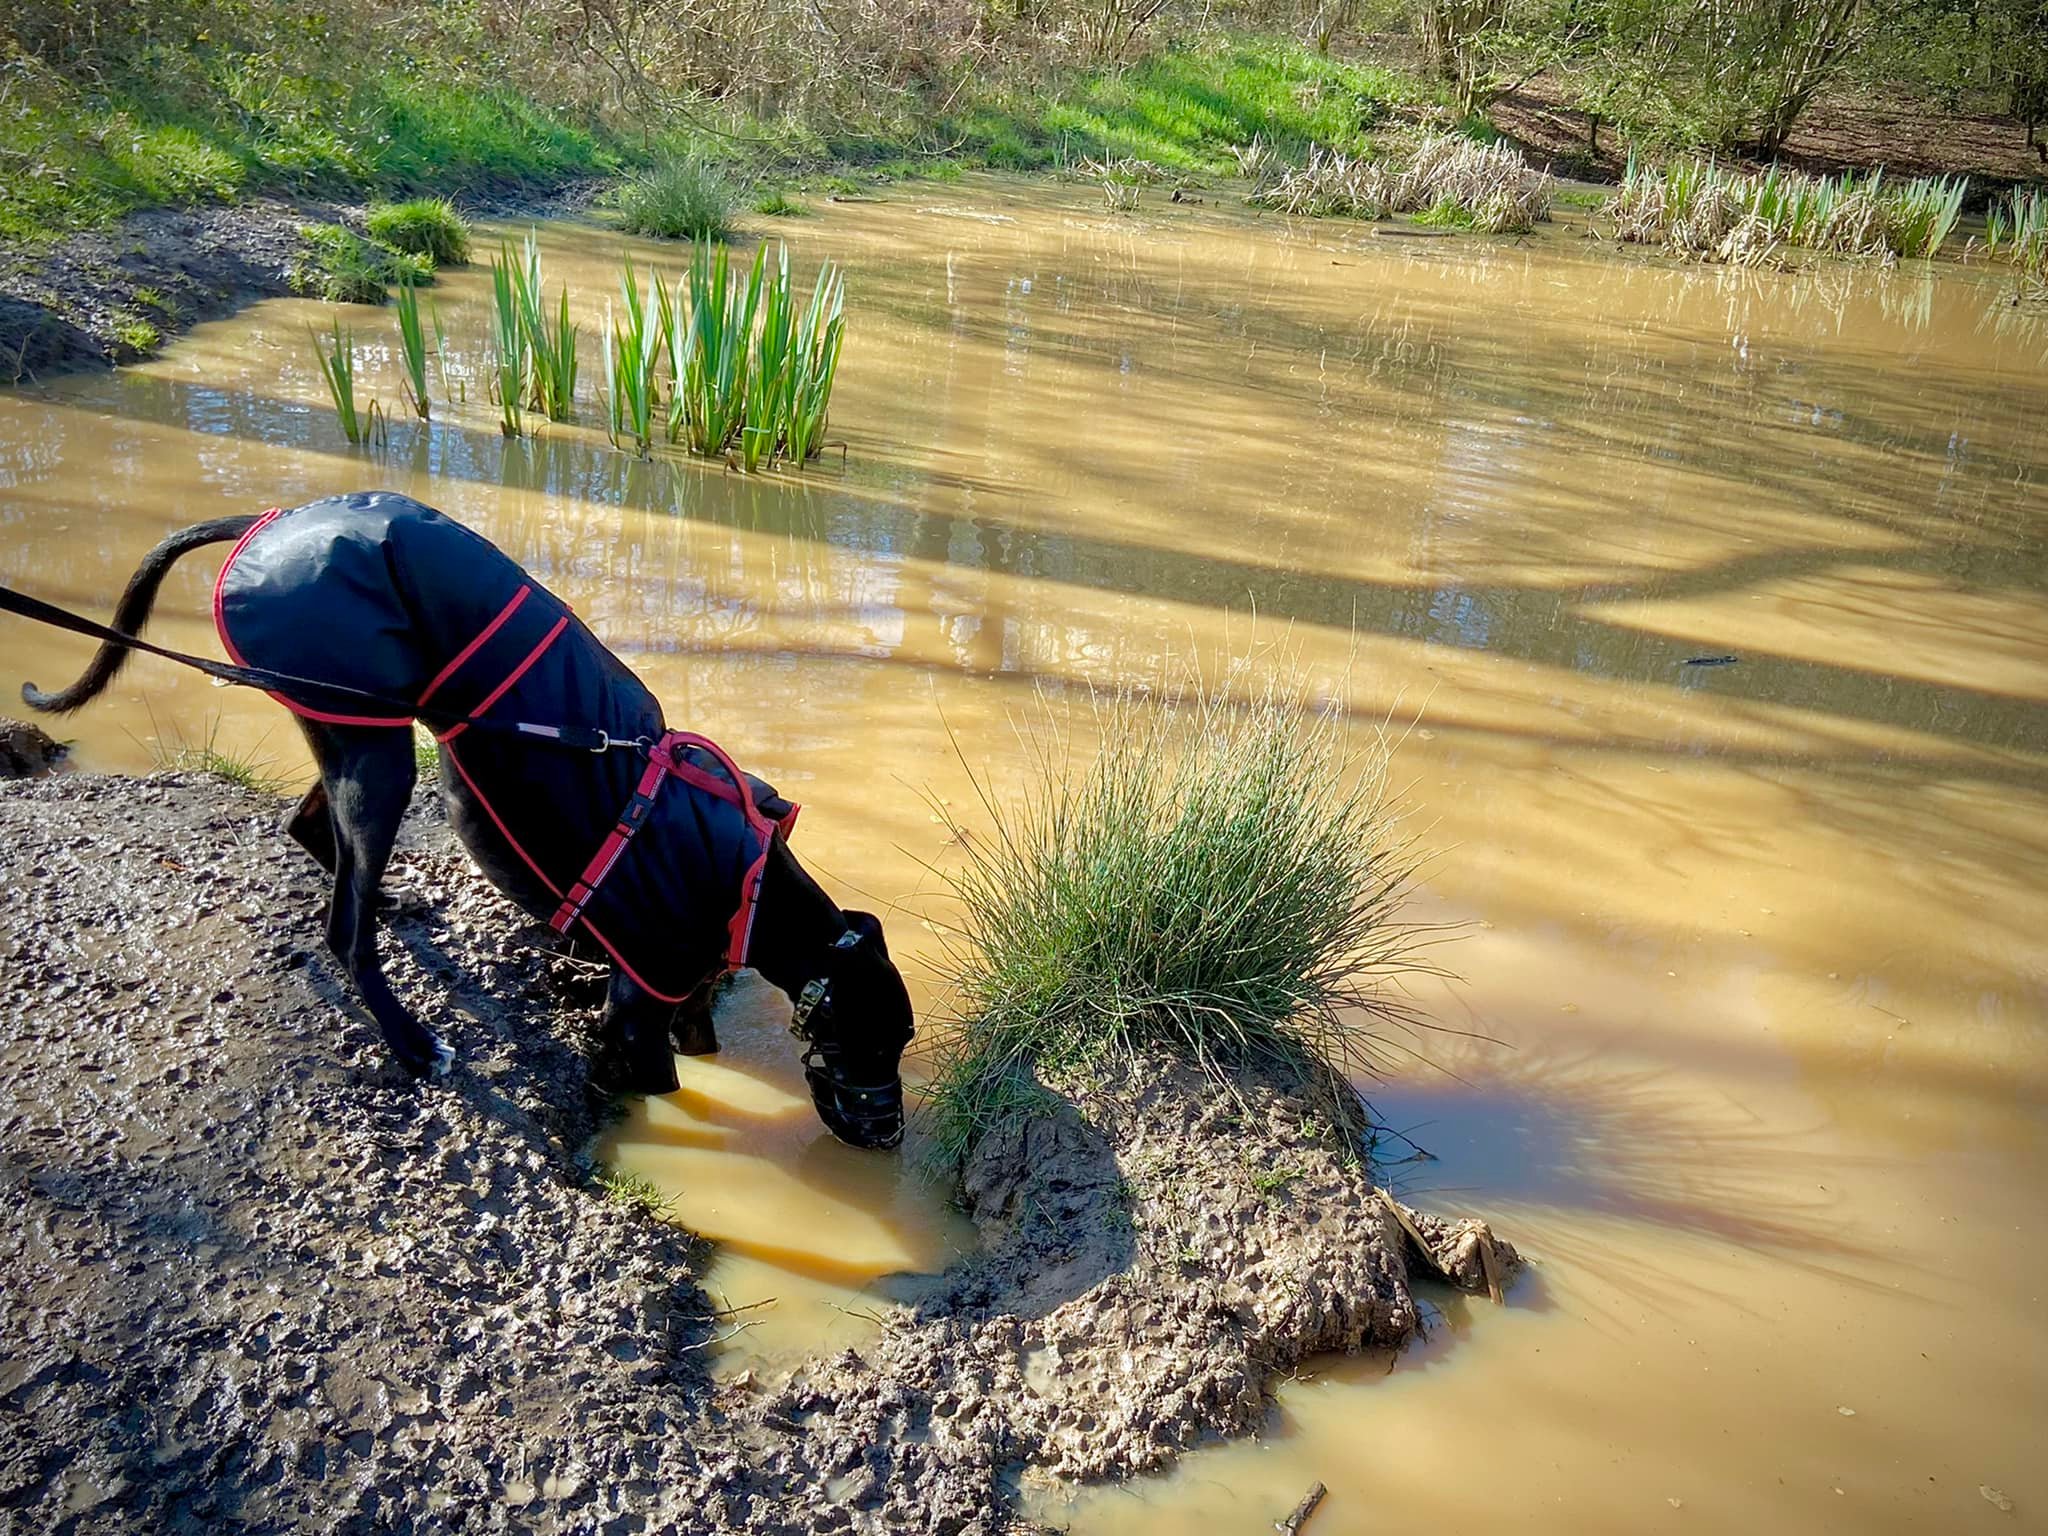
When you’re finished swotting up on Roman life at the information board, continue on and at the end of this path, turn left to take a tiny little detour up to Flag Pond (in fact, you should be able to see it from where your path emerges onto the main ride). It’s a nice little spot for a paddle and for dogs to have a drink.

When done at the pond, about turn and go back the way you came, passing the path leading to the Roman villa to continue straight ahead down this wide main ride – somewhere along this, you’ll cross the Roman Road again without any idea that you did so.
At the fork, keep right on the wider path then at the cross paths (where there are wooden barriers to the left and right), continue straight. Pass a bench on the right and then go straight over at the next cross paths, where there is a tall bridleway post and a barrier to the right that is usually open, but it has “seasonal ride closed” engraved on it so it clearly gets shut to horses sometimes.

At the next cross paths by another tall bridleway post with stick barriers either side, turn right and pass through its slalom.

At the end of this (often muddy!) path, go through another stick barrier and then continue straight ahead over the cross paths to go through the next stick barrier. It can be very muddy down here as well.
Assuming you survive the mud, when you reach the next cross paths, turn right and after a few paces, the Wishing Tree will come into view.

Why is it called the Wishing Tree? Well, trees feature heavily in folklore, particularly in relation to their healing powers. It is likely that local people may have visited this particular tree to wish for ill loved ones to get better – or if they were greedy to just wish to come into loadsa money!
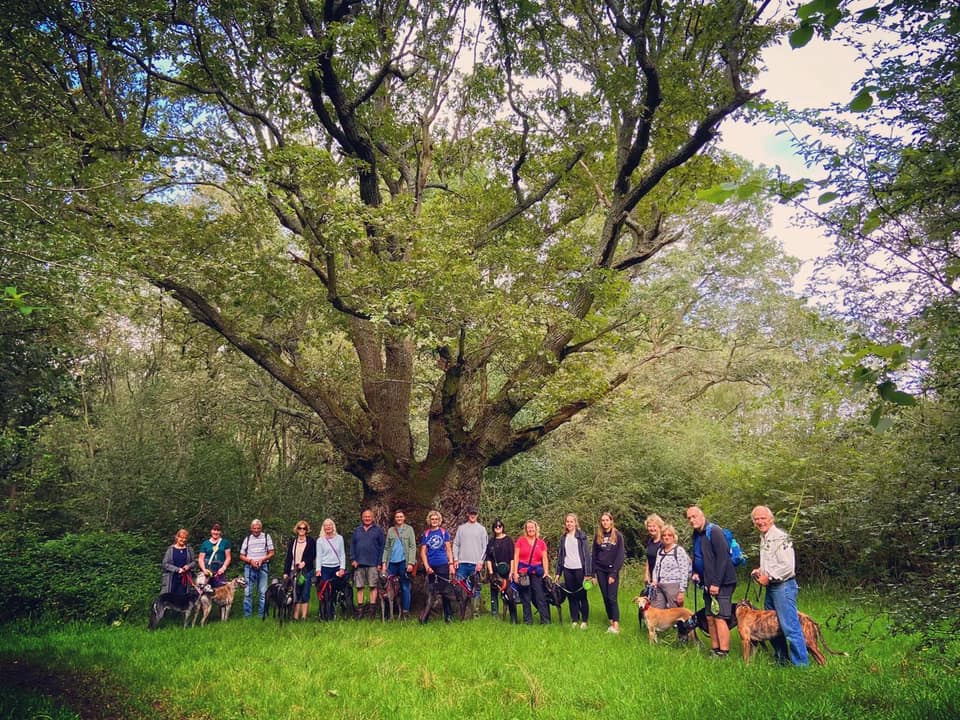
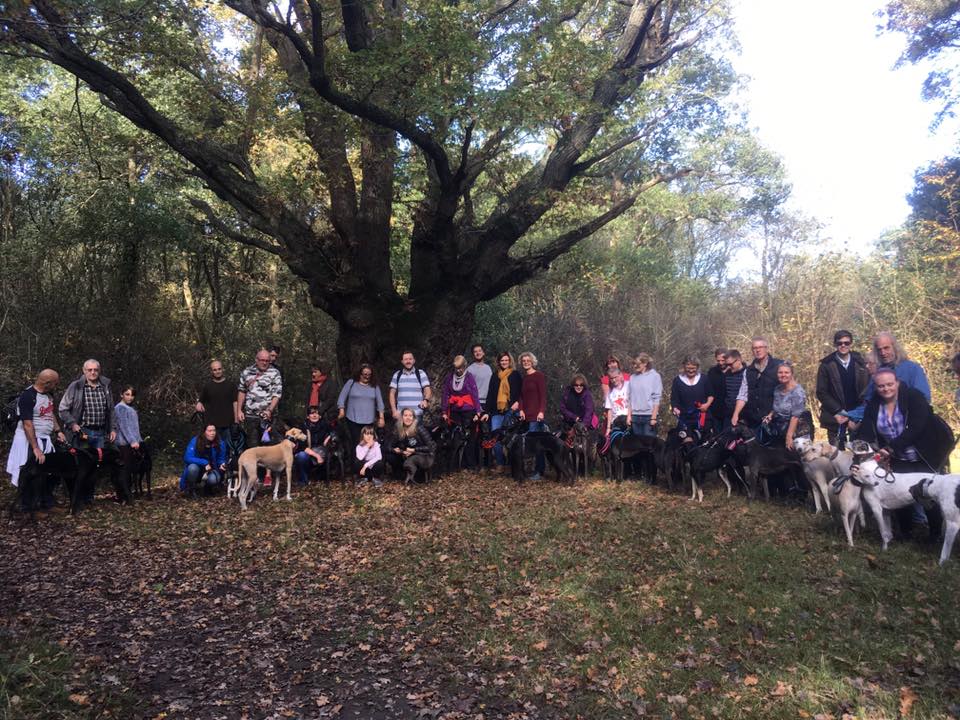
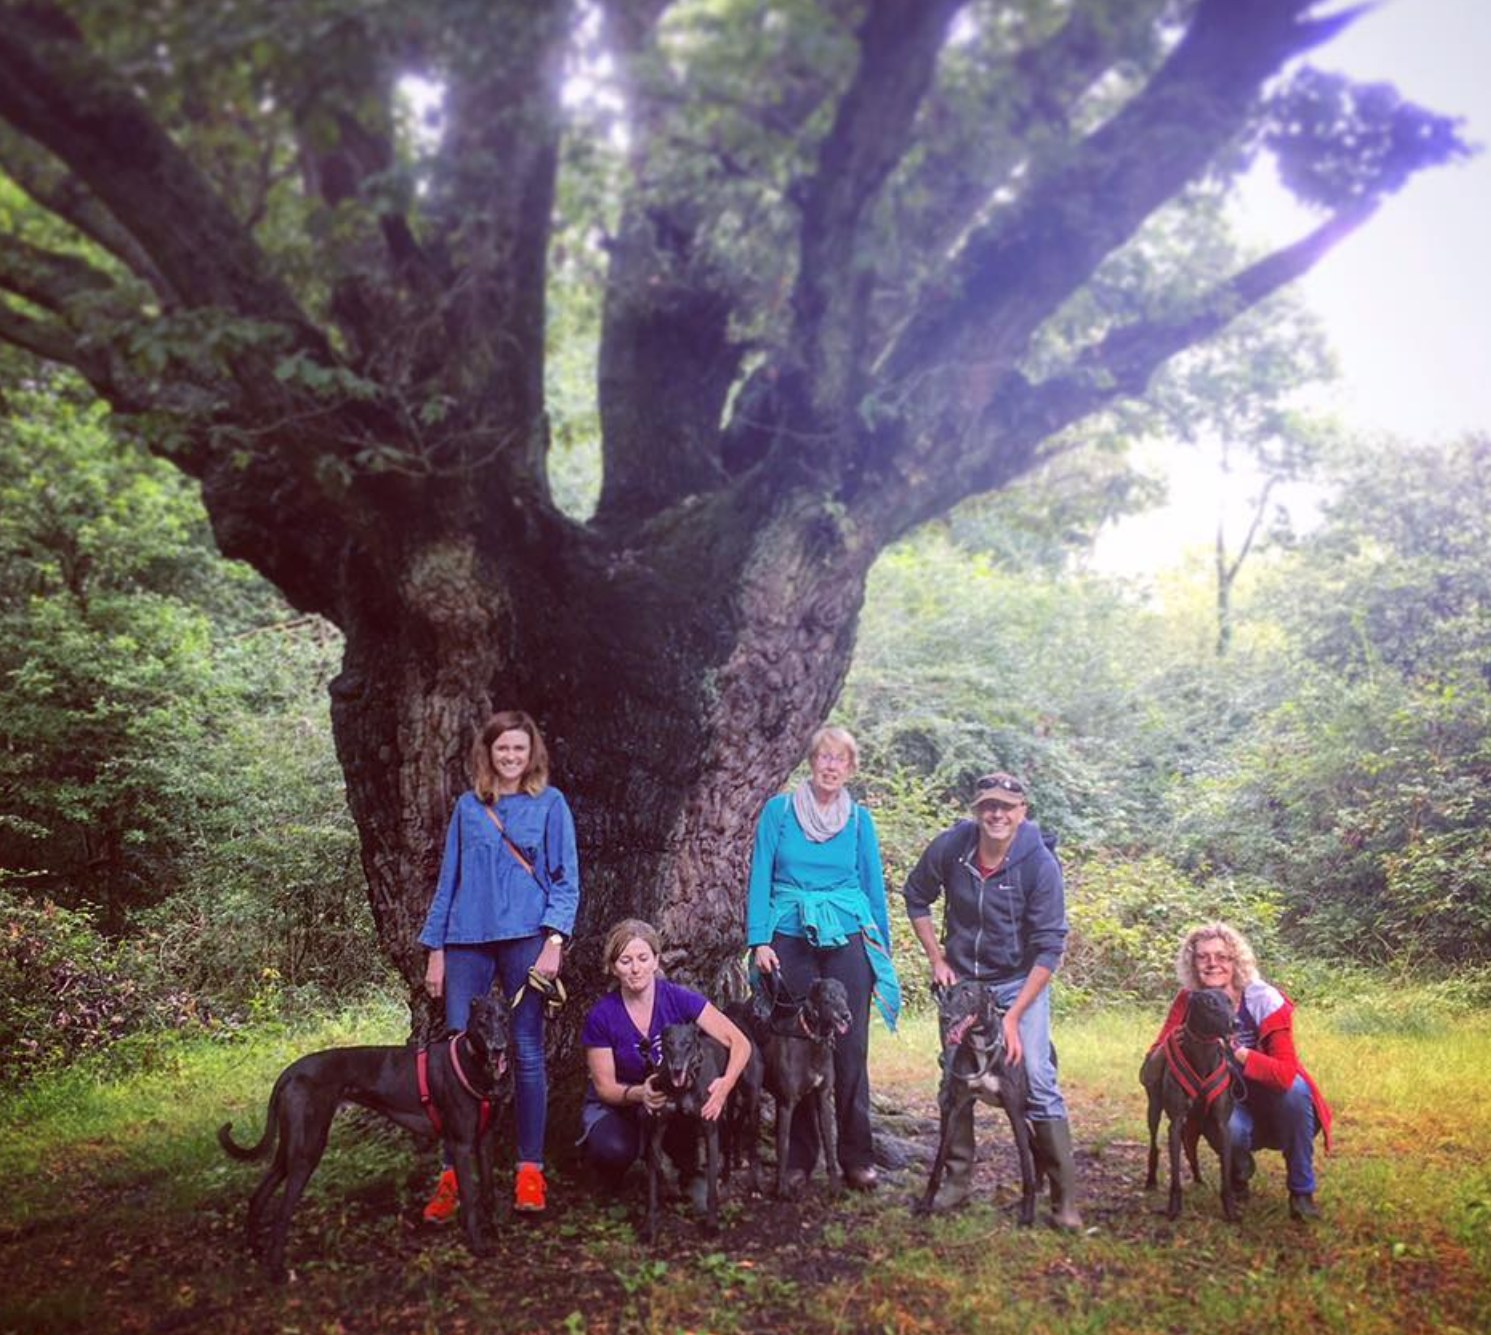
When the Surrey Sighthound Walking Group comes here, we gather any resident kennel hounds from WGW and Celia Cross that have joined us for the walk and wish that their forever families will find them soon. All of the kennel hounds in these photos have been adopted.

One more Wishing Tree fact for you before I let you move on. The vegetation surrounding the Wishing Tree is managed according to a process called ‘halo release’ to ensure it does not compete with the tree and shade it out. If you look at the shape of the branches, you can see they initially grew away from the trunk, spreading out laterally, suggesting that many, many years ago this was a more open environment. Having grown laterally for several meters they then rise upwards steeply- clearly at some point, neighbouring trees started to shade the Wishing Tree so its branches grew upwards in search of sunlight. Halo release seeks to let sufficient sunlight reach the tree.

Anyway, whatever you’re driven by, there’s no harm in offering a wish up to the universe here. When you’ve done that, continue on the path as it gently curves around to the left.
At the next cross paths where there is a tall marker post with a yellow arrow on it, continue straight ahead.
Follow the way around to the right, passing a bench on the left and then go around the barrier ahead. Turn left at the wide main path, passing another tall marker post on the left.
Presently the mud and grass underfoot gives way to a stony surface and the path descends. It winds down to the information map board at the start of the walk.
With the map on your right and the stable building ahead, turn left and walk down the tarmac drive to Epsom Gap and turn right to walk along the road, before crossing carefully to return to the car park.
